Advertisement
Quick Links
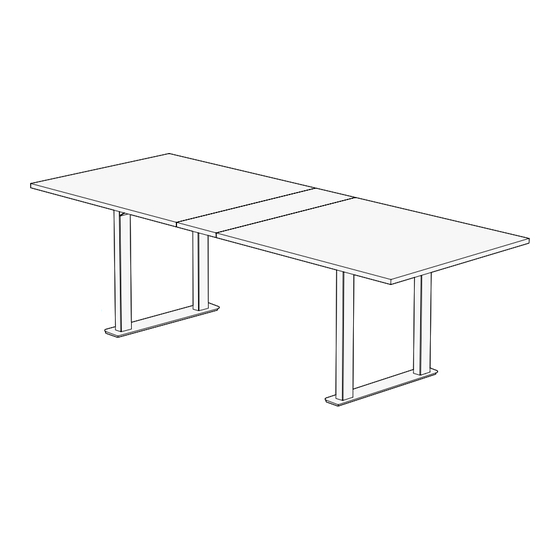
Seated Height Conference Table
42" Wide & Ping-Pong Size
F491-F492
Conference Table
Conference Ping-Pong Table
Two person
Scan QR code for
assembly
product webpage
For assembly assistance, visit upliftdesk.com/contact, call 800-349-3839, or email support@upliftdesk.com
©2024 UPLIFT Desk®. All Rights Reserved
Advertisement

Subscribe to Our Youtube Channel
Related Manuals for Uplift Desk F491


Summary of Contents for Uplift Desk F491
- Page 1 Seated Height Conference Table 42" Wide & Ping-Pong Size F491-F492 Conference Table Conference Ping-Pong Table Two person Scan QR code for assembly product webpage For assembly assistance, visit upliftdesk.com/contact, call 800-349-3839, or email support@upliftdesk.com ©2024 UPLIFT Desk®. All Rights Reserved...
-
Page 2: Package Contents
Inspect the table regularly and stop using immediately if you notice any damaged or loose parts. Only replace damaged desk parts with authorized UPLIFT Desk parts and instructions. Please read these instructions carefully. Under no circumstances does the manufacturer accept warranty or liability claims for damages caused from improper use of this desk. - Page 3 Component Diagram Side Bracket Crossbar End Support Bracket M8x8 Set Screw Crossbar Rail M6x10 Machine Screw Side Bracket M6x10 Machine Screw M6x14 Machine Screw Foot © UPLIFT Desk • 800-349-3839 • info@upliftdesk.com • upliftdesk.com...
-
Page 4: Step 1 - Inventory Of Parts
Assembly Instructions Step 1 - Inventory of Parts A. For ease and safety, we recommend using two people for assembly. Before assembly, consider where you want your table to be located. B. To avoid any damage to your floor or tabletop, we recommend assembling your table on a debris-free carpet or blanket. -
Page 5: Step 4 - Leg Attachment
Washer (H5) through each Crossbar End and into the table top as shown. B. Once all four screws are started, tighten them but be careful to not overtighten to avoid stripping. © UPLIFT Desk • 800-349-3839 • info@upliftdesk.com • upliftdesk.com... - Page 6 Step 7 Support Bracket Attachment A. Align the holes in each of the Support Brackets (P10) with the threaded metal inserts along the sides and in the center of the table top sections as shown. B. Using a Phillips Head Screwdriver, loosely insert one #10- 24x3/4”...
- Page 7 A. With one person located at each end of the table, support the table frame and the table top equally and begin to tilt it slowly so that the back of the Feet are touching the floor. © UPLIFT Desk • 800-349-3839 • info@upliftdesk.com • upliftdesk.com...
- Page 8 Study this manual carefully. If this product is sold, please provide this manual to the buyer, installers, or support personnel operating the product. Copyright Notice: This manual is a component of this UPLIFT Desk product. This manual is a ©...
Need help?
Do you have a question about the F491 and is the answer not in the manual?
Questions and answers