
Related Manuals for hernest HEFTDR-0025


Summary of Contents for hernest HEFTDR-0025
- Page 1 DGFML HEFTDR-0025、HEFTDR-0026 HEFTDR-0027、HEFTDR-0028 HEFTDR-0029、HEFTDR-0030 Assembly Instructions & Care Guide Illustrations in this guide are for reference only and may differ slightly from the actual product.
-
Page 2: Table Of Contents
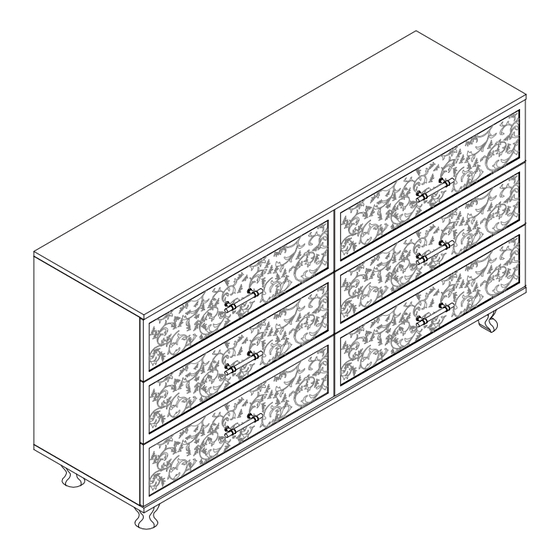
CONTENT Before You Start Overview Caution Material Specifications Installation Guide Exploded Views Component Parts Hardware Assembly Directions 05-11 Troubleshoot 12-14 Usage and Maintenance Use and Care Other Help Center... -
Page 3: Before You Start
4. Place all hardware on a soft surface for easy identification. 5. The seller is not responsible for any damage or injury caused by improper assembly or use. 6. If you need further assistance, please contact us through service@hernest.com Caution 1. -
Page 4: Installation Guide
3. Pay attention to tightening the screw rod 4. Installation plate 5. Align the arrow of the eccentric 6. Pay attention to aligning the component with the screw rod arrow of the eccentric part with the screw rod HERNEST I 02... -
Page 5: Component Parts
Component Parts HERNEST I 03... -
Page 6: Hardware
Do not over-tighten screws or use power tools, as this may damage the product. Tools You May Need Persons and Time Needed For Assembly *You might need a screwdriver (+/-) to complete this assembly. People Time Difficulty 2.5 hours HERNEST I 04... -
Page 7: Assembly Directions
F x3 A x2 F x3 A x2 F x3 Step 2 A x8 A x2 F x3 F x18 A x2 F x3 F x3 G x6 F x3 A x2 F x3 A x2 F x3 HERNEST I 05... - Page 8 Step 3 Step 4 B x8 B x12 Step 5 Step 6 A x6 M x2 O x2 HERNEST I 06...
- Page 9 Step 7 Step 8 C x6 B x6 Step 9 Step 10 C x6 D x6 HERNEST I 07...
- Page 10 Step 11 A x2 K x16 L x1 Step 12 B x2 C x2 HERNEST I 08...
- Page 11 Step 13 E x16 Step 14 Attention: For safety and stability, we suggest you have to secure the anti-tip accessories to the wall to prevent tipping, injury,and property damage. N x2 HERNEST I 09...
- Page 12 Step 15 D x48 F x36 H x12 I x6 J x12 Step 16 D x24 F x18 H x6 I x3 J x6 HERNEST I 10...
- Page 13 Finished! Fantastic, we're nearly there! Please carry out the following checks: 1. Have you tightened all the screws? 2. Are the levelers aligned with and making contact with the ground? 3. Have you installed the anti-tipping kit? HERNEST I 11...
-
Page 14: Troubleshoot
Please sightly loosen all screws and adjust the bards. Because the diameter of the holes on the pipes 23 mm lager than that of bots, the position of the boards can be adjusted. If it is still doesn't work after adjustment, please contact us for more solutions. HERNEST I 12... - Page 15 Align the rails Repeatedly (2-4 times) push and pull the drawer to check if it slides smoothly. If not, disassemble the drawer and re-install. HERNEST I 13...
- Page 16 Repeatedly (2-4 times) push and pull the drawer to the drawer, push the drawer forward into the rails check if it slides smoothly. If not, disassemble the until it reaches the back. drawer and repeat step 3 to re-install. HERNEST I 14...
-
Page 17: Usage And Maintenance
Please educate children to stay away from the glass sharp corners of the furniture. When opening and closing doors or drawers, handle them gently and check the screws regularly to tighten them. Use a soft dry cloth to dust, a slightly damp cloth to clean the surface, avoid abrasive cleaners. HERNEST I 15... -
Page 18: Help Center
Treat your furniture with care and follow the maintenance guidelines. In return, your furniture will provide you with lasting comfort and support. For any additional inquiries or assistance, please do not hesitate to contact us at https://www.hernest.com/ help Inquiry Assembly issue Missing parts Returns&Refunds...
Need help?
Do you have a question about the HEFTDR-0025 and is the answer not in the manual?
Questions and answers