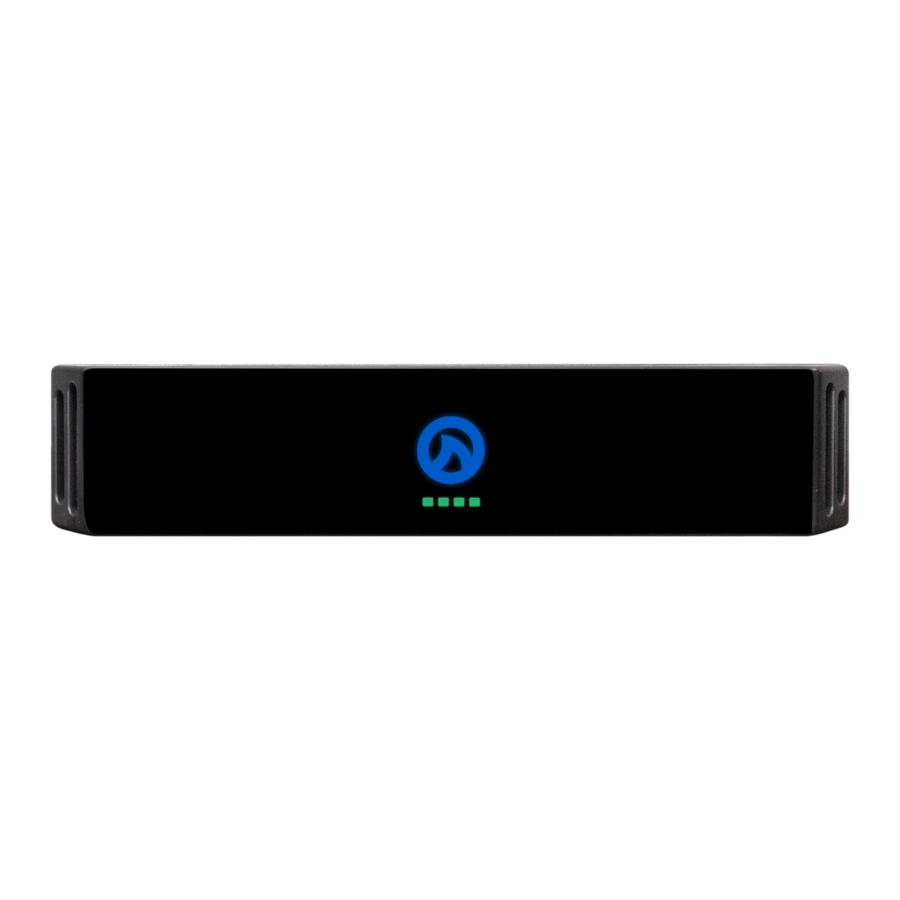
Lea Connect Series, CS34, CS34D, CS64, CS64D Manual
- User manual (45 pages) ,
- Mounting installation manual (8 pages) ,
- Quick start manual (2 pages)
Advertisement
- 1 What's in the Box?
- 2 Installation - Free-Standing with Feet
- 3 Installation - Side by Side Rack Mounting
- 4 Installation - Single Unit Rack Mount
- 5 Installation - Under Table or Wall Mount with Rack Ears
- 6 Installation - Behind TV, Wall, or Under Table Mount
- 7 Dimensions - Connect Series Half-Rack
- 8 Documents / Resources
What's in the Box?
The CONNECT SERIES Half-Rack: a versatile installation solution with five mounting options. Whether you prefer free-standing with rubber feet, side-by-side rack mounting, single unit rack mounting, behind a TV, or under a table or wall mounting with rack ears, this half-rack adapts to your needs.
 NOTE
NOTE
All hardware is included with purchase of Connect Series Half-Rack.
Included in the box are the following mounting hardware accessories:

Installation - Free-Standing with Feet
If not installed in an equipment rack, CONNECT SERIES Half-Rack amplifiers can be set up free-standing on any flat surface. For stability, four adhesive rubber feet and four Phillips screws are included.
Refer to the diagram below which illustrates the placement of rubber feet.
INSTRUCTIONS:
- Place the Phillips screws (4) into each rubber foot (4).
- Taking a Phillips screwdriver, tighten each rubber foot into place.


Installation - Side by Side Rack Mounting
The CONNECT SERIES Half-Rack amplifiers come with a bridge plate connector, enabling you to combine two amplifiers into a full rack-width unit. For easy installation, use the joining plate, the four T10 Torx screws included in the accessory pack, the four T10 Torx screws already in the unit, and the two rack ears from the accessory pack.
Follow the steps below to mount and connect your amplifiers efficiently.
INSTRUCTIONS:
- If the amplifier has its flat bottom rubber feet installed, remove them. Position two amplifiers upside down and next to each other as shown below.
- Use the joining plate connector on the beveled edge (see diagram) and the four provided T10 Torx screws to connect the two units.
- Attach the two rack ears to the units with the four T10 Torx screws (screws provided on unit).
- Insert the amplifier into the rack and align the holes in the rack ears with the holes on the rack.
- Ensure the amplifier is securely mounted to the rack using the appropriate screws (not included).


Installation - Single Unit Rack Mount
The CONNECT SERIES Half-Rack ships with two rack ears and a 1/2 rack blank plate to form a full rack-width unit when only one amplifier is being used.
Follow the steps below to mount your amplifier efficiently.
INSTRUCTIONS:
- If the amplifier has its flat bottom rubber feet installed, remove them.
- Attach rack ear (1) and ½ rack blank plate (1) to the sides with the four provided T10 Torx screws.
- Insert the amplifier into the rack and align the holes in the rack ears with the holes on the rack.
- Ensure the amplifier is securely mounted to the rack using the appropriate screws (not included).


Installation - Under Table or Wall Mount with Rack Ears
The CONNECT SERIES Half-Rack is designed for versatile installation, whether under-table or wall mounting. It ships with two rack ears that are easily rotatable, allowing users to configure the setup in multiple ways. For under-table or wall mounting, simply rotate the rack ears so that the installation screw holes face upwards.
Follow the steps below to mount your amplifier efficiently.
INSTRUCTIONS:
- If the amplifier has its flat bottom rubber feet installed, remove them.
- Attach the two Rack ears with four T10 Torx screws (screws provided on unit) with rack holes facing up (See Diagram).
- Ensure the amplifier is securely mounted to the desired location using the appropriate screws (not included).


Installation - Behind TV, Wall, or Under Table Mount
The CONNECT SERIES Half-Rack includes two additional T10 Torx screws and an under-table/TV mount. Our concealed wall mount, measuring 75 mm across, is specifically designed to meet VESA standards.
Follow the steps below to mount your amplifier efficiently.
INSTRUCTIONS:
- If the amplifier has its flat bottom rubber feet installed, remove them.
- Attach the TV, Wall, or under-table mount to the back of the amplifier with two T10 Torx screws.
- Ensure the amplifier is securely mounted to the rack using the appropriate screws (not included).


Dimensions - Connect Series Half-Rack

Documents / ResourcesDownload manual
Here you can download full pdf version of manual, it may contain additional safety instructions, warranty information, FCC rules, etc.
Download Lea Connect Series, CS34, CS34D, CS64, CS64D Manual
Advertisement


Need help?
Do you have a question about the Connect Series and is the answer not in the manual?
Questions and answers