Advertisement
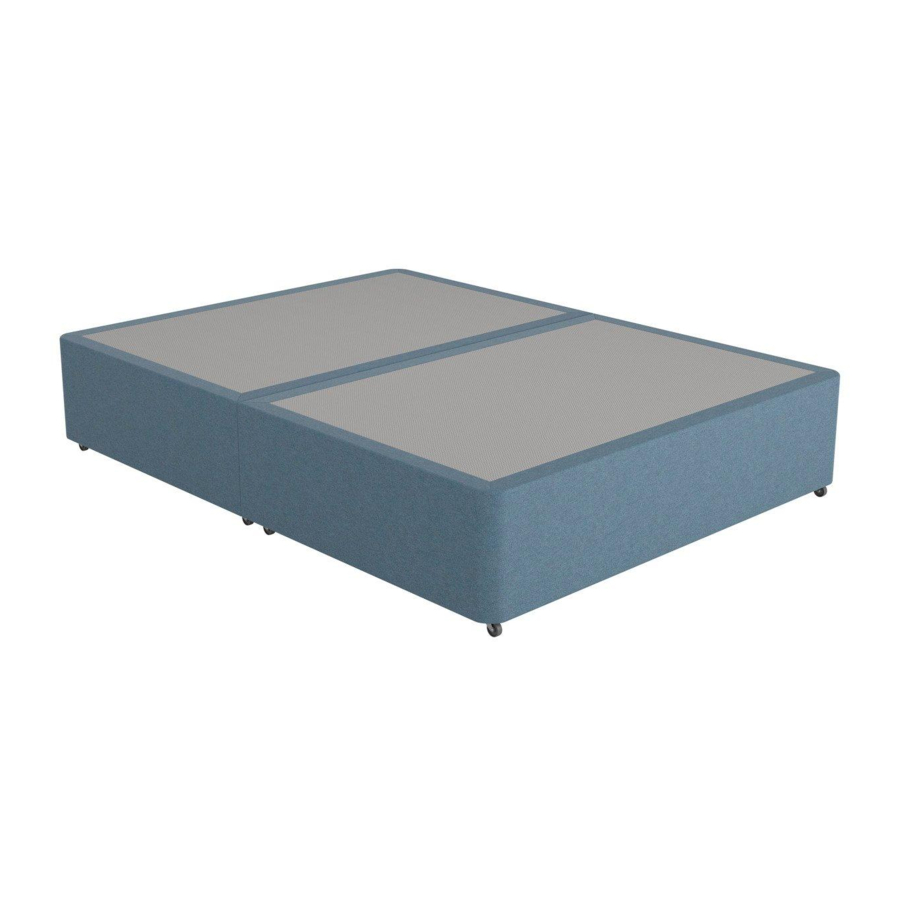
Divan
Before you start
You'll need

- Carefully remove the outer bag, any cardboard protectors, and all packaging staples with pliers to avoid injury.
- Dispose and recycle all polythene immediately to avoid risk of suffocation to children.
- Stand both divan halves on their side with the square corners pushed together on a flat surface.
- Remove your accessories pack (you'll find this attached to the underside of your divan) and any protruding packaging staples.
Assembly
Attaching castors/glides

- Place the castor/glide into the metal socket and gently tap home using a rubber or wooden mallet.
![]()
Do not use a standard hammer or excessive force as this will damage the castor/glide. - Repeat until all castors/glides are securely attached.
Connecting the bases

- Remove the two U clips from the accessories kit.
- With the bases pushed together, position the two U clips to join the bases.
- Use a rubber or wooden mallet to gently knock the clip into place.
- Gently lower the base to the floor.
Drawer storage
Straps are used to stop the drawers sliding open during transit.

- To release the drawers, please cut the temporary restraining straps and trim off any excess.
![]()
If the transit straps are removed by a sharp pull, take care to remove any protruding staples using pliers. - If required, attach your headboard using our 'Attaching your headboard' guide.
- And that's it! Your mattress can now be placed on the divan base, ready to use.

PLEASE READ CAREFULLY AND KEEP FOR FUTURE REFERENCE
CORRECT DRAWER ALIGNMENT
If the drawers are removed, please insert them back carefully, making sure the wheels on the drawer runner are inserted into the runner on the base.
BE CAREFUL WITH DRAWERS
Forcing them back into place will damage the runners.
AVOID OVERLOADING
Overfilling your divan drawers may cause permanent damage.
DO NOT OVERLOAD DRAWERS
Drawers maximum weight:
Mini drawers – maximum 7kg
Standard drawers – maximum 15kg
CLEANING YOUR BASE
If your divan becomes marked, only use warm or cold water and a mild detergent to spot clean. Do not saturate.
Ottoman
Before you start

Cutting the ottoman strap will cause the ottoman to open immediately. Please ensure that you follow the instructions below.
You'll need

- Carefully remove the outer bag, any corner protectors, and all packaging staples with pliers to avoid injury.
- Dispose and recycle all polythene immediately to avoid risk of suffocation to children.
- Lay the ottoman on the long side.
- Remove the accessories pack from the base of the ottoman, as well as any protruding packaging staples.
Assembly
Attaching casters/glides

- Place the castor/glide into the metal socket and gently tap the castor/glide home using a rubber or wooden mallet.
![]()
Do not use a standard hammer or excessive force as this will damage the caster/glide. - Repeat until all castors/glides are securely attached.
Removing transit straps

- Carefully turn the ottoman over on a flat surface, with the pistons at the headboard end.
- Before cutting the strap, please note that the lid will open automatically when you do. Allow sufficient space for the lid to open safely.
- Cut the temporary restraining straps and trim off any excess.
![]()
If the transit straps are removed by a sharp pull, take care to remove any protruding staples using pliers.
Connecting the bases

- Locate the red tag in the ottoman lid marking the pre-drilled hole along the centre rail on the right-hand base.
- Pierce the hole using sharp pointed scissors.
- Locate the two red tags, each side on the joining sides of the base, as shown in the image.
- Pierce the holes using sharp pointed scissors, to clear the path for the linking bolt and sleeve.

- Insert the ottoman lid linking bolt. Tighten using a flat-head screwdriver.
- Insert the side panel linking bolt and sleeve. Tighten using a flat-head screwdriver.
- If necessary, attach your headboard using the 'Attaching your headboard' guide.
- And that's it! Your mattress can now be placed on the ottoman base, ready to use.
PLEASE READ CAREFULLY AND KEEP FOR FUTURE REFERENCE
- Beware of entrapment – Never reach in through the lifting mechanism to access the storage area.
- Make sure the mattress is on the bed frame before operating the lift mechanism – failure to do so could result in injury.
- Use caution when operating and use both handles when lifting, so the frame raises evenly.
- Always open the ottoman FULLY before accessing the storage area.
- Keep hands clear of the mechanism when opening or closing the ottoman.
- Note: This bed uses a pressurised mechanism. This is designed to be operated by adults only.
![]()
- To keep the pistons in proper working order, you'll find the recommended compatible mattress and bedding weight range for your ottoman bed frame below.
Single: Min: 10kg/Max: 25kg
Small Double: Min: 14kg/Max: 50kg
Double: Min: 14kg/Max: 50kg
King: Min: 14kg/Max: 53kg
Super King: Min: 14kg/Max: 64kg - Keep children and pets away from the bed when operating the lift mechanism.
- Keep children and pets away from the storage area.
- If you need to remove the mattress, secure the frame first to prevent it opening unexpectedly.
- Don't attempt to lie on the mattress when the ottoman is in the raised position.
- Don't overload the internal storage area.
- Don't stand inside the internal storage area of the bed.
- When lifting the ottoman, remove all the bedding except the fitted sheet.

Attaching your headboard
Necessary tools

Cleaning instructions
If your headboard becomes marked from movement or use, marks may be removed using a damp cloth with cool water and a mild detergent. Avoid over wetting or scrubbing as this could further damage the upholstery or fillings.
General advice
- Keep all packaging, tools, and fittings out of reach of children.
- Periodically check all fixings to ensure none have worked loose. Re-tighten as necessary.
Product packaging
All Dreams Bed Factory packaging is 100% recyclable. We will take away all packaging at point of delivery. If you do not want us to do this, please check with your local recycling centre on the best recycling method.
Attaching your strutted headboard
Remove accessories kit attached to headboard containing 2 bolts.

Lay the headboard on its front and locate the pre-pierced holes. Adjust the struts (legs) so they point downwards, aligning with the pre-pierced holes. Using a screwdriver, screw the struts into place until tight.

Locate the red plastic tags on the base. Consider carefully which end to pierce, particularly if your bed has storage that needs to be located in a specific position. Only pierce the end you intend to attach the headboard to.

Using the red plastic tags as guides, carefully pierce the fabric with a sharp pair of scissors, then insert the bolts (provided with your divan) into the pre-drilled holes.

Lift the headboard above the bolts, aligning the struts (legs), then lower down to the floor.

Once the mattress is in place, adjust the headboard height and secure the bolts until tight.

Attaching your floor standing headboard
Remove the bolts from the accessories kit attached to your base.

Consider carefully which end of the bed to place the headboard, particularly if your bed has storage that needs to be located in a specific position.

Locate the red plastic tags on the base. Using them as guides, carefully pierce the fabric with a sharp pair of scissors. Clear enough of the fabric from the hole to allow the bolt to catch the screw thread. Only pierce the end you intend to attach the headboard to.

Line the headboard up with the holes. Whilst one person holds the headboard upright, the other can start to screw the bolts in to place.

Secure all bolts until tight to complete the assembly.

Your bed is now ready for you to position your mattress.

Documents / ResourcesDownload manual
Here you can download full pdf version of manual, it may contain additional safety instructions, warranty information, FCC rules, etc.
Advertisement


Need help?
Do you have a question about the Divan and is the answer not in the manual?
Questions and answers