Advertisement
Notice
- Please keep the 3D printer and its accessories out of the reach of children.
- Please fill the resin tank no less than 1/3 of its volume, but do not exceed the MAX line position.
- Please place the printer in a dry environment and protect it from rain and moisture.
- If you run into an emergency during use, please turn off the power supply of the 3D printer first.
- Please use the printer indoors and avoid direct sunlight and a dusty environment.
- Please keep the original packaging box for 30 days for return/exchange (only ELEGOO original packaging boxes are accepted).
- If the printing fails, you need to clean the excess cured resin in the resin tank and change the resin, otherwise, it may cause damage to your printer.
- When operating the 3D printer, please wear a mask and gloves to avoid direct skin contact with the photopolymer resin.
- If the release film in the resin tank is whitened, scratched, or has no elasticity, the printing failure rate is high, please replace the release film in time.
- Please use 95% (or higher) ethyl alcohol or isopropyl alcohol to wash your model unless you are using water washable resin.
- If you have any problems with the printer, please contact us at 3dp@elegoo.com. Please do not disassemble or modify ELEGOO 3D printers by yourself, otherwise, the warranty will expire, and damage caused by personal operating errors need to pay for repairs.
Packing List

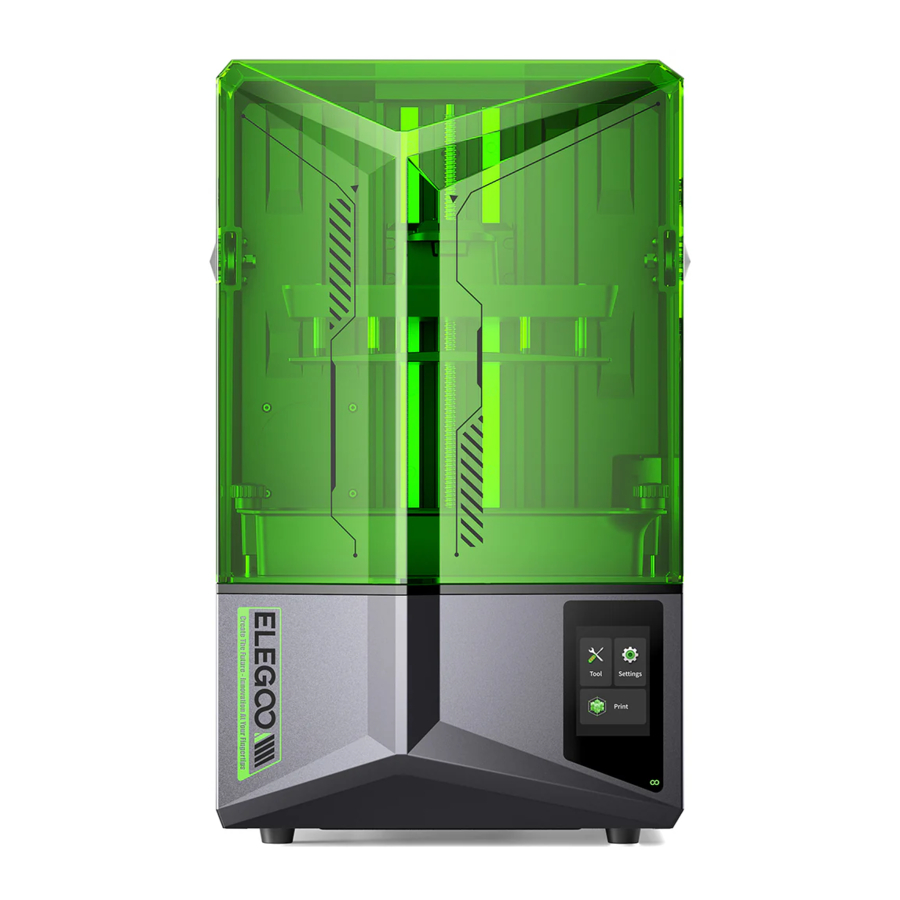
Product Introduction

- Z-axis
- Quick-release Handle
- Build Plate
- LCD Display Screen
- Resin Tank
- Screw Knob
- Touch Screen

- Anti-UV Cover
- USB Interface
- Switch
- DC Socket
- Extension Port
Tech Specs
| System: EL3D-3.0.1 Operation: 3.5-inch Resistive Touch Screen Slicer Software: Voxeldance Tango & ChituBox Connectivity: USB Interface | Printing Parameter |
| Technology: MSLA Stereolithography Light Source: COB Light Source + Fresnel Collimating Lens (wavelength 405nm) XY Resolution: 19*24um (11520*5120) Z-axis Accuracy: 0.02mm Layer Thickness: 0.01-0.2mm Printing Speed (Max): 70mm/h Power Requirements: 100-240V 50/60 Hz 24V 6A | Printing Specification |
| Dimension: 327.4mm(L)*329.2mm(W)*548mm(H) Build Volume: 218.88mm(L)*122.88mm(W)*220mm(H) Package Size: 660mm(L)*450mm(W)*450mm(H) Gross Weight: 18.3KG Net Weight: 13.5KG | Hardware Specification |
First Print Test

After inserting the build platform into the connecting block, press down the quick-release handle to secure the build platform to the connecting block. The build plate can self-leveling and is ready to use right out of the box.
- Model Printing
Slowly add the resin into the resin tank (the resin level is not less than 1/3 of the tank volume and does not exceed the MAX line. The machine will perform a self-check before printing, and do not touch the machine during the self-check). Cover the printer's anti-UV cover and then select the sliced test model for printing.

- Model Processing
After printing is completed, wait until the resin on the build plate stops dripping, then lift the handle to take out the build plate, and use a scraper to remove the model. You can use ELEGOO's cleaning and curing machine to post-process the model.
![]()


Software Installation and Setup
The printer can install and use the Voxeldance Tangoo or Chitu Box slicing software in the USB flash drive, taking Voxeldance Tango as an example.
Install Voxeldance Tango
Select from the USB flash drive or go to Voxeldance's official website (www.voxeldance.com/Tango) to download the right slicing software version and install it on your computer.
How to use Voxeldance Tango
- After the installation is completed, run the software and select "Activate your license" - "Activate with printer hardware code" (See Picture 2); Press "Settings" - "Information" on the screen to view the machine "ID" (See Picture 1), and fill in the 10-digit "ID" into the "Printer Hardware Code" column of the software, and fill in other relevant information to complete the software activation.
![]()
![]()
- Click "File-Open File" and select your own 3D model file (.stl type). By left-clicking on the model and using the options on the above menu, you can control and change the viewing angle, size, and position of the model.


Other Operations
- Long press the left button and drag the model to the position you want.
- Scroll the mouse wheel to zoom in or zoom out the model.
- Long press the right mouse button to view the different perspectives of the model.
Voxeldance Tango Setting
- Click "Platform Definitions" and select ELEGOO SATURN 4 as the default printer (See Picture 3)
![]()

Build Volume
You don't need to change the default parameters (See Picture 4), and X indicates the maximum print size in the X-axis direction, and so on.

Resin Parameter
(See Picture 5)
Resin Density: 1.1g/ml
Resin Cost: You can input the real price of the resin you purchased, and the slicing software can calculate the resin costs for each model you print.
Parameters
(See Picture 5)
Layer Height: The thickness of each printed layer, the recommended height is 0.05mm, but you can set it from 0.01-0.2mm. The higher the thickness you set, the longer the exposure time will be required for each layer.
Bottom Layer Count: The setting number of initial printing layers. If the number of bottom layers is n, the exposure time of the first n layers is the exposure time of the bottom layer. The default setting is 5 layers.
Exposure Time: The exposure time for normal printing layers. The default exposure time is 2.5 seconds, and the thicker the printing layer setting is, the longer the time it will take.
Transition Layer Count: The number of transition layers after the bottom layers for a tighter bonding between layers. Except for the exposure time, other parameters of the transition layers are the same as the normal layers.
Bottom Exposure Time: The setting of bottom layer exposure time. Properly increasing the bottom exposure time can help to increase the stickiness between the printed model and the printing platform, and the default setting is 35 seconds.
Wait After Cure: The time difference between the end of the exposure and the start of the build platform to leave the exposure surface, the default setting is 0 seconds.
Wait Before Cure: After the build platform moves to the printing surface, the time difference between the build platform starting to stationary and starting to exposure, the default setting is 0.5 seconds.
Wait After Lift: After the printing platform is lifted, the time difference between the printing platform starts to stationary and starts to return, the default setting is 0 seconds.
Bottom Wait After Cure: When printing the bottom layer, the time difference between the end of the exposure and the start of the printing platform away from the exposure surface, the default is 0 seconds.
Bottom Wait Before Cure: When printing the bottom layer, the time difference between the printing platform starting to stationary after moving to the printing surface and starting to exposure, the default is 0.5 seconds.
Bottom Wait After Lift: When printing the bottom layer, the time difference between the printing platform starting to stationary after lifting and starting to return, the default is 0 seconds.
Bottom Lift Distance: During the bottom printing process, the distance that the build platform leaves the printing surface each time, the default setting is 3+4mm.
Lifting Distance: In the normal layer printing process, the distance that the build platform leaves the printing surface each time, the default setting is 3+4mm.
Bottom Retract Distance: During the bottom printing process, the retract distance of the build platform, please do not change if not necessary.
Retract Distance: In the normal layer printing process, the retract distance of the build platform, please do not change if not necessary.
Bottom Lift Speed: During the bottom printing process, the moving speed of the build platform away from the printing surface each time, the default setting is 65+180mm/min.
Lifting Speed: In the normal layer printing process, the moving speed of the build platform away from the printing surface each time; the default setting is 60+180mm/min.
Bottom Retract Speed: During the bottom printing process, the moving speed of the build platform is close to the printing surface; the default setting is 180+65mm/min.
Retract Speed: In the normal layer printing, the moving speed of the build platform is close to the printing surface; the default setting is 180+65mm/min.
Parameter mode: Default static mode. The printer will print according to the parameters set in the slicing software. You can also choose high-speed mode or smooth mode. The printer will dynamically adjust the printing parameters according to the complexity of the model to improve print quality and print speed.
Note: The printing parameters listed in this manual are for reference only. In actual applications, please contact the official after-sales technical support to confirm the parameters based on comprehensive factors such as the machine model and resin (including type and color) used by the individual.
Machine Maintenance
- Please do not use sharp or pointy tools to scrape the resin tank to avoid damaging the release liner film.
- Please clean up the resin tank before changing the resin to another color.
- Before and after printing, clean the build plate with paper towels or alcohol to ensure that there are no bumps or burrs on the build plate.
- Before each printing, daily check the exterior of the machine and all mechanical parts for any obvious damage, defects, or abnormalities.
- Try to keep the printing environment at 25-30 degrees Celsius when printing, and ventilate the printing room as much as possible to facilitate heat dissipation of the machine and resin odor volatilization.
- If the Z-axis keeps making friction noise, please add some lubricant to the lead screw. Please check and apply lubricant grease at least every 2-3 months, and increase the frequency of application as the printing frequency increases.
- If you don't use the printer in the next 48 hours, please pour the remaining resin from the resin tank back into the resin bottle and seal it well. If there is any residue, please use a filter to filter it out.
- The release film is a wearing part, please replace it regularly according to the machine prompts to ensure the success rate of printing.
- Please be careful when removing the printing platform to prevent damaging the LCD screen. The service life of the screen is about 2000+ hours and will decrease with increasing printing frequency. Do a good job of daily screen cleaning, and unplug the machine in time after printing. If there is a screen exposure problem or service life has seriously affected the print quality, please replace the screen in time.
After receiving the product, please confirm whether the equipment is intact and the accessories are complete. If there is any damage or missing, please timely contact us at 3dp@elegoo.com.
Documents / Resources
References
Download manual
Here you can download full pdf version of manual, it may contain additional safety instructions, warranty information, FCC rules, etc.
Advertisement


Need help?
Do you have a question about the SATURN 4 and is the answer not in the manual?
Questions and answers