
Related Manuals for Savic Royal Suite 100


Summary of Contents for Savic Royal Suite 100
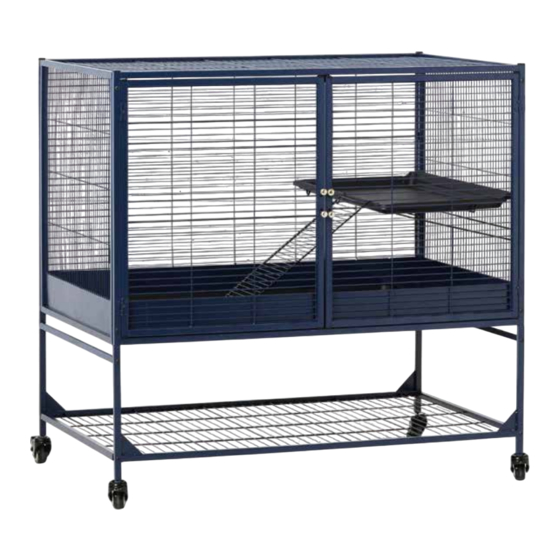
- Page 1 Royal Suite 100 Single unit Assembly instructions Montage-instructies - Instructions de montage - Montageanleitung - Instrucciones de montaje - Istruzioni di montaggio - Návod k sestavení - Instrukcja montażu - Инструкция по сборке...
- Page 2 Er zijn minimaal 2 personen nodig om de kooi te dragen en in elkaar te zetten. Het is mogelijk om de Royal Suite 100 kooi met Single Unit uit te breiden met onze Add-on Units. Maximaal 2 Add-on Units per kooi.
- Page 3 A 2 grids with large wire distance A 2 roosters met grote draadafstand A 2 grilles avec une grande distance entre les fils B 1 grid with small wire distance B 1 rooster met kleine draadafstand B 1 grille avec faible distance entre les fils C 1 panneau avec porte C 1 door panel C 1 deurpaneel...
- Page 4 N 1 platform N 1 eiland N 1 plate-forme O 1 ladder O 1 ladder O 1 échelle P 1 base tray P 1 bodemplaat P 1 plateau de base Q 1 frame for platform Q 1 steun voor eiland Q 1 support de plate-forme N 1 Plattform N 1 plataforma...
- Page 5 Attach the square tube with openings (H) to the H-shaped tube (F) with a screw (I) but do not NL 1 tighten. Make sure that the openings of both tubes are facing inwards. Bevestig de vierkante buis met openingen (H) aan de H-vormige buis (F) met een schroef (I), maar draai deze niet vast.
- Page 6 Attach the second tube with openings (H) to the other tubes and grid with 2 screws. Tighten NL 3 all screws. Bevestig de tweede buis met openingen (H) aan de andere buizen en het rooster met 2 schroeven. Draai alle schroeven vast. Fixer le deuxième tube avec les ouvertures (H) aux autres tubes et à...
- Page 7 Install the 4 castors (L+M) by turning them at the lower end of the H-shaped tubes (F). The NL 5 wheels with brake (L) need to be installed at the front of the cage. Installeer de 4 wielen (L+M) door ze aan de onderkant van de H-vormige buizen (F) te draaien.
- Page 8 Take one side panel (E) and connect it to the the bottom of the back panel with a screw. Make sure NL 7 the openings of the side panel are facing inwards. Use another screw to connect the panels at the top.
- Page 9 ake the front panel (C) and slide it over the metal connectors. Insert all the pins of the full NL 9 grid in the openings of the front panel. Use screws to connect the front panel, but not tighten them. Neem het voorpaneel (C) en schuif het over de metalen verbindingsstukken.
- Page 10 Take the other side panel and slide the pins from the bottom and top grid in the openings. Connect the bottom and top of the side panels with screws. Tighten all screws with the hex tool. Neem het andere zijpaneel en schuif de pinnen van het onderste en bovenste rooster in de openingen.
- Page 11 Possible to extend with add-on unit for the most spacious habitat. Maximum of 2 add-on units per cage. Single unit - 99.8 x 63.2 x 99 cm Single unit + 1 add-on unit 99.8 x 63.2 x 160 cm...
- Page 12 Single unit + 2 add-on units 99.8 x 63.2 x 221 cm...
Need help?
Do you have a question about the Royal Suite 100 and is the answer not in the manual?
Questions and answers