Advertisement
Quick Links
INSTALLATION MANUAL
Level of Difficulty
Easy
Installation difficulty levels are based on time
and effort involved and may vary depending on
the installer level of expertise, condition of the
vehicle and proper tools and equipment.
Wiring Location(s)
T3
Wiring Location Guide*
for Trucks (T)
T1 Behind driver side taillight housing
T2 Behind passenger side taillight housing
T3 Behind driver side rear bumper
T4
Behind center of rear bumper fascia
T5 Behind passenger side rear bumper
T1
T2
T3
T4
T5
* Representative vehicle shown
Parts List
Item Qty Description
1
1
Extension harness
2
4
Self-tapping screws
3
8
Cable ties
Tools Required
Drill
Drill bit, 7/64"
Hole saw, 2-1/8"
Metal file
Flathead screwdriver Phillips screwdriver
CURTMFG.COM
•
PRODUCT SUPPORT: 877.287.8634
WARNING
Do not exceed product rating or tow vehicle lamp load rating, whichever is lower.
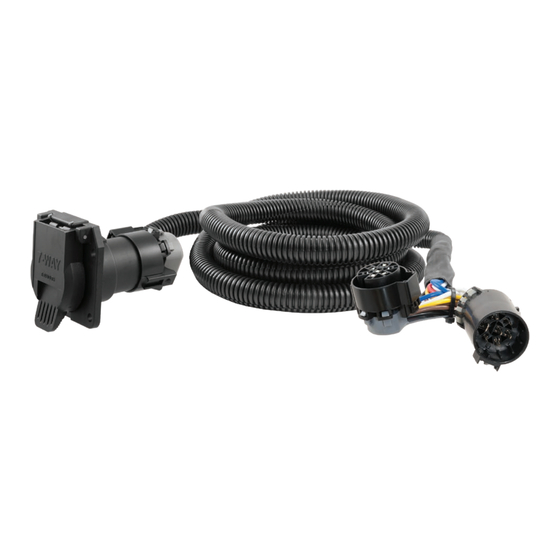
Product Photo
NOTICE
Visit www.curtmfg.com for a full-color copy of this
instruction manual, as well as helpful videos, guides and much more!
Before you begin installation, read all instructions thoroughly.
Proper tools will improve the quality of installation and reduce the time required.
All steps must be followed to ensure the product will function properly. Once installed,
test for proper function by using a test light or connecting a properly wired trailer.
Product Registration and Warranty
CURT stands behind our products with industry-leading warranties. To get copies of the product
warranties, register your purchase or provide feedback, visit: warranty.curtgroup.com/surveys
•
57008-INS-RB
•
06/09/2020
•
PAGE 1
57008
Advertisement

Subscribe to Our Youtube Channel
Related Manuals for curt 57008


Summary of Contents for curt 57008
- Page 1 Product Registration and Warranty CURT stands behind our products with industry-leading warranties. To get copies of the product * Representative vehicle shown warranties, register your purchase or provide feedback, visit: warranty.curtgroup.com/surveys...
- Page 2 Using a hole saw, drill a 2-1/8" hole in the desired location in the sidewall. Using a file, smooth the edges of the hole to prevent abrasion of the harness or connector. CURTMFG.COM • PRODUCT SUPPORT: 877.287.8634 • 57008-INS-RB • 06/09/2020 • PAGE 2...
- Page 3 Test for proper function by using a test light or connecting a properly wired trailer. Secure the extension harness cable to the vehicle using the cable ties provided. Reconnect the negative battery terminal. CURTMFG.COM • PRODUCT SUPPORT: 877.287.8634 • 57008-INS-RB • 06/09/2020 • PAGE 3...
Need help?
Do you have a question about the 57008 and is the answer not in the manual?
Questions and answers