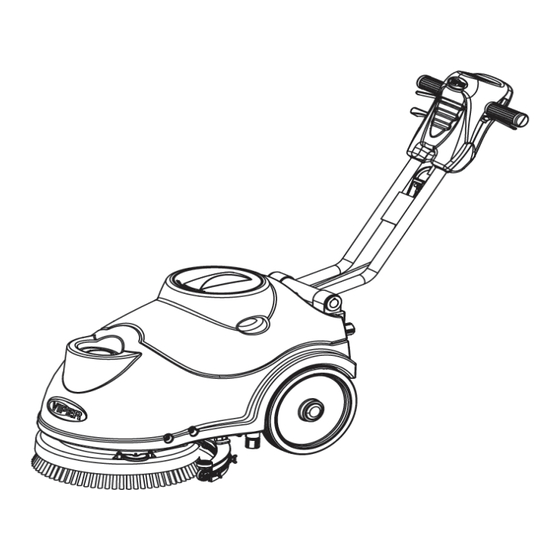
Viper AS380/15B-EU User Manual
Hide thumbs
Also See for AS380/15B-EU:
- User manual (231 pages) ,
- User manual (12 pages) ,
- User manual (189 pages)
Advertisement
Available languages
Available languages
Quick Links
SLOVENSKÝ
NÁVOD NA POUŽITIE..........................................................
DANSK
BRUGERMANUAL......................................................
SVENSKA
BRUKSANVISNING.....................................................
NORSK
BRUKERHÅNDBOK.....................................................
SUOMI
KÄYTTÖOPAS............................................................
UPUTE ZA UPORABU..................................................
HRVATSKI
13 2021 09 23
1 13
14 26
27 39
40 52
53 65
66 78
9 91
92 106
107 119
20 131
132 144
145 157
158 170
171 183
184 196
197-209
210-222
223-235
236-248
249-260
Advertisement

Summary of Contents for Viper AS380/15B-EU
- Page 1 1 13 14 26 27 39 40 52 53 65 66 78 9 91 92 106 107 119 20 131 SLOVENSKÝ NÁVOD NA POUŽITIE............132 144 145 157 158 170 171 183 184 196 197-209 DANSK BRUGERMANUAL……………………...……………………… 210-222 SVENSKA BRUKSANVISNING…………………………………………….. 223-235 NORSK BRUKERHÅNDBOK…………………...………………………..
- Page 2 EU / UE / EL / EC / EE / ES / EÚ / AB Declaration of Conformity Декларация за съответствие Declaração de conformidade Prohlášení o shodě Δήλωση συμμόρφωσης Deklaracja zgodności Konformitätserklärung Megfelelősségi nyilatkozat Declaratie de conformitate Overensstemmelseserklæring Izjava o sukladnosti Декларация...
- Page 3 UK Declaration of Conformity Nilfisk Ltd Nilfisk House, Bowerbank Way Gilwilly Industrial Estate Penrith Cumbria CA11 9BQ UK Hereby declare under our sole responsibility that the Product: FC - Floor Scrubber/Sweeper Description: 220-240V 50-60 Hz Type: AS380/15C Is in compliance with the following standards: EN 60335-1:2012+A11:2014+A13:2017 EN 60335-2-72:2012 EN 55014-1:2017+A11:2020...
- Page 4 ! ! ! ! ! ! ! ! ! ! ! !...
- Page 5 - This appliance contains batteries that are only replaceable by skilled persons. - This appliance contains batteries that are non-replaceable. When the battery is at end of life, the appliance shall be properly disposed of. - Connect to an external supply for charging the battery. –...
-
Page 6: Battery Charging
Battery charging Please contact our customer service for the replacement of an old or broken battery pack. Never use battery packs supplied by a third party. Risk of fire and electric shock may exist Spill or Leak Procedures: Stop flow of material; contain/absorb small spills with dry sand, earth, and vermiculite. - Page 8 ℃ ! . . . . . . . ....
- Page 9 . . . . . ! Before lifting the brush, turn it off by pressing the switch (47). ! ! . . . . ....
- Page 10 ! ! ! !...
- Page 11 BATTERY CHARGING CURVE SET UP (SPE) ! Do not set charger unless you have professional training . 1. Turn off the machine and disassemble the cover (A as Figure 4) from the machine. Then remove the round black cap located on the front side of the charger (B as Figure 4).
- Page 12 1. Turn off the machine and disassemble the cover (A as Figure 4.1) from the machine. Then remove the round black cap located on the front side of the charger (B as Figure 4.1). You will find a set of dipswitches (SW1) in the Green LED charger.
- Page 13 ! !...
- Page 16 Brush pressure...
- Page 18 ! ! ! ! ! ! ! !...
- Page 19 ! ! ! ! ( ) Încărcarea bateriilor...
- Page 21 ℃ ! . . 3 . . . 3 . . . ....
- Page 22 . . . 7 . ! Înainte să ridica i peria, opri i-o prin apăsarea butonului (47). ! ! . . . . ....
- Page 23 ! ! ! !...
- Page 24 Configurarea Curbei de Încărcare a Bateriei (SPE) ! Nu setați încărcătorul decât dacă aveți pregătire profesională 1. Opriți dispozitivul și demontați capacul (A în Figura 4) din dispozitiv. Apoi scoateți capacul negru rotund aflat în partea frontală a încărcătorului (B în Figura 4). Veți găsi cele 2 seturi de întrerupătoare DIP (SW1 și SW2) din încărcător.
- Page 25 Configurarea Curbei de Încărcare a Bateriei (Power First) ! Nu setați încărcătorul decât dacă aveți pregătire profesională 1. Opriți dispozitivul și demontați capacul (A în Figura 4.1) din dispozitiv. Apoi scoateți capacul negru rotund aflat în partea frontală a încărcătorului (B în Figura 4.1). Veți găsi cele 1 seturi de întrerupătoare Green LED DIP (SW1) din încărcător.
- Page 26 ! ! ! ! ! ! 1. M 2. D...
- Page 27 40. C 41. C 31. M 32. S 33. R...
- Page 29 Presiunea pensulei...


Need help?
Do you have a question about the AS380/15B-EU and is the answer not in the manual?
Questions and answers