Advertisement
Quick Links
www.russelltaylors.co.uk
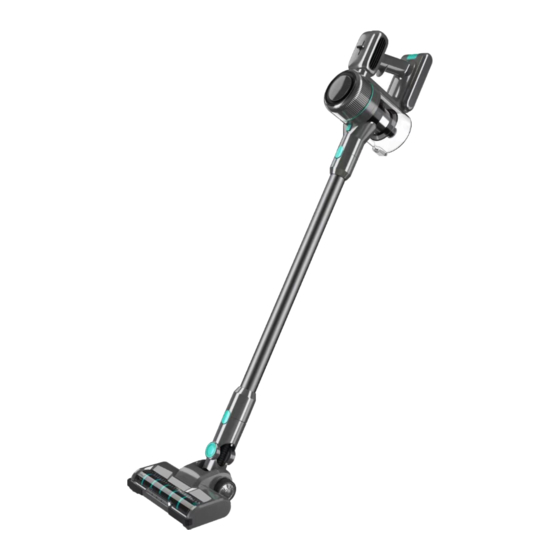
Cordless Vacuum Cleaner
USER MANUAL
V7
This product is covered by a 2-year warranty against manufacturing defects. For all warranty claims, please
email support@russelltaylors.com and include a copy of your invoice or order ID number as proof of
purchase. You are entitled to one (1) warranty claim during the warranty period
Advertisement

Related Manuals for Russell Taylors V7


Summary of Contents for Russell Taylors V7
- Page 1 www.russelltaylors.co.uk Cordless Vacuum Cleaner USER MANUAL This product is covered by a 2-year warranty against manufacturing defects. For all warranty claims, please email support@russelltaylors.com and include a copy of your invoice or order ID number as proof of purchase. You are entitled to one (1) warranty claim during the warranty period...
-
Page 2: Before The First Use
BEFORE THE FIRST USE - Always charge the appliance before using it. - Before connecting, make sure the voltage indicated on the CHARGER corresponds to the local mains voltage. - If the plug, cord, or the appliance itself is damaged, do not use it. - If the appliance's power cord is damaged, it must be replaced to prevent any potential danger. -
Page 3: Preparing For Use
PREPARING FOR USE Assembling the metal tube Insert the metal tube into the main inlet until you hear a click sound. To remove the spray metal tube, hold the metal tube with one hand and press the release button with the other, then pull it outward. Assembling and dissembling the brush 1. - Page 4 Electric floor brush and main unit connection 1. Press the lock pin of the electric floor brush into the inlet of the vacuum, ensuring that it is tight, and after hearing a click sound, the electric floor brush is installed. 2.
- Page 5 CHARGING 1. Please ensure that the power supply is secure, and that the local voltage matches the voltage indicated by the product. 2. The charging port is located at the back of the appliance. Insert the charge plug pin into the appliance's charge port. 3.
-
Page 6: Cleaning And Maintenance
How to switch between speeds 1. Power on the vacuum cleaner. 2. Push the gear button to downshift forward and upshift backward This is the switch button. ② This is the speed adjuster ① CLEANING AND MAINTENANCE When the dust cup is full, the dust cup, cyclone core, and dust collection system should be cleaned as soon as possible to ensure the best cleaning outcome. - Page 7 Cleaning or Replacing the HEPA filter After some time, the filters may become clogged, reducing suction power. The filter set must be cleaned or washed on a regular basis. To remove the dust cup, press the release button. 1. When you remove the HEPA, you will notice a sponge in the cyclone; please remove it as well.
- Page 8 Clean the electric floor brush The electric floor brush could be obstructed by a large object or roped around by hair or a long thread. It should be cleaned on a regular basis. 1. To remove the roller brush, follow the instructions on the floor brush. 2.
- Page 9 Caution Note: All the contents in this project are related to safety; please ensure that the user abides by them 1. If you use non-original parts without permission from the manufacturer, your warranty will be voided. 2. Please check that the product is not damaged and that all the parts are present after dismantling the packaging.
- Page 10 10. Before disposing of the product, we recommend that you cut the power cord. It is also recommended that the product be disposed of without the presence of a child to avoid any unwanted incidents. 11. This product is only available for use in the home. This product should not be used outside.
- Page 11 16. When you receive the vacuum, please check to see if it is fully charged. If the battery is running low, please charge it before using it. Please ensure that the first three charges are fully charged in order to complete the battery activation protection.
Need help?
Do you have a question about the V7 and is the answer not in the manual?
Questions and answers