Table of Contents
Advertisement
Quick Links
Advertisement
Table of Contents

Related Manuals for Gree GCF350ASNA


Summary of Contents for Gree GCF350ASNA
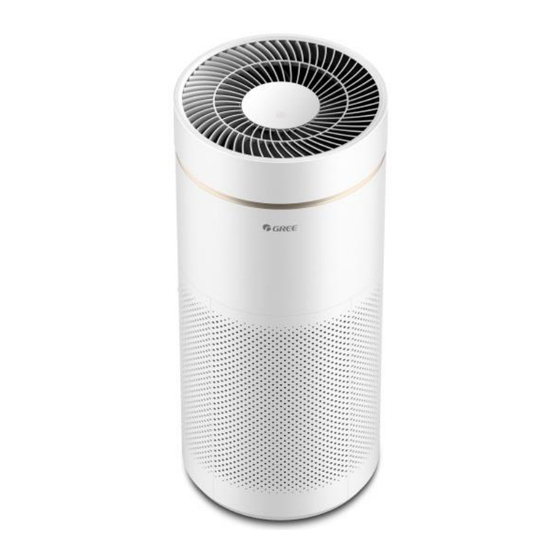
- Page 1 Service Manual Air Purifier Service Manual GCF350ASNA...
-
Page 2: Specifications
Service Manual Chapter 1 echnical Information 1. Summary Mode: GCF350ASNA 2. Specifications Model GCF350ASNA Product Code CP026049500 Series Name Air Purifier... -
Page 3: Outline Dimension
Rated Voltage V~ Rated Frequency Phases CADR Power Input 25~42 Suggested Room Size Isolation Moisture Protection IPX0 371×365×792 Dimension of Package(L*W*H) Net Weight Gross Weight Note : If above parameters are changed , please refer to the product. 3. Outline Dimension Height:663mm Diameter:292mm... -
Page 4: Electrical Part
4. Electrical Part 4.1 Wiring Diagram These wiring diagram is subject to change without notice; please refer to the one supplied with the unit. PCB Printed Diagram 4.2.1 Printed Diagram of Display Board Top view... -
Page 5: Bottom View
Name Dust sensor interface 24V interface of power adaptor Low-voltage DC motor interface communication interface Bottom view... - Page 6 总成 4.2.3. Pinboard(KJ350G-A01)Printed Diagram · Top view Bottom view 4.2.4. Pinboard (KJ700G-A01)Printed Diagram · Top view Bottom view...
- Page 7 4.2.5. Detecting Plate KJ350G-A01(RFID) Printed Diagram · Top view Bottom view...
- Page 8 5. Product Instruction Parts Name...
-
Page 9: Display And Control Panel
Display and control panel... -
Page 10: Product Operation
5.3 Product Operation... -
Page 13: Precautions Before Maintenance
Service Manual Chapter 2 intenance 6.Precautions before Maintenance Safety Warning: Important! Please read the following notices carefully before maintenance: 1.For the maintenance personnel, the following contents are very important for the maintenance services and safe, high-efficiency and low-cost operation of air purifier. 2.Please do comply with the following notices, which are important contents about safety. -
Page 14: Clean And Maintenance
Service Manual 7. Clean and Maintenance... -
Page 16: Troubleshooting
Service Manual 8. Troubleshooting 8.1 Troubleshooting for Improper Installation and Maintenance... - Page 17 8.2 Troubleshooting for Controller Insert the power plug into the socket to put through the power Does the buzzer give Replace display board out sound and are all displays on for 2s? H8 is displayed Replace display board Press ON/OFF button to turn on the unit The fan rotates Check whether the motor...
- Page 18 其他: Protection Load Exit condition Entry condition Error code name action Non-self-inspection/fat inspection: when turning on the fan, if motor stalling protection lasts for 15S≤150rpm, the fan will stop operation for 5s (turn off PWM); 5S later, normal motor stalling Turn off Press ON/OFF operation will be resumed.
-
Page 19: Exploded View And Parts List
9. Exploded View and Parts’ List 9.1 Exploded View 9.2 Parts’ List Decorative Board Dust Sensor Inching Switch Pinboard Fixed slice Fixed slice Magnet Sensor Cover Sponge Front Panel(Rear) Motor Support Shock Pad Shock Pad(2) fixed support (Fan motor) Brushless DC Motor... - Page 20 Rubber Grommet Bottom cover Power Adapter Base Frame Magnetic Ring Connector Detecting Plate Spring Tray High efficiency filter(composites) Rear Grill Supporter Air Scroll Nut M8 Block gasket Centrifugal Fan Front Panel Detecting Plate Supporter Display Board Decorative Circle Air Outlet Grill Air Outlet Frame Front Panel(Display) 序号...
-
Page 21: Removal Procedure
Service Manual 10. Removal Procedure Disassembly procedure Disassembly schematic diagram Remove high-efficiency filter: Open the decorative board sub-assy, hold the handle of high-efficiency filter, slightly rotate the filter left and right to pull it outwards and then the filter can’t be removed. Remove outer case: 2.1:... - Page 22 Remove air duct sub-assy: 3.1Remove the filter; 3.2; Remove the screws used for fixing the bracket (air in) and mounting rack; 3.3 Remove the air duct sub-assy; 3.4 Remove the bracket (air in); 3.5 Remove bracket (display board). Now the air duct sub-assy has been removed.
- Page 23 Remove motor support sub-assy: Hold the swing arm of motor support and rotate it in an counterclockwise direction to separate the motor support from the bracket (display board). Remove display board: Press three clasps of the bracket (display board) and then the display board can be removed directly.
Need help?
Do you have a question about the GCF350ASNA and is the answer not in the manual?
Questions and answers