Table of Contents
Advertisement
Quick Links
UNLIMITED
REVERSIBLE HANDLE
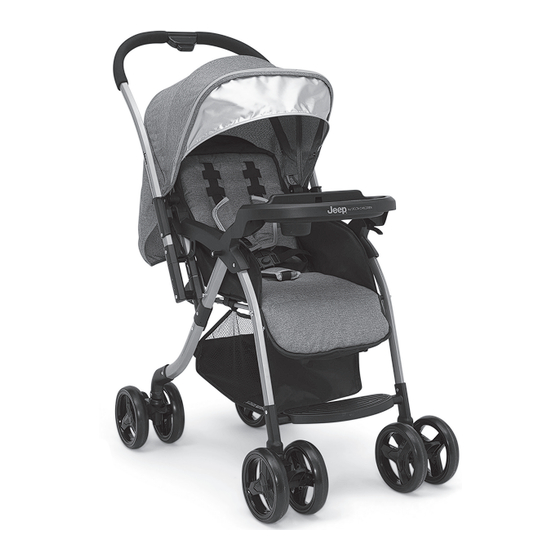
STROLLER
ADULT ASSEMBLY REQUIRED
STYLES AND COLORS MAY VARY
12198A
WARNING:
CHOKING HAZARD
Adult assembly required because of
small parts. Keep assembly parts out
of reach of children under 3 years.
Read all instructions BEFORE assembly and USE of product
Customer Experience Center
email: gcs@DeltaChildren.com
INSTRUCTION MANUAL
KEEP INSTRUCTIONS FOR FUTURE USE.
www.DeltaChildren.com
Fits Graco® SnugRide® Click Connect™ Infant Car Seat (not included)
Fits Evenflo® Embrace™ Select Infant Car Seat (not included)
Fits Evenflo® Nurture™ Infant Car Seat (not included)
This stroller is not from, sponsored or
endorsed by Graco Children's Products Inc.
This stroller is not from, sponsored or
endorsed by Evenflo Company, Inc.
DCP-IM-20230104
Advertisement
Table of Contents

Related Manuals for Delta Children Jeep 12198A


Summary of Contents for Delta Children Jeep 12198A
- Page 1 UNLIMITED REVERSIBLE HANDLE STROLLER INSTRUCTION MANUAL ADULT ASSEMBLY REQUIRED Fits Graco® SnugRide® Click Connect™ Infant Car Seat (not included) Fits Evenflo® Embrace™ Select Infant Car Seat (not included) STYLES AND COLORS MAY VARY Fits Evenflo® Nurture™ Infant Car Seat (not included) 12198A WARNING: CHOKING HAZARD...
-
Page 2: Care And Maintenance
WARNING: Please follow all of these instructions to ensure the safety of your child. Keep these instructions for future reference. WARNING: Failure to follow these instructions could result in serious injury or death. Avoid serious injury from falling or sliding out. ALWAYS insure that the child is properly positioned by •... - Page 3 Before returning this product to the store! Let’s see if we can assist you! • Not sure how to assemble our product? Visit our site for easy to follow instructions along with some Tricks and Tips assembly videos https://www.deltachildren.com/pages/instructions • If you are missing a piece or have a damaged part Please contact our Consumer Experience Center for assistance at gcs@DeltaChildren.
-
Page 4: Limited Manufacturer Warranty
LIMITED MANUFACTURER WARRANTY This Delta product is warranted to be free from defects for a period of 90 days from the date of purchase under normal use. If a product is defective during this period, we will at our option repair or replace the defective part or product. - Page 5 Parts Assembly IMPORTANT! Please remove all parts from the package and identify them Remove stroller from box. The front wheels, rear wheels, reversible handle, before assembly. and child tray need to be installed prior to use. IMPORTANT! Before assembly and each use, inspect this product for damaged hardware, loose joints, missing parts, or sharp edges.
- Page 6 Assembly Wheels Stroller Frame Fig. 4 Stroller Frame Brake Swivel Lock Fully Assembled and Locked in Position Fig. 4A Attaching Wheels • Locate the four (4) legs on the stroller. • Attach one wheel to the stroller frame leg (Fig. 4), making sure the wheel swivel lock on the wheel is facing up.
- Page 7 Assembly Reversible Handle CORRECT INCORRECT Canopy Inserts NOTE: Reversible Handle Make sure handle Canopy Housing is in this direction Housing MUST be Fig. 3 Fig. 4 assembled in this direction NOTE: Make sure handle housing is facing upward Reversible before inserting Handle handle Housing...
-
Page 8: Setup And Use
Set Up and Use LOCK LOCK Fig. 2 Fig. 1 To Lock Brake To Lock Swivel Lock Press Downward Press Downward Swivel Lock Brake Brake Swivel Lock UNLOCK UNLOCK Fig. 2A Fig. 1A To Unlock Brake To Unlock Swivel Lock Push Upward Press Upward Brake... - Page 9 All Wheels Have Both a Brake Lever and a Swivel Lock Lever Brake Lever Swivel Lock Lever Lift up the Stroller Brake Lift up the Swivel Lock Lever to Lever to release the brake allow the wheels to swivel Press down the Stroller Brake Lever Press down the Swivel Lock Lever to to lock the wheels from moving lock the wheels from swiveling...
- Page 10 Set Up and Use Fig. 3 Fig. 4 Fig. 4A Sun Visor Fig. 3A Release Buttons Fig. 4B Canopy and Sun Visor Adjustment • To open the canopy: Pull forward on the front edge of the canopy until fully opened. (Fig. 4) •...
- Page 11 Setup and Use Plastic Band Plastic Knob Fig. 7 Seat Pad Reversible Handle Release Levers Fig. 7A Adjusting Reversible Handle Into Forward Position • First, slide both reversible handle release levers upward (Fig. 7) then, rotate handle to forward position until it “CLICKS” into a fully locked position (Fig.
- Page 12 Setup and Use Foot Rest Buttons Located underneath left/right side Fig. 10 Fig. 10A Fig. 9 Seat Back Recline Positioning Leg Rest Adjustment • Lift the recline bar located on the top center of the stroller seat upward and • To adjust press both buttons located underneath left/right side of the leg rotate seat downward into any of the three positions.
-
Page 13: Securing Child
Securing Child Before Placing your Child in Stroller: Close Canopy. Press both brake pedals down until they “click” into the locked position. Make sure the brake pedals are pressed down completely. Always set both brake pedals when parking the stroller. Waist Belt Waist Belt 5 Point Safety... - Page 14 Attaching Graco and Evenflo Car Seats ® ® Graco SnugRide® Click Connect™ and Evenflo Nurture™ and Embrace™ ® ® Fig. 14D Back of Graco Graco locked position - ® ® Car Seat red locking tab clicks Fig. 14B • Final step to secure the footrest side of car seat onto stroller, use the straps with velcro to secure seat onto stroller.
-
Page 15: To Fold Stroller
TO FOLD STROLLER: Fig.1A PUSH SQUEEZE FORWARD AND HOLD Fig. 1B PULL UPWARD Squeeze handle button inward. With handle button still engaged inward, pull up on lever on left side of frame. With the handle button engaged and the frame lever pulled up, push the handle in a forward/down motion. - Page 16 Delta Children's Products Corp. 114 West 26 Street New York, NY 10001 www.DeltaChildren.com © 2023 Delta Children's Products. All rights reserved.
Need help?
Do you have a question about the Jeep 12198A and is the answer not in the manual?
Questions and answers
How do I get to the assembly video?