
Subscribe to Our Youtube Channel
Related Manuals for marsden M-65 Series


Summary of Contents for marsden M-65 Series
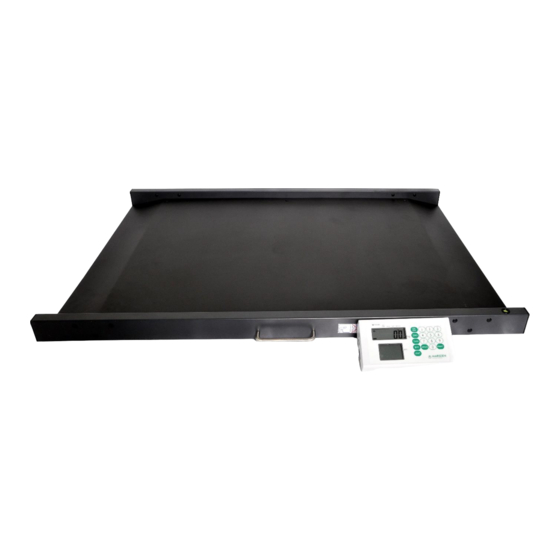
- Page 1 Marsden M-65x User Manual Please take time to read these instructions before starting to use the scale.
-
Page 2: Table Of Contents
Introduction Thank you for purchasing a Marsden professional medical scale. This is a precision Class III weighing instrument and considerate use will result in many years of accurate weighing. The scale has a maximum load capacity of 300kg which must not be exceeded. -
Page 3: Safety Instructions
If any inaccuracies occur, please contact your local dealer or service partner. • If you are in the UK, service contracts are available from Marsden to keep your scale accurate and reliable for longer. Call 01709 364296 for more information. -
Page 4: Explanation Of Graphic Symbols
Explanation of Graphic Symbols Separate collection for Caution, consult waste of electrical and accompanying electronic equipment, documents before use in accordance with Directive 2002/96/EC Manufacturer of medical Manufacturing year of device medical device Carefully read user manual before Medical electrical installation and usage, equipment with Type B and follow instructions... -
Page 5: Power Supply And Low Battery
Power Supply and Low Battery The indicator uses a rechargeable battery pack, a non-rechargeable battery pack, or can be powered from the mains via the AC adaptor. Make sure the battery pack is installed in the battery box of the indicator. Alternatively, plug the AC adaptor (12V 2A) into the port on the side of the indicator. -
Page 6: Switching On The Scale
Switching on the Scale Press the ON/OFF button firmly. The scale will first test all of the display segments. The scale will now show its current software version number. The scale will now go into weighing mode and should show 0.0kg on the display. Switching off the Scale Press the ON/OFF button when the scale is turned on. -
Page 7: Setting The Scale To Zero
Setting the Scale to Zero If for any reason the scale shows a reading other than 0.0kg it can be reset to zero. Press the ZERO key once. The scale will return to 0.0kg. Hold Function Press the HOLD button once. Allow the patient to be wheeled onto the scale. -
Page 8: Setting Auto Hold Function (Optional)
Setting Auto Hold Function (Optional) The display will have a flashing triangle mark under the HOLD button once the scale is turned on. Allow the patient to be wheeled onto the scale. The scale will automatically lock on the patient’s weight to complete the hold function. -
Page 9: Tare And Pre-Set Tare Functions
Tare and Pre-Set Tare Functions Press the TARE key for three seconds to enter Preset Tare setting mode. The display will show the last preset tare entered and the extreme left digit will flash. Enter the preset tare value by using the numeric keys, then press the TARE key again to confirm the value. -
Page 10: Setting The Date
Setting the Date Press HOLD for three seconds to access the time setting mode. The time period digit that is flashing can be changed by using the numeric keys. The time period to be edited is selected by pressing HOLD. E.g., To input 25 December 2008, 8:00 a.m.: Enter the year. -
Page 11: Using The Scale With A Printer
Using the Scale with a Printer An optional Marsden external printer (model TP-2100) is available for all models. With the printer fitted, the patient’s weight, height, and BMI result can be printed. Once the person has been weighed and their BMI calculated, simply press PRINT to produce the following ticket: GROSS WEIGHT 60.00kg... -
Page 12: Using The Scale With Wi-Fi/Bluetooth
Search for the scale in your computer or device’s Bluetooth settings (procedure may vary depending on device or system) The scale will appear on the Bluetooth device list as “MARSDEN BT”. Connect your device to “MARSDEN BT”, and the scale is ready to transmit data wirelessly via Bluetooth. Wi-Fi Connection Turn the scale on and press the TARE key for 3 seconds to enter into settings. -
Page 13: Assembling The Indicator Column (M-651 Only)
Assembling the indicator column (M-651 only) ITEM SPEC. Scew for Indicator SW-8060 Bracket A SS-4961 Bracket B SS-4971 Column SS-3751A Round plate SS-8063 NF-016ST Hexagon screw M3*6 Countersunk Hexagon M4*0.7*12 Self tapping screw Rivet nut Phillips head screw M4*0.7*8 Washer head screws M5*0.8*11 Bracket A 1) Place Bracket A on the back of the indicator with three screws as shown in the image above. -
Page 14: Assembly: Handrails (M-652/M-653 Only)
Assembly: Handrails (M-652/M-653 Only) Left Handrail Item Drawing Qty. Handrail bar without screw hole SS-8300A Fixing plate SS-8311 Socket button head cap screw M6-21 Pole AM-8173 Socket button head cap screw nut ø8-M6*33 Socket key Page 14 of 24... - Page 15 Right Handrail Item Drawing Qty. Handrail bar SS-8300B Fixing plate SS-8311 Socket button head cap screw M6-21 Pole AM-8173 Socket button head cap screw nut ø8-M6*33 Screw for display set M4*6 Screw nut for printer bracket M5-0.8-JB Plastic screw M5-0.8*8 Pole with wiring duct AM-8173A End cap...
- Page 16 Step 1. Fix no.2 (fixing plate) on no.9 (pole with wiring duct) with no.3 (socket screw) and no.5 (screw nut). Fix no.9 (pole with wiring duct) on platform by using no.3 and no.5. no.2 no.9 no.5 no.3 Page 16 of 24...
- Page 17 Step 2. Assemble pole on platform, as per Step 1. Step 3. Attach no.1 (handrail bar) to poles, using no.3 (socket screw) and no.5 (screw nut). no.3 no.5 Step 4. For M-652, repeat Steps 1-3. Page 17 of 24...
- Page 18 Step 5. With handrails assembled, attach no.13 (bracket for indicator) using no.6 (screw) No.5 no.3 Step 6. For M-652, assemble cross bar (SS-8444) with two screws (M8-1.25P*45). Page 18 of 24...
-
Page 19: Emc Guidance And Manufacturer's Declaration
EMC Guidance and Manufacturer’s Declaration Guidance and manufacturer’s declaration – electromagnet emissions. The M-65x is intended for use in the electromagnetic environment specified below. The customer or user of this scale should ensure that it is used in such environment. Emission Test Compliance Electromagnetic environment-guidance... - Page 20 d = 1,2 √P 80MHz to 800 MHz d = 2,3 √P 800MHz to 2,5 GHz Where P is the maximum output power rating of the transmitter in watts (w) according to the transmitter manufacturer and d is the recommended separation distance in meters (m).
-
Page 21: Error Messages
Marsden Weighing Machine Group Ltd, Unit 1, Genesis Business Park, Sheffield Road, Rotherham, UK, S60 1DX EU Importer: Marsden Weighing Machine Group Europe Ltd, The Black Church, St. Mary's Place, Dublin 7, Dublin, Ireland, D07 P4AX Charder Electronic Co., Ltd. - Page 22 Page 22 of 24...
- Page 23 Page 23 of 24...
- Page 24 MARSDEN Unit 1, Genesis Business Park, Sheffield Road, Rotherham, S60 1DX Telephone: + 44 (0) 1709 364296 Version 1.1 Page 24 of 24...
Need help?
Do you have a question about the M-65 Series and is the answer not in the manual?
Questions and answers