Table of Contents

Summary of Contents for Teltonika FMP100
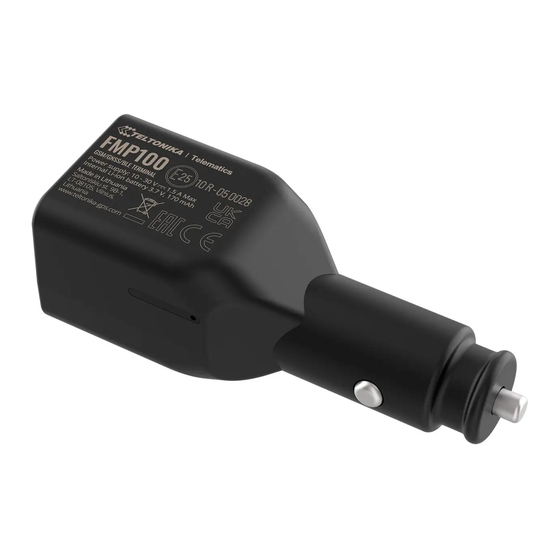
- Page 1 FMP100 First Start Main Page > Fast & Easy Trackers > FMP100 > FMP100 First Start An easy Plug and Track real-time tracking terminal with GNSS, GSM and Bluetooth connectivity Contents 1 Know your device 2 Set up your device 2.1 How to insert Micro-SIM card and connect the battery...
- Page 2 Gently close device cover back. Insert Nano-SIM card as shown with PIN request disabled or read our Wiki how to enter it later in Teltonika Configurator. Make sure that Nano-SIM card is fitted properly into the tray. Insert the SIM card tray back.
- Page 3 GNSS, GSM, I/O, Maintenance and etc. FMP100 has one user editable profile, which can be loaded and saved to the device. After any modification of configuration the changes need to be saved to device using Save to device button.
- Page 4 Data Acquisition – where data acquiring parameters can be configured. More details about FMP100 configuration using Configurator can be found here. Quick SMS configuration Default configuration has optimal parameters present to ensure best performance of track quality and data usage.
- Page 5 If device has made a record it is sent to the server every 120 seconds After successful SMS configuration, FMP100 device will synchronize time and update records to configured server. Time intervals and default I/O elements can be changed by using Teltonika Configurator parameters.
- Page 6 Teltonika is not responsible for any harm caused by wrong cables used for connection between PC and FMP100. WARNING! Do not use FMP100 device if it distracts driver or causes inconvenience due to OBD II placement. Device must not interfere with driver.


Need help?
Do you have a question about the FMP100 and is the answer not in the manual?
Questions and answers