
Subscribe to Our Youtube Channel
Related Manuals for Costway TP10051


Summary of Contents for Costway TP10051
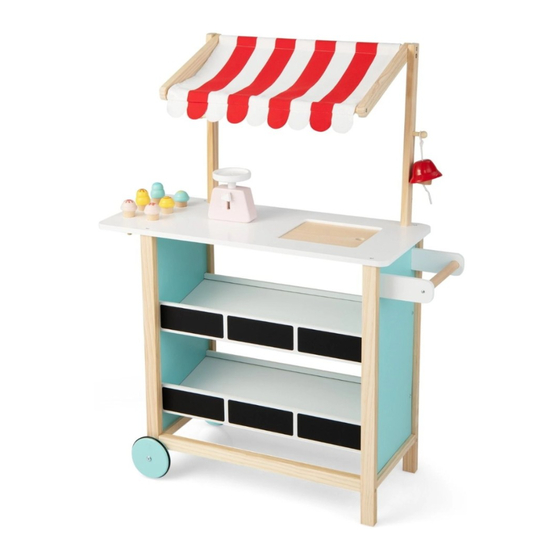
- Page 1 USER’S MANUAL Kids Kitchen Cart TP10051 THIS INSTRUCTION BOOKLET CONTAINS IMPORTANT SAFETY INFORMATION. PLEASE READ AND KEEP FOR FUTURE REFERENCE.
-
Page 2: Before You Start
Before You Start Please read all instructions carefully and keep it for future reference. General Security Warning Caution: The Product is not suitable for the children under 3 years Danger: Keep all small parts and packaging materials for this product away from babies and children, otherwise they may pose a choking hazard. - Page 3 A x1 C x2 D x2 E x2 B x1 F x2 G x2 H x2 I x1 J x2 K x2 L x1 M x1 N x1 O x2 P x1 Q x2 R x2 S x2 T x2 M6x16 M6x30 M4x8...
- Page 4 Assemble the wheels C on the board A, and fix the wheels C with screws S, bushings Q and nuts R. step 1 Assemble boards D, E and F with screws V and W based on the assembly in step 1. G x2 Install boards G on the basis of the assembly in...
- Page 5 Connect boards H with wooden stick I with the screws W. Step 4 On the basis of the assembly in step 4, use screws W to assemble the board B. On the basis of the assembly Step 5 in step 3, use screws W and V to assemble the assembly of step 5.
- Page 6 Assemble part J to board K with screw X. Do this twice. Step 7 On the basis of the assembly in step 7, use screws W to assemble the board N. V X2 T X2 On the basis of the assembly in step 8, use nuts U and screws T to assemble boards L and M, and then thread the screws V...
- Page 7 Thread the sticks O onto the cloth P. On the basis of the assembly in step 9, use screws W and screws V (threaded on boards K) Step 10 to install the assembly of step 10. Step 9 Step 11 Install the assembly of step 11 to the assembly of step 6 with screws W.
- Page 8 WARNING: Your toy is only meant to be assembled once. • After you have assembled your toy, do not dismantle it again as this may weaken the joints and screws leaving the toy unsafe for use. • Regularly check that all of the bolts are fully tightened.(But do not over tighten) •...
- Page 9 Contact our friendly customer service department for help first. Replacements for missing or damaged parts will be shipped ASAP ! US office: Fontana UK office: Ipswich AU office: Truganina Contact Us ! Do NOT return this item. US:cs.us@costway.com UK:cs.uk@costway.com AU:cs.au@costway.com...
Need help?
Do you have a question about the TP10051 and is the answer not in the manual?
Questions and answers