Lumens AI-Box1 Quick Installation Manual
Hide thumbs
Also See for AI-Box1:
- User manual (31 pages) ,
- User manual (17 pages) ,
- User manual (24 pages)
Advertisement
Quick Links
AI-Box1 Quick Installation Guide
1.
Before You Get Started
1.1 What You Need
AI-Box1
Array Microphone
PC
RJ45 Cable
USB Cable
HDMI Cable
(Type A-Type C)
1.2 Array Microphone
Please confirm compatibility of the AI-Box1 with your array microphone. Ensure the
microphone and any control software is installed.
Please see Lumens website for the latest supported microphones.
1.3 PTZ Camera ( Maximum 4 units )
Configure the Camera settings as follows:
Make sure the Camera and the AI-Box1 are in the same IP range.
Firmware Update
Make sure the camera firmware is up to date. Go to the Lumens website support tab
to download the latest version.
Resolution Setting
Please make sure that each camera and the AI-Box1 are on the same output resolution.
AI-Box1 default is 1080p/60fps. (Please refer to
Ensure AI-Box1 and the cameras are both outputting 1080P/ 60fps
※
Camera Control & Status
Resolution :
1920*1080
FPS :
60
Motionless Preset
Motionless preset momentarily holds the last frame when the camera changes position
to create a clean switch without seeing camera movement on screen.
Activate the motionless preset mode on the cameras.
OSD Menu:[System] > [Motionless Preset] > [On]
▪
▪
Webpage:depending on the camera model, the setting is either in
[Setting] > [Camera] > [Pan Tilt Zoom] > [Motionless Preset] > [On]
or [Live View] > [Camera Setting
2. System Diagram
Large Screen in meeting room
Ethernet
USB
HDMI
3. Hardware Connection
Power Adapter
Monitor
Computer
HDMI
USB
POWER
OUT
OUT
RESERVE
JUN. 2023
Display
Keyboard / Mouse
Router/ PoE Switch
4. AI-Box1 Setting
)
] > [PTZ] > [Motionless Preset] > [On]
Array Microphone (At least one is required)
PoE Switch
PC
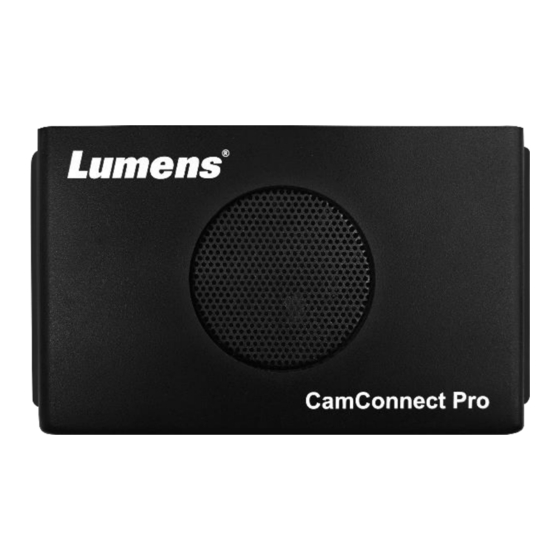
CamConnect
Processor
(AI-Box1)
HDMI Monitor
Keyboard and Mouse
PoE Switch
ETHERNET
4. AI-Box1 Setting
※Connect the AI-Box1 to a keyboard and mouse. Connect a monitor via HDMI.
※Go to the Information tab
※Settings can also be operated on AI-Box1 webpage.
(IP listed on the title bar of CamConnect Processor)
Please refer to the AI-Box1 User Manual for webpage settings.
4.1 Array Microphone Setting
Device Numbers:Select the number of microphones you are using.
(AI-Box1 supports the use of different types of microphone)
Devices:Select the microphone you want to set up.
Device IP:Type in the IP Address of microphone.
Port:Use Default except for Nureva where the port should be selected.
Connect:To activate the microphone to detect sound.
Advanced:Settings for audio trigger level, time to trigger preset and
back to Home parameters.
4.2 Camera Connection
The Resolution / FPS must match the AI-Box1 (Please refer to
Click search
Click [Connect] to link to a camera. (When connected, the line is highlighted in blue)
4.3 Camera Preset Position Setting
※Please follow
6. Example Azimuth / Array
Lumens
PTZ Camera
4.3.1
Enable Setting Mode.
(2 ~ 4 cameras)
Microphone will receive the audio signal, but won't trigger camera preset when setting
mode enabled.
Device Numbers :
Sennheiser: TCC2
Supported Devices & Settings
4.3.2 When the camera is connected, the microphone starts scanning the room for voices.
When a voice is detected the corresponding Azimuth Angle will turn green. This will help
you set up presets for the room.
Tip: Azimuth Angle values can be changed to suit your room.
4.3.3 After confirming the azimuth settings, click [PTZ Control] to set camera preset positions.
(Presets also can be set on the remote control.)
Keyboard / Mouse
USB3.0 USB2.0
www.MyLumens.com
to confirm that AI-Box1 is on the latest firmware.
1
2
4
(Only Lumens Cameras are supported)
to display all IP cameras on the same local Network.
Configurations.
2
Setting Mode :
Shure: MXA310
Advanced
PTZ Control
Copyright © Lumens Digital Optics Inc. All rights reserved.
3
6
5
1. Before You Get Started
)
Advertisement

Related Manuals for Lumens AI-Box1


Summary of Contents for Lumens AI-Box1
- Page 1 Configure the Camera settings as follows: Make sure the Camera and the AI-Box1 are in the same IP range. Firmware Update Make sure the camera firmware is up to date. Go to the Lumens website support tab to download the latest version. Resolution Setting Please make sure that each camera and the AI-Box1 are on the same output resolution.
- Page 2 5. Use AI-Box1 with Video Conference Software 4.3.4 To save a Camera position, select a preset number. Set AI-Box1 Video Output Mode to UVC and click [Start Video Output]. Launch your video conference software. (e.g., Skype, Zoom, and Teams) Select Video Source: [Lumens CamConnect Processor] 4.3.5...
Need help?
Do you have a question about the AI-Box1 and is the answer not in the manual?
Questions and answers