Rowlinson Triple Bin Store - Outdoor Storage Assembly Manual
- Assembly instructions (2 pages)
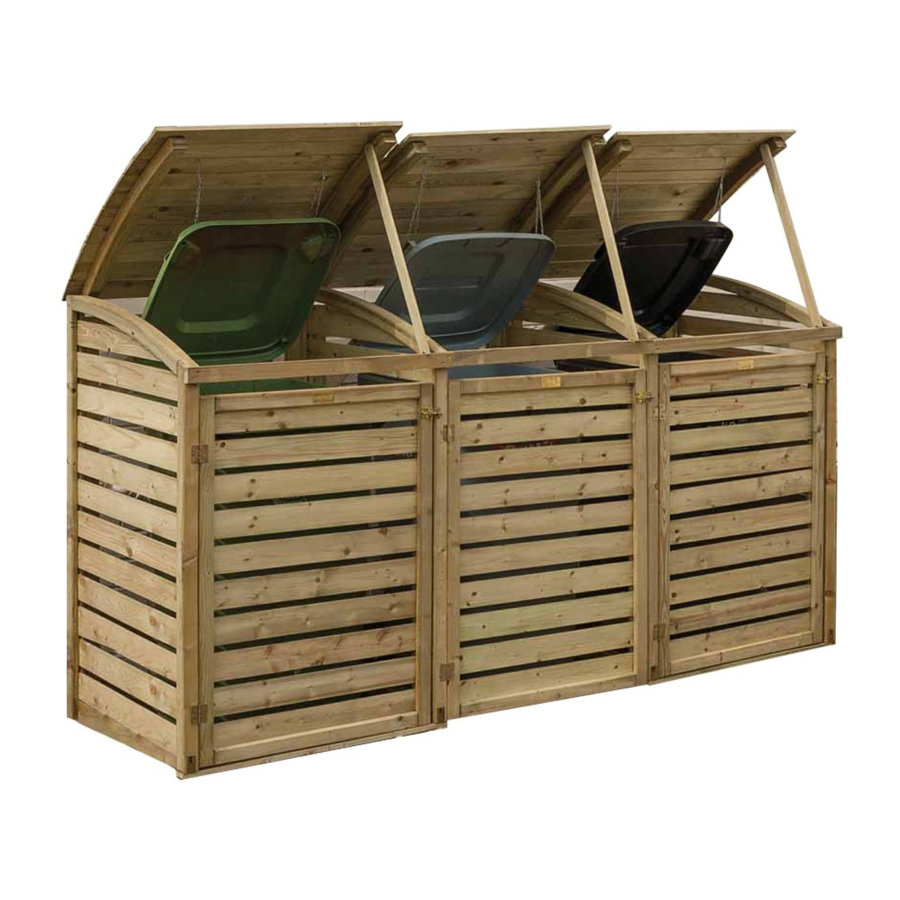
Advertisement
Assembly Instructions
Before assembly
- We recommend that time is taken to read the instructions before starting assembly, then follow the easy step by step guide. The instruction sheet is only a guide to the assembly. Certain items may not be shown to scale.
- Check all components prior to assembly
- This product should be assembled by no less than two people.
- Never attempt to erect the assembly in high winds.
Recommended tools for assembly
- Power drill/screwdriver
- Cross head screwdriver bit

| No. | Components | Qty. |
| 1 | Base plate | 6 |
| 2 | End panel | 2 |
| 3 | Dividing panel | 2 |
| 4 | Back panels | 3 |
| 5 | Door | 3 |
| 6 | Left lid | 1 |
| 7 | Centre lid | 1 |
| 8 | Right lid | 1 |
| 9 | Lid stay | 3 |
| 10 | Centre front rail | 1 |
| 11 | left/right front rail | 2 |
| No. | Fixing kit | Qty. |
| 12 | Hinges | 6 |
| 13 | Slide bolt | 3 |
| 14 | 150mm bolt | 2 |
| 15 | 100mm bolt | 2 |
| 16 | Nuts | 4 |
| 17 | Washers | 4 |
| 18 | Chain | 6 |
| 19 | 60mm screws | 18 |
| 20 | 40mm screws | 23 |
| 21 | 30mm screws | 54 |
| 22 | 12mm screws | 6 |
End panels, dividing panels and back panels
Attach to a back panel one end panel and one dividing panel as shown below using 6 x 60mm screws. Create a second assembly in the same way ensuring that the end panel and the dividing panel are on the opposite sides compared to the first assembly.

When assembling the second assembly ensure that the end and dividing panels are on the opposite sides compared to the first assembly.
Base plates
Attach two base plates to each assembly using 2 x 40mm screws per plate. Attach the plates as shown in the diagram below, ensure that the end of each plate is flush with the corners of the side panels.

Join the two assemblies
Join the two assemblies together using the third back panel, with the panel at the same height as the other back panels fix in place using 6 x 60mm screws.

Join the two assemblies continued
Attach to the bottom of the dividing panels the remaining two base plates using 2 x 60mm screws per plate. It's important to note that these will sit inside just inside the other base plates see diagram below. Attach the front rails as shown using 8 x 40mm screws.

Doors
Attach the hinges to the frames of the doors as shown below using 3x30mm screws per hinge. Position the doors between the panels leaving a small gap between the bottom of the doors and the base plates. Secure the hinges to the outer side panels using 3x30mm screws per hinge. For each door position the two parts of the slide bolt as shown below and secure using 6x30mm screws for each bolt set.

Lids
Determine which lid is which as described below, Position the lids in place. Align the pre-drilled bolt holes and insert a bolts. Using the 100mm bolts in the end panels and the 150mm bolts in the dividing panels. Secure each bolt with a washer and a nut. Do not over tighten the nuts. Attach two chains to the inside of each lid using 1 x 12 mm screw per chain. Position the chains so that they can be looped round the handles of the bin and hooked back on the chain. Attach the lid stays using 1 x 40mm screws per stay as shown.
To determine which roof panel is which, look at the front edge of each lid, the overhang of the cladding at each side is different.
View of the front edges of the three lids

Using the bin store
Position the bin inside the store, loop the chains around the handles of the bin and attach the S hook to one of the chain links.
If in doubt of any aspect regarding the assembly, use or safety of your bin store please contact us:
Help Line (Normal Office Hours) 01829 261 121
ROWLINSON GARDEN PRODUCTS LIMITED
Green Lane
Wardle Nr. Nantwich
Cheshire CW5 6BN
We constantly improve the quality of our products, occasionally the components may differ from the components shown and are only correct at time of printing. We reserve the right to change the specification of our products without prior notice.

Documents / ResourcesDownload manual
Here you can download full pdf version of manual, it may contain additional safety instructions, warranty information, FCC rules, etc.
Download Rowlinson Triple Bin Store - Outdoor Storage Assembly Manual
Advertisement


Need help?
Do you have a question about the Triple Bin Store and is the answer not in the manual?
Questions and answers