Advertisement
Quick Links
Download this manual
See also:
Manual
®
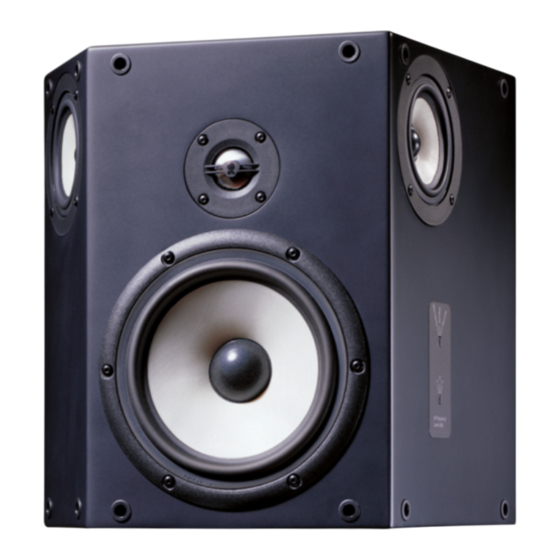
Revel
Performa
This mounting kit contains an integral
wall/ceiling mounting system for a pair of
Revel S30 loudspeakers. Three built-in
brackets (on the rear of the S30) are
designed for use with the supplied hardware
and will require installation into wallboard
between studs or rafters.
Tools included in this kit:
•
(6) hollow wall anchors with (6)
attached anchor screws
•
(2) ceiling safety bracket
•
(4) plastic E-Z anchors (for ceiling
installations)
•
(4) wood screws (ceiling installations)
•
installation template
Additional tools required for mounting
(not included):
•
tape measure
•
adhesive tape
•
pencil
•
power drill
•
hammer
•
carpenter's level
•
stud finder
•
utility knife
•
screw driver
Note:
The hollow wall anchors are only suitable for
installations on wall board (or ceiling) that is
between 1/2 and 5/8-inches thick. Deviation
from this thickness specification requires the
use of another suitable anchor.
WARNING
Harman Specialty Group assumes no
responsibility for proper installation of
hardware or for any personal injuries or
product damages resulting from improper
installation or a fallen loudspeaker.
CAUTION
Do not substitute mounting hardware! The
contents of this kit are part of a factory
tested mounting system that works on
wallboard only. To obtain additional
hardware, contact your authorized Revel
dealer.
™
S30 Mounting Kit
To mount the S30 on a wall:
1. Determine wall locations for each pair
of left and right loudspeakers.
2. At each proposed site, use a stud
finder to locate the nearest studs,
which should be on 16-inch centers.
3. Tape the enclosed mounting template
to the wall between the studs, leaving
a minimum clearance of 3/4-inch
(19 mm) from the cabinet top to the
ceiling. Use a level to verify tilt is zero.
Be sure to account for any mouldings
when determining a minimum
clearance distance.
4. At each site, drill three 3/8-inch holes
(9.5 mm) at the designated locations
on the mounting template.
5. With utility knife, create a cutout for
speaker wire within the noted bound-
ary.
6. If the anchor has a washer, remove
and discard it.
7. At each site, hammer the anchor into
the wall with the screw in place.
8. Tighten each screw clockwise until the
anchor cinches down and the screw
will no longer turn.
9. With the screw driver, carefully back
out the screw 3/16-inch (5 mm) in
order to leave room for the brackets on
the speaker cabinet.
10. At each site, route the speaker wire
through the cutout and using correct
polarity, attach the ends to the termi-
nals on the rear of the loudspeakers.
11. Align the brackets on each cabinet
with the screws on the wall, as shown
in Figure 2 (next page). Slide each
cabinet securely down onto the screws.
12. Remove the tape and template.
Note:
For best performance, mount the S30s at least
18-inches (46 cm) away from the ceiling at an
optimum height of 15 degrees above the
prime listening position. See the Revel S30
Loudspeaker Owner's Manual for placement
instructions.
Advertisement

Subscribe to Our Youtube Channel
Related Manuals for REVELL Performa S30


Summary of Contents for REVELL Performa S30
- Page 1 12. Remove the tape and template. Note: For best performance, mount the S30s at least 18-inches (46 cm) away from the ceiling at an optimum height of 15 degrees above the prime listening position. See the Revel S30 Loudspeaker Owner’s Manual for placement instructions.
- Page 2 Figure 1: Installing Hollow Wall Anchors and Screws into a Wall Figure 2: Mounting the S30 on a Wall...
-
Page 3: Mounting A Loudspeaker On A Ceiling
To mount the S30 on a ceiling: 1. Determine ceiling locations for each pair of left and right S30s (see the Revel S30 Loudspeaker Owner’s Manual for placement instructions). Figure 3: Installing the Anchors into a Ceiling 2. At each proposed site, use a stud finder to locate the nearest rafters, which should be on 16-inch centers. - Page 4 5. Use the utility knife to create a cutout for speaker wire within the noted boundary. If the anchor has a washer, remove and discard it. 6. At each site, hammer in an anchor with the screw in place. 7. Tighten each screw clockwise until the anchor cinches down and the screw will no longer turn.
- Page 5 CEILING SAFETY BRACKET INSTRUCTIONS Use the included plexiglass ceiling safety bracket to secure the S30 into position after mounting it onto a ceiling. To install the ceiling safety bracket: 1. Place the bracket at the center-top of the S30 against the cabinet as shown in Figure 5 (below).
- Page 6 3 Oak Park, Bedford, MA, 01730-1413 USA | Telephone: 781-280-0300 | Fax: 781-280-0490 | www.revelspeakers.com Customer Service Telephone: 781-280-0300 | Sales Fax: 781-280-0495 | Service Fax: 781-280-0499 Product Shipments: 16 Progress Road, Billerica, MA 01821-5730 USA Part No. 362796-001 | Rev A | 05/06...
Need help?
Do you have a question about the Performa S30 and is the answer not in the manual?
Questions and answers