Table of Contents
Advertisement
Quick Links
Advertisement
Table of Contents

Related Manuals for sumas SMR-A10PFW

Summary of Contents for sumas SMR-A10PFW
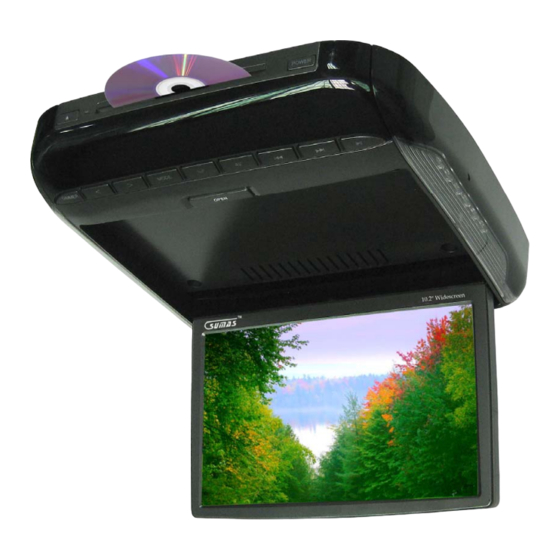
- Page 1 SMR-A10PFW USER OPERATION MANUAL...
-
Page 2: Table Of Contents
TABLE OF CONTENTS SAFETY INFORMATION ..……………………………………………………..1 INSTALLATION …………………………………………………………………… 2 PLAYABLE DISC, DVD Care, MP3 ..….…………………………………….. 3 MAINTENANCE ... ……………………………………………………………..3 REPLACING REMOTE CONTROL BATTERY .…………………………..….. 3 Remote Control ..…………………………………………………………..….. 4 Remote Control Functions ..……………………………………………..…….5 Unit Features ..…..………………………………………………………………… 6 Unit Feature Functions .……….………………………………………………. 7 asic Operations .………………………………………………………..…... -
Page 3: Safety Information
Safety Information Please read this manual thoroughly and keep in your vehicle for easy future reference. We highly recommend that you find a licensed professional installer for the installation of this product. CAUTION: This unit is a class 1 Laser Product. To prevent direct exposure to Laser system, DO NOT OPEN the unit. -
Page 4: Installation
INSTALLATION o This unit is designed for 12V DC, negative ground operation system only. ( connect to any other voltage will damage the unit ) o When replacing a fuse, be sure to use one matching the amperage rating stated on the original fuse. Using a fuse with the wrong Rating may cause your unit not function correctly or even cause electrical shortage o The negative battery terminal must be disconnected before making connections, which can reduce damaging the unit due to short circuit. -
Page 5: Playable Disc, Dvd Care, Mp3
DVD, Video CD and CD discs that display the logos shown below can be played back on this unit. DVD video disc region numbers: (This unit is for region one) DVD Care If you use an irregular disc it may jam the DVD player or not play, for this reason only use round discs Be sure to check all discs for cracks and scratches before playing, discs in those conditions will not play properly. -
Page 6: Remote Control
Remote Control 1. Power 16. Stop 2. Menu 17. Setup 3. Dimmer 18. Play Mode 4. ◄ VOL-/Adjust Monitor menu (left) 19. Display 5. N/P 20. GO TO 6. 3D 21. Menu 7. AV 22. Return 8. CH+ ▲ 23. Title 9. -
Page 7: Remote Control Functions
REMOTE CONTROL FEATURES 1. POWER SWITCH – Press once to turn unit off press again to turn unit off 2. MENU - Select Monitor menu 3. DIMMER - Adjust brightness (Soft / Standard) - VOL-/Adjust Monitor menu (Left) 5. N/P - Switching system 6. -
Page 8: Unit Features
Unit Features 1. Dimmer 12. LED Lamp VOL- 13. Color LCD Screen VOL+ 14. Vent Hall Picture Mode(16:9/4:3) 15. AUX Input Lamp Switch 16. Eject AV Select 17. Power ON/OFF Skip to Previous 18. Disc Loading Slot Skip to Next 19. -
Page 9: Unit Feature Functions
Feature Description 1. Dimmer – To dim the screen automatically 2. VOL (-) – To adjust volume level down 3. VOL (+) – To adjust volume level up 4. Picture Mode – To change screen aspect ratio (16:9/4:3) 5. Lamp Switch – To turn on the dome light 6. -
Page 10: B Asic Operations
BASIC SETUP OPENING/CLOSING THE SCREEN - Press OPEN button to release the screen and pull down monitor to the desired angle. - To close the screen simply push screen back to the close position until you hear a click that secures the screen to the unit. POWERING THE UNIT ON/OFF -Press the “POWER”... - Page 11 BASIC OPERATION General Setup Press setup button on the remote to bring up the main setup menu. General setup is the first item and will show the following: o TV Display - Normal/PS - Normal/LB - Wide o OSD Language - This product was focused in marketing in USA, English is the default language.
-
Page 12: Dvd Mode
BASIC OPERATION Cont. Disc Mode - Insert a Disc with the label facing up; unit will automatically play the inserted disc. - To Play/Pause movie/video/music use button on unit or the remote control. - To skip forward/backward chapters/tracks press - To play with subtitle, press “Title” on the remote repeatedly to select the desired subtitle. Note: Some DVD’s may have more subtitle languages or none at all. -
Page 13: Trouble Shooting
Trouble Shooting Problem Reason Conclusion The unit will not turn Incorrect wiring connections. Make sure all the wires are properly connected. Please refer to the wiring diagram Cannot use the remote Insufficient battery power. Obstacle Replace battery. (page 2) Make sure there is control blocking remote sensor. -
Page 14: Specifications
Specifications General Power Requirements …..12 V DC (11-15V) Dimensions ……………………….… 11.81” (L) 11.42” (W) 2.17” (H) Weight …………………….………..….5.2lbs Power consumption ……………. 16-30 watts - Standby mode …………………. 50mA DVD Deck Section Usable Disc Formats ….…..…… DVD VIDEO, VIDEO CD, SUPE VCD, AUDIO CD, MP3 Video System ……………..…….…. -
Page 15: Accessories
Accessories Wiring harness FM Transmitter Screw hole covers Extension Screws and wire Installation Plate Rubber Seal connectors Remote Control Wiring Diagram Operation Manual...
Need help?
Do you have a question about the SMR-A10PFW and is the answer not in the manual?
Questions and answers