
Subscribe to Our Youtube Channel
Related Manuals for Hilti PMP 42


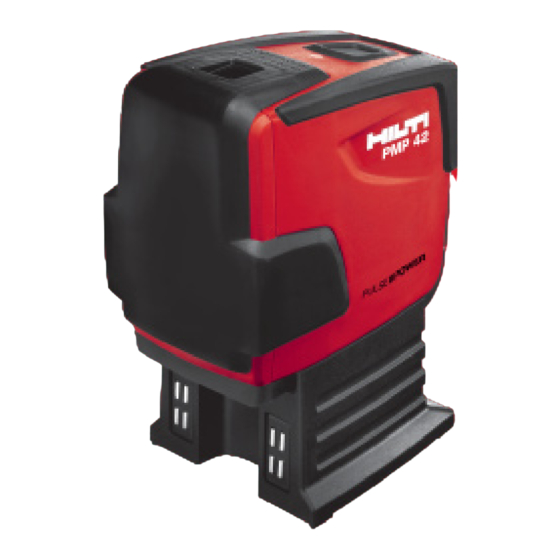
Summary of Contents for Hilti PMP 42
- Page 1 PMP 42 Bedienungsanleitung Operating instructions Mode d’emploi Manual de instrucciones Kulllanma Talimatı Instrucţiuni de utilizare Printed: 08.07.2013 | Doc-Nr: PUB / 5070101 / 000 / 01...
- Page 2 Printed: 08.07.2013 | Doc-Nr: PUB / 5070101 / 000 / 01...
- Page 3 Printed: 08.07.2013 | Doc-Nr: PUB / 5070101 / 000 / 01...
-
Page 4: Table Of Contents
In these operating instructions, the designation “the tool” Always keep these operating instructions to- always refers to the PMP 42 plumb laser. gether with the tool. Component parts 1 Ensure that the operating instructions are with the tool when it is given to other persons. -
Page 5: Description
When the self-leveling range is exceeded, the laser beam blinks to warn the user. The PMP 42 is characterized by its ease of operation and use, its rugged plastic casing and ease of transport due to its compact dimensions and light weight. -
Page 6: Accessories
The batteries are almost exhausted. every 10 seconds. The laser beam blinks rapidly. The tool cannot level itself. 2.4 Items supplied with the plumb laser (cardboard box version) PMP 42 plumb laser Soft pouch Batteries Operating instructions Manufacturer’s certificate 3 Accessories... -
Page 7: Safety Instructions
To avoid the risk of injury, use only genuine Hilti b) Avoid unfavorable body positions when working accessories and additional equipment. from ladders. Make sure you work from a safe stance and stay in balance at all times. -
Page 8: Before Use
Open the battery compartment. Remove the batteries from the packaging and insert them in the tool. NOTE Only batteries recommended by Hilti may be used to power the tool. 6.1 Inserting the batteries 2 Check that the battery terminals are positioned cor- DANGER rectly as shown on the underside of the unit. -
Page 9: Care And Maintenance
NOTE Do not use any other liquids as these may 8.4 Hilti calibration service damage the plastic components. We recommend that the tool is checked by the Hilti cal- Observe the temperature limits when storing your ibration service at regular intervals in order to verify its equipment. -
Page 10: Troubleshooting
Most of the materials from which Hilti tools or appliances are manufactured can be recycled. The materials must be correctly separated before they can be recycled. In many countries, Hilti has already made arrangements for taking back old tools or appliances for recycling. -
Page 11: Manufacturer's Warranty
11 Manufacturer’s warranty Hilti warrants that the tool supplied is free of defects in Additional claims are excluded, unless stringent na- material and workmanship. This warranty is valid so long tional rules prohibit such exclusion. In particular, Hilti as the tool is operated and handled correctly, cleaned... - Page 12 FCC statement / IC statement -CAUTION- -NOTE- This equipment has been tested and found to comply Changes or modifications not expressly approved by with the limits for a class B digital device, pursuant to the party responsible for compliance could void the user’s part 15 of the FCC rules.
- Page 14 Tel.: +423 / 234 21 11 Fax:+423 / 234 29 65 www.hilti.com Hilti = registered trademark of Hilti Corp., Schaan W 3783 | 0313 | 00-Pos. 1 | 1 Printed in Germany © 2013 Right of technical and programme changes reserved S. E. & O 410564 / A3 Printed: 08.07.2013 | Doc-Nr: PUB / 5070101 / 000 / 01...
Need help?
Do you have a question about the PMP 42 and is the answer not in the manual?
Questions and answers