dymax BlueWave 200 Quick Start Instructions
Hide thumbs
Also See for BlueWave 200:
- User manual (40 pages) ,
- Operation manual (24 pages) ,
- Quick start instructions (2 pages)
Advertisement
Table of Contents
- 1 Remove the Protective Cover from the Lightguide Mount.
- 2 Insert the Large End of the Lightguide into the Lightguide Mount.
- 3 Connect the Power Cord to the Power Receptacle.
- 4 If You will be Using a Foot Pedal, Connect the Foot Pedal.
- 5 Turn the Power Switch on and Press the 'Bulb On' Button.
- 6 The Unit Is Ready for Operation.
- Download this manual
1.
Remove the protective cover from the Lightguide Mount.
2.
Insert the large end of the Lightguide into the Lightguide Mount until it snaps into place (Figure 1). Fasten the Lightguide into place by
lightly tightening the Setscrew located on the Lightguide Mount (Figure 2). A Hex Wrench is provided with the system for this purpose. The
Setscrew should be tightened gently to prevent damage to the Lightguide.
NOTE: Multi-Leg Lightguides should be balanced by rotating the Lightguide to obtain the desired UV intensity of each leg before lightly
tightening the Setscrew.
Figure 1. Insert Lightguide into Lightguide Mount
3.
Connect the Power Cord to the Power Receptacle on the rear of the BlueWave 200. Plug the Power Cord into a grounded wall outlet.
4.
If you will be using a Foot Pedal, connect the Foot Pedal to the Foot Pedal Connection (Figure 3) on the rear of the unit. A ground stud is
also provided on the back of the BlueWave 200 if additional grounding is desired.
5.
Turn the Power Switch on (located on the rear of the unit) and press the "Bulb On" button (Figure 4). Allow the Bulb to warm up for 5
minutes.
6.
The unit is ready for operation. The Shutter is opened and closed by means of the Foot Pedal.
Figure 3. Rear Connections
BlueWave
®
Quick Start Instructions
200 Version 3.1
Figure 2. Gently Tighten Setscrew on Lightguide
Mount with Hex Wrench
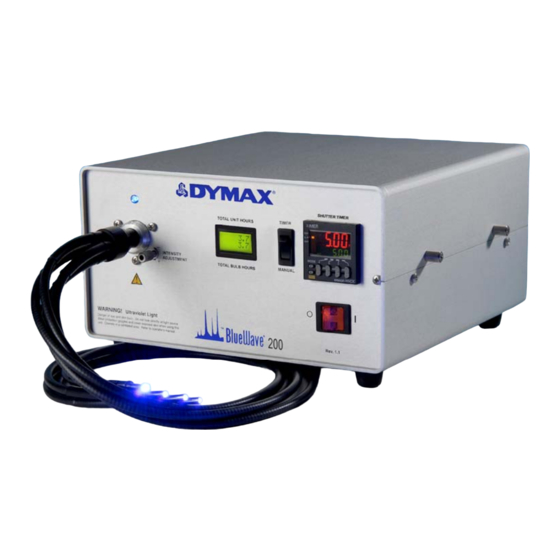
Figure 4. Front Panel Controls
Advertisement
Table of Contents

Related Manuals for dymax BlueWave 200


Summary of Contents for dymax BlueWave 200
- Page 1 Mount with Hex Wrench Connect the Power Cord to the Power Receptacle on the rear of the BlueWave 200. Plug the Power Cord into a grounded wall outlet. If you will be using a Foot Pedal, connect the Foot Pedal to the Foot Pedal Connection (Figure 3) on the rear of the unit. A ground stud is also provided on the back of the BlueWave 200 if additional grounding is desired.
- Page 2 U.S.A. The data contained in this bulletin is of a general nature and is based on laboratory test conditions. Dymax Europe GmbH does not warrant the data contained in this bulletin. Any warranty applicable to products, its application and use is strictly limited to that contained in Dymax Europe GmbH’s General Terms and Conditions of Sale published on our website.
Need help?
Do you have a question about the BlueWave 200 and is the answer not in the manual?
Questions and answers