Table of Contents
Advertisement
Available languages
Available languages
Quick Links
USA office: Fontana
AUS office: Truganina
GBR office: Ipswich
If you're having difficulty, our friendly
customer team is always here to help.
FRA office: Saint Vigor d'Ymonville
USA:cs.us@costway.com
AUS:cs.au@costway.com
GBR:cs.uk@costway.com
FRA:cs.f r @costway.com
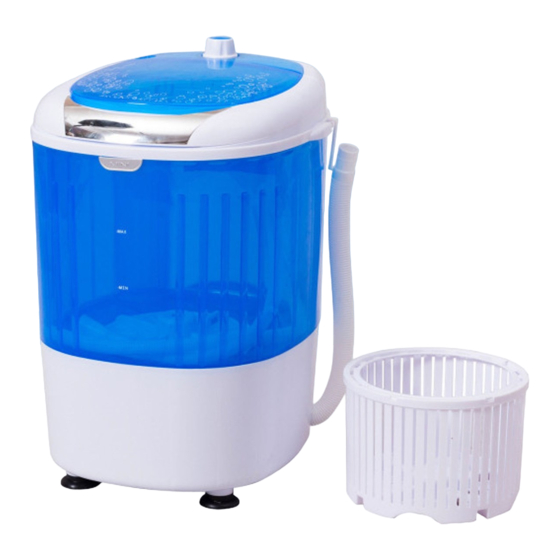
MINI WASHING MACHINE
MINI MACHINE À LAVER
THIS INSTRUCTION BOOKLET CONTAINS IMPORTANT SAFETY INFORMATION. PLEASE READ AND KEEP FOR FUTURE REFERENCE.
Advertisement
Table of Contents

Subscribe to Our Youtube Channel
Summary of Contents for Costway FP10195A
- Page 1 GBR office: Ipswich FRA office: Saint Vigor d'Ymonville USA:cs.us@costway.com If you're having difficulty, our friendly AUS:cs.au@costway.com customer team is always here to help. GBR:cs.uk@costway.com THIS INSTRUCTION BOOKLET CONTAINS IMPORTANT SAFETY INFORMATION. PLEASE READ AND KEEP FOR FUTURE REFERENCE. FRA:cs.f r @costway.com...
-
Page 2: Before Washing
Installation and operation 1 Before washing Before You Start Install the machine on a firm and flat floor (allow most obli Please read all instructions carefully. que angle to 2”) if the machine is not leveled, the machine Retain instructions for future reference. may make a big vibration and noise. - Page 3 Add the proper amount of detergent, if the amount of When washing, please take out the basket, the specific detergent is too much, the laundry can’t be rinsed sufficiently, method, please refer to specification.(the longest washing so please add the proper amount of detergent. process in 10 minutes for washer with basket) Turn the “WASH TIMER”...
-
Page 4: Guidance For Safety And Durability
12. Do not wipe the machine with volatile substances, gasoline, 5 Maintenance 13. Let water drain away from the drain pipe of the tub. Remove the power cord after washing. 14. Do not pour over 50 degrees water into the tub. Wipe the water tub clean and dry with a soft cloth. -
Page 5: Wiring Diagram
Wiring diagram Name of parts Brown Accessories 1.Water supply hose 2.User Manual 3. Drain hose WASH TIMER Gray Gray Brown Yellow Wash timer knob Safety Switch Water supply port Gray Yellow Blue WASH MOTOR Blue Drain hose Yellow Green Wash tub Caution: Before checking for faults or repairs, unplug and touch Base... -
Page 6: Guide De Lavage
Installation et opération 2 Guide de lavage Mettez le linge dans la cuve de lavage, tournez le robinet, 1 Avant le lavage laissez entrer de l'eau dans la cuve en fonction de la quantité de vêtements à laver ( H / L. dans la cuve intérieure sont le Installez la machine sur un sol ferme et plat (l'angle niveau d'eau haut et bas). -
Page 7: Entretien
Après avoir terminé, appuyez doucement une fois sur le REMARQUE: PAS D'ESSORAGE AVEC LAVAGE !!!! couvercle de sécurité, puis placez le panier dans le corps de la machine à laver, de sorte que le fond et le pulsateur soient fermement fixés. Fermez le couvercle de la machine à... -
Page 8: Dépannage
7. N'installez pas le lave-linge dans un endroit humide. Pas de lavage Fusible est grillé? 8. Ne pas asperger d'eau sur l'interrupteur. Le cordon d'alimentation est-il correctement connecté à la prise? 9. Lorsque vous débranchez le cordon d'alimentation, ne tenez Le tuyau de vidange est-il maintenu enfoncé? pas le fil. -
Page 9: Spécification
Spécification Alimentation 110-120V~, 60Hz Return / Damage Claim Instructions Capacité de lavage 5.5LBS Quantité d'eau standard Niveau d'eau élevé 16,5 L, DO NOT discard the box / original packaging. In case a return is required, the item must be returned in original box. Without this niveau d'eau bas 9,5 L your return will not be accepted.


Need help?
Do you have a question about the FP10195A and is the answer not in the manual?
Questions and answers