Advertisement
Table of Contents
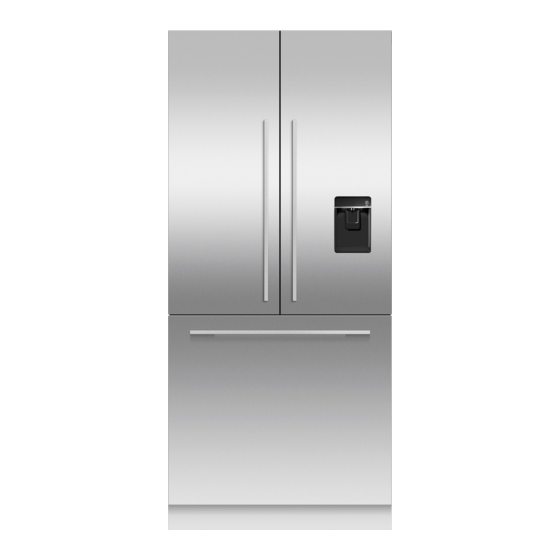
Pre-Aligning Your Product
It is important that all four corners of the appliance is supported firmly onto the floor to eliminate any movement.
IMPORTANT!
• It is important that the doors are in line with the frame and the appliance is centred before
• It is important that all four corners of the appliance is supported firmly onto the floor to eliminate
• Installing the appliance on a soft, uneven, or not level floor may result in twisting of the product
• Raise the appliance using an 7/16" (11 mm) hex socket or 3/16" (4 mm) hex Allen key. One turn
Note: maximum travel is 13/16" (20 mm).
1. Use the front and rear adjustment nuts (A) to align the front of the doors flush with the adjacent cabinetry top to
bottom on both sides. Place a ruler on the front of the product to check flushness top and bottom, left and right.
This step will help ensure the refrigerator is level with the adjacent cabinetry.
◦ Turn adjustment nuts clockwise to raise or counter-clockwise to lower (refer to A).
◦ Check gaps between appliance and adjacent cabinetry are even on both sides (refer to B).
◦ Gently push the front of the product to check the stability
https://producthelp.fisherpaykel.com/us/Cool/Integrated_Refrigeration/French_Door/With_Ice_and_Water/80_%2F%2F_84_in...
following these steps.
any movement.
and poor door sealing.
of height adjusting nuts is equivalent to 1/16" (1 mm) height travel.
IMPORTANT!
Failure to achieve flushness top to bottom and/or uneven gaps left to right greater
than 1/16" (1.5 mm) can lead to difficulties achieving final alignment. Final
alignment will be achieved once door panels have been installed and the
appliance is pushed back to sit flush with cabinetry.
Updated: Wed, 12 Apr 2023 10:44:06 GMT
Powered by
1
Advertisement
Table of Contents

Subscribe to Our Youtube Channel
Related Manuals for Fisher & Paykel RS36A80U1


Summary of Contents for Fisher & Paykel RS36A80U1
- Page 1 Pre-Aligning Your Product It is important that all four corners of the appliance is supported firmly onto the floor to eliminate any movement. IMPORTANT! • It is important that the doors are in line with the frame and the appliance is centred before following these steps.
- Page 2 https://producthelp.fisherpaykel.com/us/Cool/Integrated_Refrigeration/French_Door/With_Ice_and_Water/80_%2F%2F_84_in… Updated: Wed, 12 Apr 2023 10:44:06 GMT Powered by...
Need help?
Do you have a question about the RS36A80U1 and is the answer not in the manual?
Questions and answers