Advertisement
Quick Links
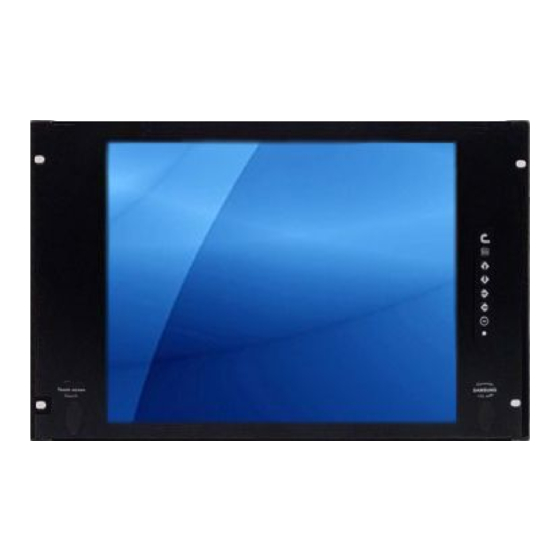
RM6170
User Manual
All rights reserved. Product description and product specifications are subject to change without notice.
For latest product information, please visit Acnodes' website at www.acnodes.com.
14628 Central Ave. Chino, CA 91710
© Copyright 2021 Acnodes Corp.
7U Rackmount LCD Monitor
17" 1280 x 1080 Industrial LCD Display
VGA + DVI-D Video Input
Tel: 909.597.7588
Fax: 909.597.1939
Advertisement

Related Manuals for Acnodes RM6170


Summary of Contents for Acnodes RM6170
- Page 1 VGA + DVI-D Video Input User Manual All rights reserved. Product description and product specifications are subject to change without notice. For latest product information, please visit Acnodes’ website at www.acnodes.com. 14628 Central Ave. Chino, CA 91710 Tel: 909.597.7588 Fax: 909.597.1939...
- Page 2 Legal Information First English printing, July 2020 Information in this document has been carefully checked for accuracy; however, no guarantee is given to the correctness of the contents. The information in this document is subject to change without notice. We are not liable for any injury or loss that results from the use of this equipment.
-
Page 3: Table Of Contents
Contents < Part. 1 > RM6170 Package Content P.1-2 Structure Diagram & Dimension Installation < Part. 2 > Specifications / OSD / Remote Controller Product Specifi cations P.4-5 P.6-7 On-screen Display Operation ( OSD ) < Part. 3 > Options MCS Multi-display control solution AV2.2D Upgrade : DVI-D + VGA + BNC + S-Video + Audio... - Page 4 Before Installation ■ It is very important to mount the equipment in a suitable cabinet or on a stable surface. ■ Make sure the place has a good ventilation, is out of direct sunlight, away from sources of excessive dust, dirt, heat, water, moisture and vibration. Unpacking The equipment comes with the standard parts shown in package content.
-
Page 5: Package Content
< Part 1 > < 1.1 > Package Content RM6170 unit X 1 - 6ft VGA cable X 1 - Power adapter X 1 - Power cord X 1 < 1.2 > Structure Diagram Front view Rear view Power adapter... - Page 6 (W x D x H) Weight Weight 480 x 54.2 x 310 mm 529 x 124 x 495 mm 6.1 kg 8.2 kg RM6170 18.9 x 2.1 x 12.2 inch 20.8 x 4.9 x 19.5 inch 13.4 lb 18 lb...
-
Page 7: Installation
< 1.3 > Installation Step ■ Mount the display panel with M6 screw set. ■ M6 screw x 4 pcs required ( Left & right side ). M6 screw sets are not provided. Step ■ Fix the LCD into the rack. -
Page 8: Product Specifications
< Part 2 > < 2.1 > Product Specifications Manufacturer Panel Panel Size ( diagonal ) 17-inch TFT color LCD Display pixel ( dots x lines ) 1280 x 1024 Brightness ( typ. ) Contrast Ratio ( typ. ) 1000:1 Color 16.7 M Viewing Angle ( L/R/U/D ) - Page 9 Environmental Operating Temperature 0 to 55°C degree Humidity 20~90%, non-condensing Conditions Altitude 16,000 ft Storage / Non-operating Temperature -20 to 60°C degree Humidity 5~90%, non-condensing Altitude 40,000 ft Shock 10G acceleration (11ms duration) Vibration 10~300Hz 0.5G RMS random Physical Product ( W x D x H ) 480 x 54.2 x 310 mm Specifi...
-
Page 10: On-Screen Display Operation ( Osd )
< 2.2 > On-screen Display Operation ( OSD ) Membrane Switch Function Turn the monitor on or off Display the OSD menu Act as an Enter key to select screen setting options Scroll through menu options and adjust the displayed control Exit the OSD screen Go back to the previous on-screen sub-menu or main menu... - Page 11 < 2.2 > On-screen Display Operation ( OSD ) OSD Confi guration Page Image: for the brightness, contrast, color temp, red, green, and blue Geometry: for the auto adjust, H position, V position, phase and clock Video: for the colour, tint, sharpness, noise reduction, DCDi and TV Setup Audio: for volume, bass, treble, balance, AVL and mute Misc:...
-
Page 12: Part. 3 > Options
( Multi-display Control ) More control is always good. Especially when it is necessary and easy. Acnodes provides MCS solution to control the OSD of various LCD display up to 64 units. The RS-232C is used for the communication between the PC and the first display via a 15 feet serial cable while the CAN bus is used... - Page 13 < 3.2 > AV2.2D Upgrade Options : - DVI-D ( DVI-D TMDS single link - AV ( S-Video + Composite, BNC ) - Audio ( Built-in Dual Stereo Speakers, 2W x 2 ) ( 3.5mm audio jacks for audio in & out ) Audio DVI-D Power...
-
Page 14: Av3.0 Upgrade
< 3.4 > AV3.0 Upgrade Options : - HDMI ( HDMI 1.3, CEA-861-D - DVI-D ( DVI-D TMDS single link - AV ( S-Video + Composite, BNC ) - Audio ( Built-in Dual Stereo Speakers, 2W x 2 ) ( 3.5mm audio jacks for audio in & out ) ( 1 ) In some circumstances, if the user connects the LCD to PC via HDMI port for video and audio signals, the LCD may display incorrectly on a full screen. - Page 15 < 3.5 > Options : Touchscreen & Driver 17" USB Touchscreen Specifi cation Model e-Resistive e-Capacitive Technology 5-Wire Resistive Capacitive Touch Point Single Single Method Stylus or Finger Finger Activation Force ≤ 50g / Stylus=R0.8 ≤ 50g Durability 35 million touches 300 million touches Response Time 15 ms...
- Page 16 < 3.5 > Options : Touchscreen & Driver TRB & TCB Driver Please follow the below steps to setup the touch screen:- Step 1. Run the bundled CD disc Step 2. Double click the Setup.exe Step 3. Follow the installation instruction to fi nish the setup Step 4.
- Page 17 < 3.6 > Options : DC Power Model 125V Input rating Input voltage: 12-Volt 24-Volt 48-Volt 110-Volt Input range: 9 ~ 18V 18 ~ 36V 36 ~ 75V 66 ~ 160V Input current - No load 50 mA 50 mA 50 mA 35 mA - Full load...
Need help?
Do you have a question about the RM6170 and is the answer not in the manual?
Questions and answers