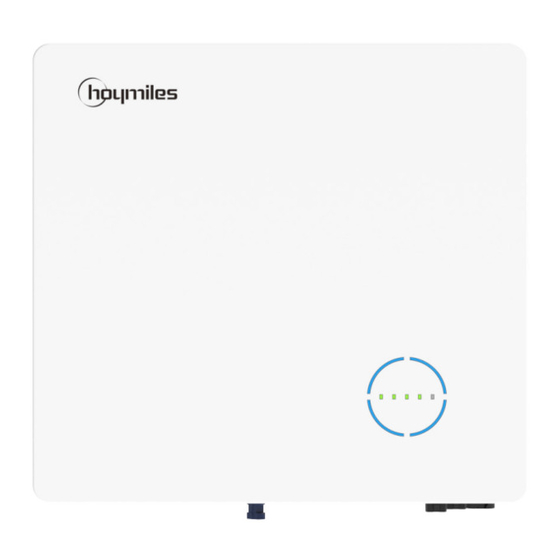
Hoymiles HAT-5.0HV-EUG1 Quick Installation Manual
Ac-coupled inverter
Hide thumbs
Also See for HAT-5.0HV-EUG1:
- Quick installation manual (33 pages) ,
- User manual (60 pages) ,
- User manual (53 pages)
Subscribe to Our Youtube Channel
Summary of Contents for Hoymiles HAT-5.0HV-EUG1
- Page 1 Open Energy for All AC-coupled Inverter Quick Installation Guide HAT-5.0HV-EUG1 HAT-6.0HV-EUG1 HAT-8.0HV-EUG1 HAT-10.0HV-EUG1 Region: Global REV1.1 hoymiles.com...
-
Page 2: Packing List
AC-coupled Inverter Quick Installation Guide 1 General Declaration • The information in this quick installation guide is subject to change due to product updates or other reasons. • This guide cannot replace the product labels or the safety precautions in the user manual unless otherwise specified. -
Page 3: Mounting The Inverter
AC-coupled Inverter Quick Installation Guide 3 Mounting the Inverter ≥300 mm ≥200 mm ≥200 mm ≥300 mm ≥15° ≥500 mm 75 mm 75 mm 65 mm © 2022 Hoymiles Power Electronics Inc. All rights reserved. © 2023 Hoymiles Power Electronics Inc. All rights reserved. -
Page 4: Wiring Diagram
AC-coupled Inverter Quick Installation Guide 4 Wiring Diagram... - Page 5 AC-coupled Inverter Quick Installation Guide © 2023 Hoymiles Power Electronics Inc. All rights reserved.
- Page 6 AC-coupled Inverter Quick Installation Guide...
- Page 7 AC-coupled Inverter Quick Installation Guide © 2023 Hoymiles Power Electronics Inc. All rights reserved.
-
Page 8: Electrical Connection
AC-coupled Inverter Quick Installation Guide 5 Electrical Connection Step 1 Grounding Protection Wire L=H+(2-3) mm S≥4 mm² 1.2 N·m Step 2 Grid (Same wirings for GEN if needed) 7-8 mm Click Step 3 EPS 7-8 mm 20-25 mm 13 mm≤ ≤18 mm 4 mm²≤S≤6 mm²... - Page 9 1-DI IN+ Para1 COM1 8-NC 8-485B 8-485A_2 7-NC 7-485A 7-485B_2 6-NC 6-NC 6-485A_1 5-485B 5-CANL 5-485B_1 4-485A 4-CANH 4-CANL 3-NC 3-NC 3-CANH 2-NC 2-NC 2-DI IN- COM2 1-NC 1-NC 1-DI IN+ © 2023 Hoymiles Power Electronics Inc. All rights reserved.
- Page 10 AC-coupled Inverter Quick Installation Guide Label Description Meter (485A, 485B) For the Smart Meter. BMS (CANH, CANL, 485A, 485B) For Li-ion battery, communication is via CAN or RS485. DRM (D1/5, D2/6, D3/7, D4/8, REF, COM) For external Demand Response Enabling Device. Dry-contact input of external bypass contactor.
-
Page 11: Ethernet Connection
AC-coupled Inverter Quick Installation Guide Step 6 Data Transfer Stick (DTS) WIFI and 4G Connection 0.6-0.8 N·m Ethernet Connection 0.6-0.8 N·m 8-NC 7-NC 6-RX- 5-NC PARA1 4-NC 3-RX+ 2-TX- 0.8-1.5 N·m 1-TX+ 0.5-0.8 N·m © 2023 Hoymiles Power Electronics Inc. All rights reserved. - Page 12 AC-coupled Inverter Quick Installation Guide 6 DTS Online Setting 1. Search “Hoymiles” in the App Store (iOS) or the Play Store (Android), or scan the QR code to download the Hoymiles Installer App. 2. Open the App and log in with your installer account and password. For new Hoymiles installers, please apply for an installer account from your distributor in advance.
- Page 13 4. Network configuration. (a) Upon successful connection, click on “Network Config” again and access the Network Configuration page. (b) Select the router Wi-Fi and enter the password. (c) Click on “Send to DTU”. © 2022 Hoymiles Power Electronics Inc. All rights reserved.
- Page 14 AC-coupled Inverter Quick Installation Guide 5. Check the DTS indicator for a solid blue light, which signifies a successful connection. The network configuration takes about 1 minute, please be patient. If the network is not connected, please check the internet as instructed. 7 System Commissioning of Wireless Access Point (AP) Connection 1.
- Page 15 PV side meter also needs to be configured. 3. Click on “O&M →Toolkit”, access the Overview page and click the “Self-check”. The self check can be completed after PV, battery, grid, EPS and GEN are properly connected. © 2023 Hoymiles Power Electronics Inc. All rights reserved.
- Page 16 User Manual in the QR code or at www.hoymiles.com/resources/download/ Hoymiles Power Electronics Inc. Add: Floor 6-10, Building 5, 99 Housheng Road, Gongshu District, Hangzhou 310015, P. R. China Tel: +86 571 2805 6101 Email: service@hoymiles.com support@hoymiles.com AP040766 www.hoymiles.com...


Need help?
Do you have a question about the HAT-5.0HV-EUG1 and is the answer not in the manual?
Questions and answers