Advertisement
Quick Links
Unpacking
Carefully remove your new NXG speakers from the box. Inspect the speakers for transit
damage. If you discover damage, contact your dealer immediately. Save your carton — it is
the best possible protection for your speakers should you ever have a need to move them.
Positioning and Mounting Your New NXG Speakers
Note: the distance between yourself and the point directly between the speakers should be
(roughly 20%) greater than the distance between the two speakers. Outside placement
may be different, due to variances in available mounting areas.
All NXG weather-resistant speakers are equipped with powder-coated ratcheting aluminum
mounting brackets that allow for vertical or horizontal mounting. Be certain the type of
anchor you choose, and the material you are mounting the anchor into, are capable of
holding the weight of the speaker. (Many mounting anchor systems are available from
your local hardware store.) After mounting the bracket, connect the wire as shown in
Figure 2, and loosely secure the speaker to the bracket using the supplied knobs. Adjust
the speaker's angle for optimum listening area coverage and firmly hand-tighten the knobs.
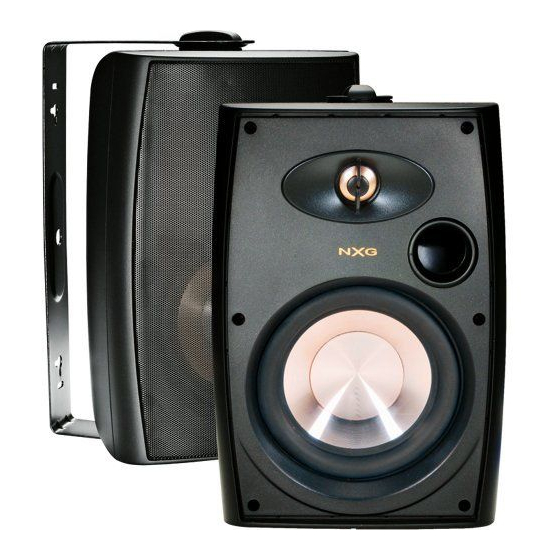
FIGURE 1
BACK VIEW
NX-PRO4000, NX-PRO5000, & NX-PRO6000
WEATHER-RESISTANT SPEAKER SYSTEM
Speaker wire hole
Brass inserts accept
universal style
mounting hardware
(not included).
Hooking Up Your
New NXG Speakers
STOP! – Make sure that you consult your amplifier's
owner's manual regarding speaker hook-up. Your am-
plifier should be turned off throughout this procedure.
Most speaker wire is polarity coded. This means that
each conductor is labeled either (+) positive or (-)
negative. The (+) positive side may be a different
color or texture than the (-) negative side. On the
back of your amplifier, each channel should be
labeled (+) and (-) as well as color coded red for
(+) positive and black for (-) negative. NXG speaker
terminals are color coded red for (+) positive and
black for (-) negative. Be sure to hook (+) to (+), (red
to red), and (-) to (-), (black to black). (See figure 3.)
All connections should be tight. Inspect connections
for frays and stray strands of wire touching both (+)
and (-) terminals. (This will cause a short and, per-
haps, damage your equipment.)
Powder-coated
aluminum ratcheting
mounting bracket
Bracket knob
Caring for Your Speakers
In outdoor applications, we recommend angling the
speakers downward as shown in Figure 1 to reduce
exposure to precipitation and hot sun. If added pro-
tection is desired, mount speakers under eaves or
other shelter. DO NOT immerse the speakers in
water or subject them to direct water pressure.
During winter months, we recommend storing the
speakers indoors if you are not using them.
TO CLEAN: All NXG weather-resistant enclosures can
be cleaned with a damp soft cloth and a mild deter-
gent. The aluminum grille can also be cleaned with
the same cloth.
OWNER'S
MANUAL
CORRECT IN-PHASE HOOK-UP
Negative (Black)
Input Binding Post
To Negative Terminal
of Amplifier
FIGURE 2
Positive (Red)
Input Binding Post
To Positive Terminal
of Amplifier
Advertisement

Subscribe to Our Youtube Channel
Related Manuals for Nxg PRO 4000


Summary of Contents for Nxg PRO 4000
-
Page 1: Caring For Your Speakers
WEATHER-RESISTANT SPEAKER SYSTEM Unpacking Carefully remove your new NXG speakers from the box. Inspect the speakers for transit damage. If you discover damage, contact your dealer immediately. Save your carton — it is the best possible protection for your speakers should you ever have a need to move them. -
Page 2: Specifications
NXG Speaker System Two-Year Limited Warranty If the NXG speaker system proves to be defective in workmanship or materials within two years from the date of the original customer’s purchase, we will, at our option, repair or replace the defective product.
Need help?
Do you have a question about the PRO 4000 and is the answer not in the manual?
Questions and answers