Table of Contents
Advertisement
Quick Links
Advertisement
Table of Contents

Related Manuals for Mobeye MiniPir iCM41


Summary of Contents for Mobeye MiniPir iCM41
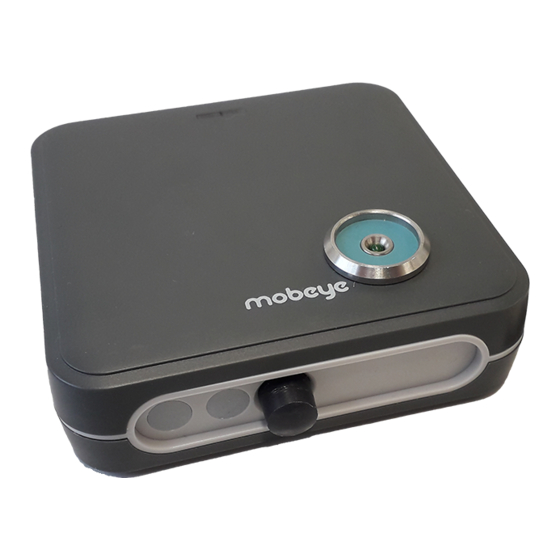
- Page 1 USER MANUAL Mobeye MiniPir ® iCM41 SW version 1.n...
-
Page 3: Table Of Contents
Insert the batteries Programming Connect a sensor to the input (optionally) Connect an external power supply (optionally) 4. Programming when using the Mobeye SIM and portal Sign up in the Mobeye Internet Portal Register the Mobeye SIM card Configuration and synchronisation... - Page 4 • Do not let it fall from height. • Do not use in an environment where any inflammable gases, vapors or dust are present or could be present. • Repair of the device may only be carried out by people, trained for Mobeye ® repair.
-
Page 5: General Description
In order to activate the device, a few steps are to be followed. First of all, you need to insert a SIM card. With the Mobeye SIM card, the Mobeye MiniPir uses the 4G LTE-M network or 2G network. The LTE-M network has a strong network coverage, deep penetrability in buildings and also works in remote areas. -
Page 6: Standard Behaviour
(default: every 7 days). If these are not received in time, the portal sends an exception message to the ‘service’ contacts. - In case one of the additional inputs is activated by a sensor, the Mobeye MiniPir sends an alarm message via the Mobeye Internet Portal. -
Page 7: Getting Started
Open the casing by pressing the corners of the front panel with both thumbs. Insert the SIM card into the module. The Mobeye SIM card is PIN code secured and will only work in a Mobeye device. Please do not place it in another device. -
Page 8: Insert The Batteries
If you replace the batteries the settings will not be deleted, since they are stored in the device memory. After placing the SIM card and batteries the Mobeye MiniPir will search for the network. The outside LED flashes green and red. This process normally takes 10-30 seconds, in a new device this can take some minutes. -
Page 9: Connect A Sensor To The Input (Optionally)
Connect the power adapter (or any other regulated 12-24V DC power supply) to the power input of the connector (press on the green pins to connect the wires). Mobeye adapter 10027 position - V+ to “+” black lead with white stripe left - Ground to “-“... -
Page 10: Programming When Using The Mobeye Sim And Portal
Follow the instructions on the screen. You will receive an e-mail to confirm the new account. After confirmation login on the portal. If you do not receive this e-mail, please check your spam box or ask Mobeye (info@mobeye.com). 4.2 REGISTER THE MOBEYE SIM CARD... -
Page 11: Configuration And Synchronisation
The history displays all historical events. Click on "all events" to see the list. Device Settings The device settings can be changed via the Mobeye Internet Portal. To do this, click on the "edit" icon and type in the security code (factory setting is "1111"). - Page 12 A free text is available as an internal comment field. This is not included in reports. Alarm dispatch and the Mobeye app In the block "Contacts for messages" you link the contact persons who receive alarm and service messages via push notification, call, text message and/or e-mail.
-
Page 13: How To Activate The Mobeye Minipir
After a successful reset, the outside LED will blink green to indicate that the module is not configured. The SIM card is now disconnected and is visible on the "Add device" screen. The SIM card can be used again in another (or the same) Mobeye device in combination with the portal. -
Page 14: Possible Settings
The Mobeye MiniPir can send regular test messages (keep alive) to the Mobeye Internet Portal, to ensure the proper functioning of the unit. The test message will also be sent if the unit is disarmed. The Mobeye Internet Portal expects the test message and checks the timely receipt. The monitoring of the test messages follows the ‘management by exception’... -
Page 15: Exit Delay Time
“5” for the PIR sensor (“0” for the extra inputs). 5.6 AUTOMATIC ARMING / DISARMING The Mobeye MiniPir only works if the unit is armed, which is done via the on/off button. It is possible to automatically arm and disarm the unit, based on an arming and/or disarming time scheme. -
Page 16: Power Failure Message
5.8 POWER FAILURE MESSAGE If the Mobeye MiniPir is supplied with external power and the power fails, it can send alarm messages. If the setting is "OFF", no message is sent. In the default setting “ALARM”, notifications are sent to the set contacts. -
Page 17: Enrolment Of New Tags
The detector leaves the enrolment mode if no tag was hold against the tag reader for 15 seconds. A tag can be enrolled on multiple Mobeye MiniPirs, allowing it to operate multiple devices. 25 tags can be enrolled per device. -
Page 18: Status Feedback
7. STATUS FEEDBACK LED pattern Status Required action Blinking green, 1 second Module not configured Configure at least one on / 1 second off telephone number. Green LED stays on Module is switched on, No action required. continuously powered by an external source Flashing red/ green Module establishes... - Page 19 : ca. 80 mA stand-by / max. ca. 500 mA Ambient temperature : -10 °C until +50 °C For more information, visit www.mobeye.com. This manual is published by Mobeye ® All rights, the translation included are reserved. Any reproduction, either...
Need help?
Do you have a question about the MiniPir iCM41 and is the answer not in the manual?
Questions and answers