Table of Contents
Advertisement
Quick Links
Advertisement
Table of Contents

Summary of Contents for TMT Automation Marble Series
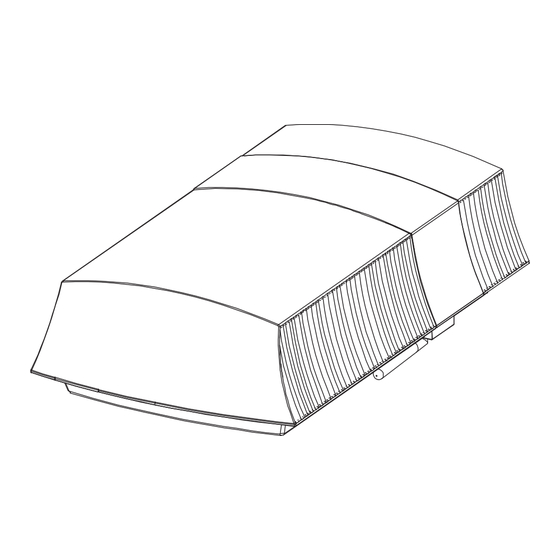
- Page 1 Marble SERIES Garage Door Openers USER MANUAL...
- Page 3 WARNING : Please read this instruction manual carefully before the installation. This manual is exclusively for qualified installation personnel. TMT Automation Inc. is not responsible for improper installation and failure to comply with local electrical and building regulations. Keep all the components for the garage door opener and this manual in hand for further consultation.
-
Page 4: Description Of The Automation
2. PRODUCT DESCRIPTION 2.1 APPLICATIONS Garage door opener is applied for residential automation of up and over doors and sectional doors. It has to be operat- ed with electricity. It’s forbidden to be operated by back-up batteries for normal use.Back-up batteries are only allowed for emergent operation when there is a power failure, and the carriage can be released by pulling the cord to move the door manually. - Page 5 3. Installation 3.1 Inventory of a garage door opener C Rail Front hold Rear Pulley Support Front Pulley Release Rope Tensioner Door Bracket Ceiling Bracket Header bracket Bent Arm Straight Arm Bracket Bracket Hardware Inventory Door Bracket Locator Ceiling Support Bracket Blocker x1 Locking Screws...
-
Page 6: Rail Assembly
3.2 Rail assembly Assemble the front and middle rail with the junction, and make sure it is located at the middle of the protruding point. Assemble the back and middle rail with another junction, and make sure it is located at the middle of the protruding point. - Page 7 3.3 Attach the rail to the motor 1. Connect the (3) Rear pulley support to the output shaft of the motor. 2. Fasten the rail on the motor with (9) Motor hold bracket and the (25) Hex nuts. 3. Fasten the (10) Ceiling hold bracket and (13) Ceiling bracket at the rear side between the motor and the rear blocker with Hex bolt (21) and Hex nuts (24).
-
Page 8: Connect Door Arm To Trolley
3.5 Connect release section to the garage door WARNING Connect the (7) Emergency release rope on the (8) Outer trolley assy To prevent possible SERIOUS INJURY or DEATH from a falling Secure handle with overhand knot garage door: ENGAGED and heat seal rope. •... - Page 9 3.6 Final steps before the system learning 1. Install the (18) Blocker at the door open position. 2. Attach the warning sign to the (7) Emergency release rope. 3. Connect the power to the motor. Ensure the electric plug and socket are well connected. WARNING To prevent possible SERIOUS INJURY or DEATH from Blocker...
-
Page 10: Accessory Connection
LED is ON. 2. Never cut or remove the cable supplied with the Marble Series garage opener. The power socket of Marble garage opener connection must be fitted by skilled and qualified personnel in strict observance of current legislation, standards and regulations. - Page 11 4.3 Transmitter memorizing and erasing process A. Transmitter Memorizing: Press “RF Learn” button for 3 seconds, and the LED display will show “CS”; then press the transmitter A button within 10 seconds; “CS” will blink three times and stay ON After 10 seconds without any movement, “CS”...
- Page 12 3 SEC Step.1 Step.2 Step.3 Step.4 Step.5 B. Return to the Default Setting: Press “RF” and “DOWN” buttons for 3 seconds, and the whole setting will be defaulted when the LED shows “CL”. Default Setting 3 SEC C. Motor current auto-detection The LED shows the current consumption of the motor During the system learning process, the control panel will automatically detect the current consumption from each motor, indicate the resistance level of the gate...
- Page 13 4.5 Programmable function indication LED LED Display Programmable Functions LED Display Programmable Functions Start transmitter learning mode. Operation testing Cleaned all studied transmitter. System Learning Fail. Set up Open Limit. System Learning Completely. Set up Close Limit. System setting clear 4.6 How to set the parameter: Step 1: Press the“Set”...
- Page 14 4.7 Programmable function setting LED Display Definition Function Value Description Deceleration Point 1.The default setting is "1-3" (% full operation) Main Operation Key Function off 1.The default setting is "2-1" A Key B Key C Key D Key Function off 1.The default setting is "3-2"...
- Page 15 LED Display Definition Function Value Description Overcurrent setting of open 2A as overcurrent value of open limit 1. The default setting is "C-3" limit 3A as overcurrent value of open limit 4A as overcurrent value of open limit 5A as overcurrent value of open limit 6A as overcurrent value of open limit 7A as overcurrent value of open limit 8A as overcurrent value of open limit...
-
Page 16: Installation Of Photocells
5.2 Installation of Photocells The safety photocells are security devices to control automatic gates. It’s consist of one transmitter and one receiver set in the waterproof covers. It will be triggered when the path of the beam is blocked. SPECIFICATION: Detection Method Through Beam Sensing Range... - Page 17 6. Specification Garage Door Opener MARBLE60 MARBLE80 MARBLE100 MARBLE120 Volt AC 220V / 110V ; AC 220V / 110V ; AC 220V / 110V ; AC 220V / 110V ; 50Hz~60Hz 50Hz~60Hz 50Hz~60Hz 50Hz~60Hz Motor volt DC24V DC24V DC24V DC24V Power 100W 120W...
- Page 18 8. Accessories TM3 Transmitter Frequency 433.92Mhz Coding Rolling code Buttons 4 buttons Power Supply 3V with one CR2032 button type lithium battery Operating Temperature -20°C~+50°C Dimension 37*67.5*12 (mm) FL2 Flashing Light Voltage 24V DC Operating Temperature -20°C~+50°C Installation Horizontally or vertically installed Dimension 74*167*58.4 (mm) H2 Photocells...
- Page 19 GARAGE DOOR OPENERS USER MANUAL...
- Page 20 GARAGE DOOR OPENERS USER MANUAL 34100-196-05-B...


Need help?
Do you have a question about the Marble Series and is the answer not in the manual?
Questions and answers