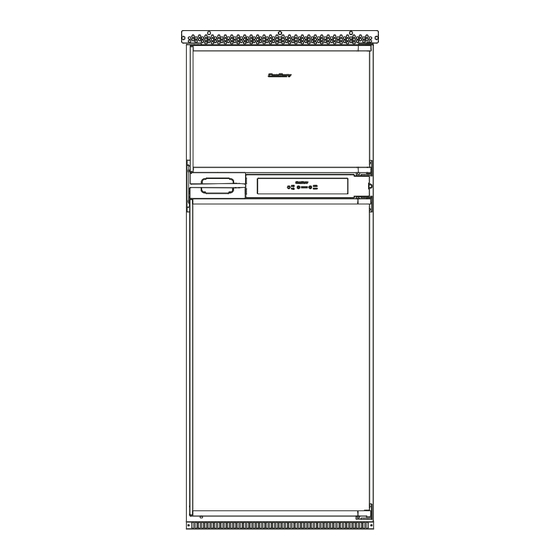
Summary of Contents for ConServ RF 1012 DC S
- Page 1 REFRIGERATOR-FREEZER Model - RF 1012 DC S OWNER’S MANUAL Read the instructions carefully and keep for future reference...
- Page 2 Conserv Appliances undertakes to the consumer-owner to repair or, at our option, to replace any part of this product which proves to be defective in workmanship or materials under normal personal, family or household use, in the USA and Canada, for a period of one year from the date of original purchase.
- Page 3 Do not put acid or flammable or volatile materials inside the appliance. Do not puncture or damage refrigerant tubing. Customer Service. This appliance is not intended for use by children or persons with reduced physical, sensory or mental capabilities, or lack of experience and knowledge, unless they have been given supervision or instruction concerning use of the appliance by a person responsible for their safety.
-
Page 4: Power Supply
Power Supply The refrigerator can be operated with a 12V DC voltage supply. Check the voltage specification on the data plate to make sure it is the same as the power supply. To avoid voltage drops and loss of performance, keep the connection cable as short as possible and directly connected from the power source to the DC wire connection of the unit. -
Page 5: Reversing The Doors
Reversing the Doors The following set of instructions will guide you to reverse the doors. Reverse the Control Panel Box 1. Open the refrigerator and freezer doors 120˚ or more 2. Unscrew and remove the control panel box 3. Disconnect the wiring harness 4. - Page 6 Reverse the doors and handles 1. Unscrew and remove the upper hinge pin 2. Pull the door(s) out about an inch and then up to separate from the bottom hinge pin 3. Remove the handle parts from the door(s) 4. Rotate the door(s) 180˚ 5.
- Page 7 Remove hinges and pins 1. Remove right upper hinge and hinge hole plug 2. Rotate hinge hole plug 180˚ and reinstall in position R1 3. Take left upper hinge from accessory bag and install in position L1 4. Take upper hinge from accessory bag and install in position L2 5.
- Page 8 Attaching the Refrigerator 1. Connect the Refrigerator drain pipe 2. Open the refrigerator door 3. Place the refrigerator into the desired space 4. Attach the refrigerator using screws and cover the openings with plugs...
- Page 9 Attaching top and bottom grills 1. Push the top grill into the recess 2. Attach it in place using screws 3. Push the bottom grill onto the mounting bracket Ensure the ventilation grills are not blocked or covered.
-
Page 10: Operation
Operation This refrigerator is made for use in a recreational vehicle. The appliance is designed to be operated with 12V DC supply. Place the refrigerator in a well-ventilated place. Maintain space around and behind the refrigerator, and do not cover or block the grill on the rear cover plate of compressor at the back of refrigerator. - Page 11 Temperature Setting Press the Temperature Setting button to set the level of cold. Each time you press this button, the 5 indicator lights to the right will illuminate, with one light being the least cold and all 5 lights illuminated showing the coldest setting. 3 lights is the default setting. After the temperature is set, the indicator light(s) will go off.
- Page 12 Refrigerator Fault Alarm If a fault occurs, a beep will sound and the indicator lights will flash in a specific pattern to diagnose the type of error. The indicator lights flash 5 times every 5 seconds. If multiple errors occur at the same time, the lights will display in a loop every 5 seconds.
-
Page 13: Maintenance
Defrosting When ice builds up at the back wall of the refrigerator or freezer, turn off the appliance. Let the ice melt and clean the appliance before turning it on again. Removing Shelves and Door Bins To remove shelves, lift the back of the shelf up slightly and pull out. To remove door bins, lift up 2”... -
Page 14: Technical Specifications
Technical Specifications Model No. RF 1012 DC S 9.53 cu. ft. 2.47 cu. ft. Normal Default Refrigerator Wiring Diagram... -
Page 15: Troubleshooting
Troubleshooting PROBLEM POSSIBLE CAUSE Doesn’t work • Power is not on or the unit is not connected to power • Low voltage • A fuse may be blown or the circuit breaker tripped • Plug not fully inserted into the wall outlet Internal temperature not cold •... - Page 16 Cabinet...
- Page 17 Door...
- Page 18 Cabinet Refrigerator shelf...
- Page 19 Refrigerator door panel retainer Refrigerator door panel Refrigerator door Refrigerator door bin...


Need help?
Do you have a question about the RF 1012 DC S and is the answer not in the manual?
Questions and answers