Advertisement
Advertisement
Table of Contents

Related Manuals for KEENCUT Excalibur 6000


Summary of Contents for KEENCUT Excalibur 6000
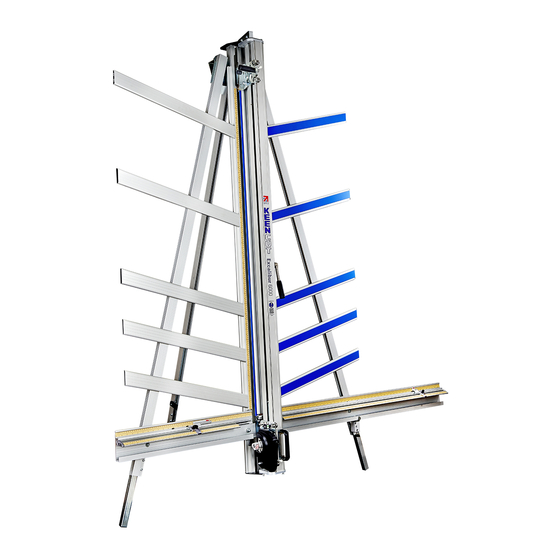
- Page 1 Excalibur 6000 installation manual – Squaring and Calibration The world’s finest cutting machines www.keencut.com +44 (0) 1536 263158 sales@keencut.co.uk (UK HQ) Scan the QR code or +1 (716) 748 6203 sales@keencut.com (US sales) click here to view this document online >...
-
Page 2: Table Of Contents
Excalibur 6000 installation manual – Squaring and Calibration Contents 1. Squaring and Calibration ............................1.1 Checking the machine for squareness ........................1.2 Adjusting the squareness ............................. 1.3 Calibrating the vertical scale ..........................1.4 Calibrating the squaring arm scales ......................... 1.5 Calibrating the Easy Measuring Scale ........................ -
Page 3: Squaring And Calibration
Excalibur 6000 installation manual – Squaring and Calibration 1. Squaring and Calibration 1.1 Checking the machine for squareness For your machine to produce accurate square cuts the main body needs to be set so that is is 90° to the squaring arm, for the following procedure you will need a piece of card or easily cut board at least 60cm x 100cm (2’... -
Page 4: Adjusting The Squareness
Excalibur 6000 installation manual – Squaring and Calibration 1.2 Adjusting the squareness NOTE: Before making any adjustments carry out the squareness check as described in Checking the machine for squareness> It is assumed that the board used for the test is still clamped in the machine. - Page 5 Excalibur 6000 installation manual – Squaring and Calibration The adjustment screw should be moved so that when the blade is moved to the top of the board it cuts between two existing cuts, the plastic sightline fixed to the edge of the clamp gives an indication where the machine is going to cut.
-
Page 6: Calibrating The Vertical Scale
Excalibur 6000 installation manual – Squaring and Calibration 1.3 Calibrating the vertical scale Trim the bottom of the scale at zero with scissors Remove the paper backing tape and carefully place the rule adjacent to its groove in the main body and with the zero end resting inside the material channel of the squaring arm. -
Page 7: Calibrating The Squaring Arm Scales
Excalibur 6000 installation manual – Squaring and Calibration 1.4 Calibrating the squaring arm scales The top edge of the squaring arm slides left to right to enable calibration. Use the 3mm Allen (hex) key to loosen the screw in the back of the squaring arm if adjustment is necessary. -
Page 8: Calibrating The Easy Measuring Scale
Excalibur 6000 installation manual – Squaring and Calibration 1.5 Calibrating the Easy Measuring Scale Align the material stop with a measurement on the squaring arm and make note of this measurement. Make a pencil mark on the aluminium as shown. - Page 9 Excalibur 6000 installation manual – Squaring and Calibration Apply the scale to the steel strip so the recorded measurement on the tape aligns with the pencil mark. Carefully trim the excess tape at each end of the steel strip. Replace the measuring stop and the end cap.
Need help?
Do you have a question about the Excalibur 6000 and is the answer not in the manual?
Questions and answers