Subscribe to Our Youtube Channel
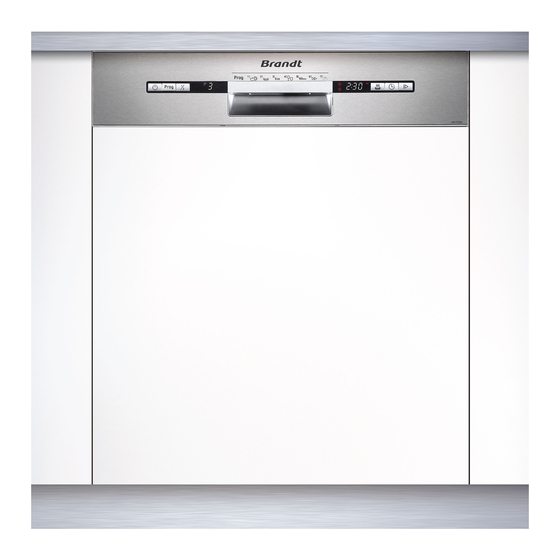
Summary of Contents for Brandt VH1772X
- Page 5 is 12...
- Page 7 Scrap off any large amount of leftover food. Soften remnants of burned food in pans, and then load the baskets. Refer to the section entitled “Preparing and Loading Dishes”. Turn on the water tap. The appliance will start working after 10 seconds. 1.A running cycle can only be modified if it has been running for a short time.
- Page 8 !"#$$%& 1.On/Off Button: To turn on/off the power supply. 5.Rines aid warning indicator Salt aid warning indicator 2.Program Button: Press the button to select a wash They indicate when the corresponding dispenser needs program. needs to be filled. 3.Half load function Button and indicator: Press the Button to select Half load function.
- Page 9 Please follow the steps below for adjustment in salt consumption. 1. C lose the door and switch on the appliance; 2. Press the Program button for more than 5 seconds to start the water softener set model within 60 seconds after the appliance was switched on; 3.
-
Page 11: Adjust Ing T He Rinse Aid R Eservoir
Remove the rinse reservoir cap by lifting up the handle . Pour the rinse aid into the dispenser, being careful not to overfill. Close the cap after all. Adjust ing t he rinse aid r eservoir To achieve a better drying performance with limited rinse aid, the dishwasher is designed to adjust the consumption by user. -
Page 12: Filling The Detergent Dispenser
Filling The Detergent Dispenser Add detergent into the larger cavity (A) for the main wash cycle . For better cleaning result, especially if you have very dirt items, pour a small amount of detergent onto the door. The additional detergent will activate during the pre-wash phase. - Page 15 To make room for taller items in the upper basket, raise the You can then lean the tall glasses against cup rack upwards. it. You can also remove it when it is not required for use. For better stacking of pots and pans,the spikes can be folded down as shown on the picture below.
- Page 16 4/16 1.621 17.8 1or2 pieces 4/16 1.302 14.3 1or2 pieces 4/16 0.923 1or2 pieces 4/16 14.3 1or2 pieces 1.35 11.7 iece 0.751 11.2 1or2 pieces 0.02 Values other than the ECO program are purely indicative.
- Page 17 If a program is selected, the response light will light. Then press the Start/Pause button, the dishwasher will start the selected cycle soon.
- Page 18 to be drained.
- Page 26 Connect the cold water supply hose to a threaded 3/4(inch) connector and make sure that it is fastened tightly in place. If the water pipes are new or have not been used for an extended period of time, let the water run to make sure that the water is clear.
- Page 30 WARNING! Non compliance with the loading can result in poor washing quality.
- Page 32 DATABASE ACCESS In order to access to your model information stored in the product database, as set out in Regulation (EU) 2019/2017 and relating to energy labelling, please log on to the website: https://eprel.ec.europa.eu/ Look for the reference of your product on the website by putting the service reference that is indicated on your product rating plate.


Need help?
Do you have a question about the VH1772X and is the answer not in the manual?
Questions and answers