Advertisement

POWER BUTTON
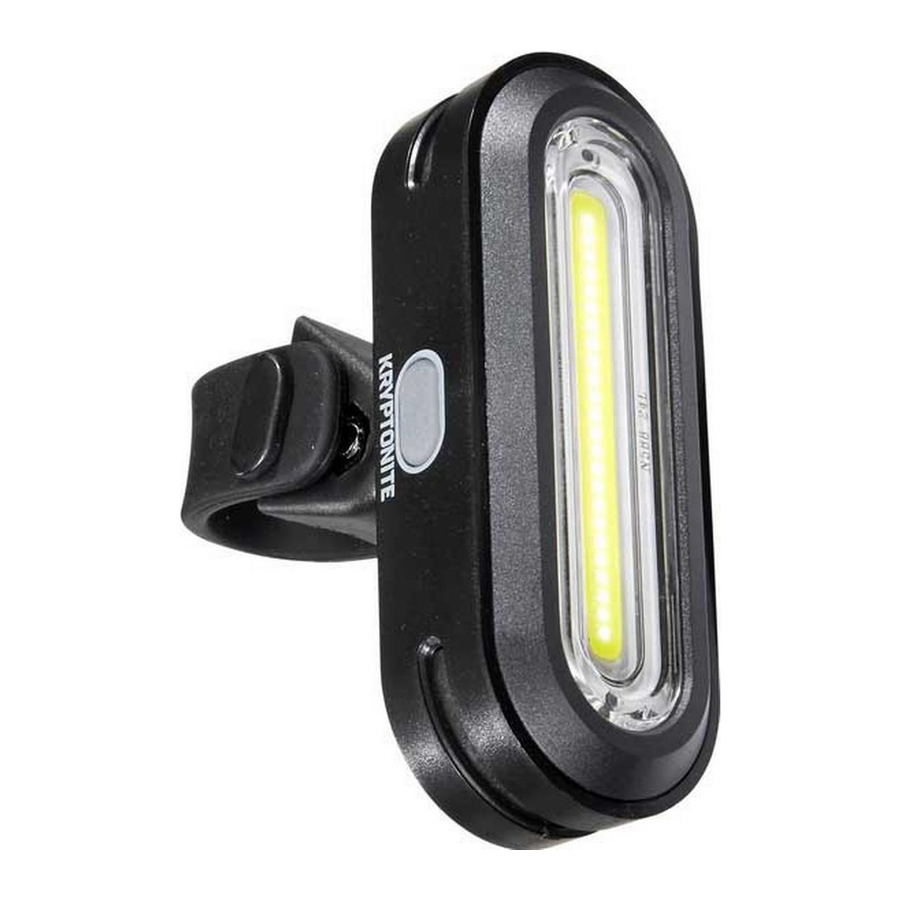
 To turn on the Avenue F-100 hold down the power button (A) until the light is on and then release. There are 5 modes for this light. Press and release the light power button (A) briefly to cycle through each mode. To turn off the light hold down on the power button (A) until the light is off and then release.
MODES
FRONT:
- First Click – High Steady
- Second Click- Medium Steady
- Second Click – Low Steady
- Third Click- Daytime Pulse
- Fourth Click – Nighttime Pulse
- Fifth Click- Economical Flash
MEMORY FUNCTION
When the light is turned off it will remember the mode it was on last and turn back on at that mode.
LOW BATTERY INDICATOR
When the rechargeable battery is at 25% power or less a red indicator located around the power button (A) will illuminate.
POWER SAVER FUNCTION
At 10% battery power or less the light will switch to "Economical Flash" which is the lowest power output to save battery.
CHARGING
The Avenue F-100 is equipped with a built-in lithium polymer battery that has a USB charging port (B) located on the back of the light. To charge, open the USB cover (C). DO NOT FULLY REMOVE THE COVER). Insert the USB charging cord into the USBcharging port (B). Connect larger end of USB cord to a power source like a computer or USB block (not included).
To ensure that the light is charging, look for a red indicator light located around the power button (A).
Once fully charged indicator light will turn green. Disconnect from power source. Push and seal USB cover (C) properly to ensure dirt and grime does not get into the charging port.
MOUNTING
The Avenue F-100 light comes with a mounting clip already attached to clip on bags, jerseys, etc.
To mount the light on a bike: First remove the clip (D) by pushing down on the release leaver (E) and sliding the clip (D) down.
Then take the standard bracket (H) and slide it into the wide part of the groove (I) on the back of the light until it snaps. Take the bracket and hold it against the handlebar. Take the standard rubber fastening strap (G) around the handlebar so that it is snug and insert hook (F) through a hole in the strap. Adjust the strap of the connector bracket to your desired angle. The light should be mounted so the light's beam is directed slightly towards the ground. Once you have found the correct angle take a Phillips head screwdriver and tighten the screw (J) so that it stays in this position during your ride.
To mount the standard bracket (H) onto a head tube that is greater than 32mm, replace the standard rubber fastening strap (G) with head tube rubber fastening strap (L).
To mount the light so that it is vertical, replace the standard clip attachment (K) with the vertical clip attachment (M). First take a Phillips head screwdriver and unscrew the screw (J). Remove the standard clip attachment (K) from the mount slot and insert the vertical clip attachment (M). Then place the screw through the hole and tighten with the screwdriver.


WARRANTY
2-Year Limited Warranty:
Schlage Lock Company, LLC, through its Kryptonite division ("Kryptonite") extends a 2-year limited warranty (excluding single cell batteries) to the original user of the lights manufactured by Kryptonite (the "Products") against defects in material and workmanship. This warranty only applies to the Original User of Products. This warranty is not transferable. This warranty gives you specific legal rights, and you may also have other rights, which vary from location to location.
For complete warranty information on Kryptonite locks and lights and additional terms and conditions please visit Kryptonite's website at www.kryptonitelock.com or call Kryptonite at 1-800729-5625 (USA Only) or 001 781-828-6655.
To contact Kryptonite, go to www.kryptonitelock.com or call 1-800-SAY-LOCK (USA Only) or 001 781-828-6655.
Kryptonite
437 Turnpike Street
Canton, MA 02021
(781) 828-6655
www.kryptonitelock.com

Documents / Resources
References
Download manual
Here you can download full pdf version of manual, it may contain additional safety instructions, warranty information, FCC rules, etc.
Advertisement


Need help?
Do you have a question about the Kriptonite Avenue F-100 and is the answer not in the manual?
Questions and answers