Table of Contents
Advertisement
Quick Links
QUICK START GUIDE
FEATURES:
• 1/2.8" 2 MegaPixel Sony® STARVIS CMOS Sensor
• 2 MegaPixel Coax Based Camera (1920 × 1080 @ 30/25fps)
• 5 × 850nm High power LEDs with up to 130' IR Range
• Video output EX-SDI1.0,2.0 / HD-SDI / TVI mode / AHD mode / CVI mode
or CVBS Selectable
• f=2.7~13.5mm F 1.6, 5 MegaPixel Motorized Zoom Lens [VTC-IRM5H-2713]
• f=5.0~50mm F 1.6, 5 MegaPixel Motorized Zoom Lens [VTC-IRM5H-550]
• Automatically Removable IR Cut Filter with Dual Filter Switch
• True WDR (Wide Dynamic Range) @30/25fps
• ROI (Region of Interest) WDR
• Improved Noise Reduction with XD-DNR
• Motion Detection, Privacy Mask, DeFog, Sens-up(~x32), ROI-WDR, D-WDR,
Sharpness, DeBlur, Mirror / Flip, Backlight / Highlight Compensation, Smart IR,
Anti-Saturation, Title Set
• OSD Menu & Video Sub-out for Easy Installation and Maintenance
• 1500' HD-Analog Transmission Distance over Coax (Depending on Cable
Characteristics and Integrity)
• COC [Control over Coax] Through HD-TVI (Pelco-C®) or AHD
• One-Touch 3-Axis Locking Bracket, Easy Installation Pad
• AC24V/DC12V
• IP68, Aluminum Cast, Dual window, One-Touch 3-Axis Locking Bracket, Easy
Installation Pad
• 3-Year Warranty
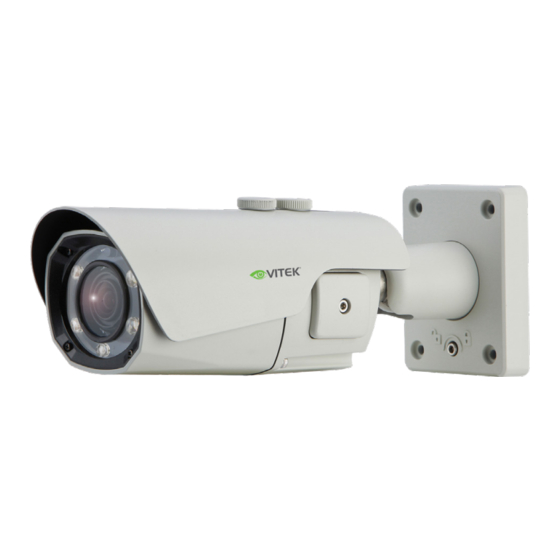
VTC-IRM5H-2713
VTC-IRM5H-550
Virtuoso Series 2 MegaPixel
Multi-Format Auto Focus
WDR Bullet Camera
COAX
Advertisement
Table of Contents

Subscribe to Our Youtube Channel
Related Manuals for Vitek VTC-IRM5H-2713


Summary of Contents for Vitek VTC-IRM5H-2713
- Page 1 • Video output EX-SDI1.0,2.0 / HD-SDI / TVI mode / AHD mode / CVI mode or CVBS Selectable • f=2.7~13.5mm F 1.6, 5 MegaPixel Motorized Zoom Lens [VTC-IRM5H-2713] • f=5.0~50mm F 1.6, 5 MegaPixel Motorized Zoom Lens [VTC-IRM5H-550] • Automatically Removable IR Cut Filter with Dual Filter Switch •...
-
Page 2: Safety Precaution
Safety Precaution To prevent electric shocks and risk of fire hazards, do NOT use other than specific power source. CAUTION: TO REDUCE THE RISK OF ELECTRIC SHOCK, DO NOT REMOVE COVER (OR BACK). NO USER SERVICEABLE PARTS INSIDE. REFER SERVICING TO QUALIFIED SERVICE PERSONNEL. The symbol is intended to alert the user to the presence of uninsulated "dangerous voltage"... - Page 3 Safety Precaution NOTICE The images used in this instruction manual are processed to help comprehension and may differ from actual video of the camera. Avoid installing areas where has shock or vibration which results in the problems. Pay attention to safety when laying the connection cable and observe that the cable is not subjected to heavy loads, kinks or damage and no moisture can get in.
- Page 4 Composition Plastic Anchor: 6 x 30mm (4pcs) Mounting Screw: 4 x 30mm (4pcs) Assembly Screw: 4 x 15mm (4pcs) Torque Wrench: Camera 3mm (1pc) Operating Mounting Easy Video Sub-out Instruction Template Bracket Cable (1pc) Dimensions 10.51” / 267mm 3.15” / 80mm 7.48”...
-
Page 5: Part Names
Part Names Sunshield Bold Sunshield Power/Video Cable Easy Bracket Bracket Lock/Unlock Screw OSD Setup Control Cover CAUTION • Extreme care should be taken NOT to scratch the window in front of lens. • Care should be taken the cable is NOT to be damaged, kinked or exposed in the hazardous area. -
Page 6: Installation Instructions
Installation Instructions 1. Locate the mounting template at the installation position and drill the ceiling or wall if needed. ( *The easy bracket can not be installed on the ceiling) 2. Place the easy bracket on pre-drilled position and fix it through using mounting screws (4x30mm). - Page 7 Installation Instructions Pan & Tilt adjustments • Unlock the screw on the camera bracket through using the torque wrench supplied • Set the camera’s viewing angle then lock the screw on the bracket. 1) Pan limit: Pan is limited to +/- 90°. 2) Tilt limit: 90°...
-
Page 8: Installation And Commissioning Instructions
Installation Instructions Installation and commissioning Instructions • Make sure the power is removed before the installation. • Follow the order for applying power. First, connect the low voltage (AC24V or DC12V), then plug the AC adapter to AC outlets to avoid an improper reset from power jitter and a damage from the surge voltage when no load. - Page 9 NOTES...
-
Page 10: Detailed Specifications
DETAILED SPECIFICATIONS Imaging Sensor 1/2.8” 2 MegaPixel Sony STARVIS CMOS® Sensor Effective Pixels 1920(H) x 1080(V) x 30p Scan Frequency 30Hz(V), 22.5Khz(H) Progressive Video Format HD: 16:9, 1080p@30fps / CVBS: 16:9 (NTSC) Video Output Digital: EX-SDI 1.0/ 2.0/ 2.1, HD-SDI, HD-Analog: TVI mode, AHD mode, SD-Analog: CVBS Synchronization Internal Color: 0.08 Lux, B/W: 0.005 Lux (LED Off) - Page 11 FOR FULL OPERATION AND SETUP INSTRUCTIONS PLEASE REFER TO THE COMPLETE MANUAL BY SCANNING THE QR CODE BELOW:...
-
Page 12: Limited Product Warranty
LIMITED PRODUCT WARRANTY VITEK products carry a three (3) year limited warranty. VITEK warrants to the purchaser that products manufactured by VITEK are free of any rightful claim of infringement or the like, and when used in the manner intended, will be free of defects in materials and workmanship for a period of three (3) years, or as otherwise stated above, from the date of purchase by the end user.
Need help?
Do you have a question about the VTC-IRM5H-2713 and is the answer not in the manual?
Questions and answers