Table of Contents
Advertisement
Quick Links
Dated receipt required for warranty replacement.
FEATURES
• Solar Powered LED
• Power Reserve Technology
• Wall or Eave Mount
• Cord Management System
• Night Operation Only
UNPACKING
Be sure to remove all contents from packaging and verify
all items are present before assembling this light fixture.
This package includes the following items:
• Security Light
• Mounting Hardware
HARDWARE INCLUDED
Mounting Screw (x4)
DESCRIPTION
This light operates from a rechargeable, lithium-ion bat-
tery (pre-installed, non-replaceable) charged from a solar
panel. It will also hold three "C" alkaline batteries (not
included) which are used as a backup power source. If the
solar battery becomes depleted, the light will automatically
switch to the alkaline batteries. When the solar panel has
recharged the solar battery, the light will automatically
switch back to the solar battery.
© 2018 HeathCo LLC
• Solar Panel
• Owner's Manual
Wall Anchor (x4)
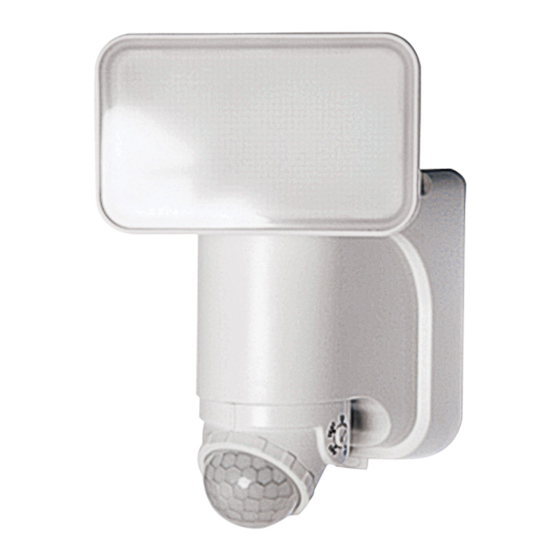
Motion-Activated
Models: 7162 / 7163 / 7164
W
7162
Note: All illustrations show model 7163. The instructions
are the same for all models.
INITIAL BATTERY CHARGE
IMPORTANT: The solar panel requires full, direct
sunlight to charge the battery. Clouds, rain, snow,
and other weather conditions may not allow the
solar panel to completely recharge the battery.
Other obstructions such as buildings or trees may
block the sun as well.
When installing the solar panel, make sure it is
aimed as described below with a minimum amount
of obstructions. If possible, mount the panel facing
toward the southern sky.
Solar Light
W
7163/7164
Advertisement
Table of Contents

Subscribe to Our Youtube Channel
Related Manuals for Heath Zenith 7162


Summary of Contents for Heath Zenith 7162
- Page 1 Motion-Activated Solar Light Models: 7162 / 7163 / 7164 Dated receipt required for warranty replacement. FEATURES • Solar Powered LED • Power Reserve Technology • Wall or Eave Mount • Cord Management System • Night Operation Only UNPACKING 7162 7163/7164 Be sure to remove all contents from packaging and verify all items are present before assembling this light fixture.
-
Page 2: Mounting Location
IMPORTANT SAFETY AND • PRIOR TO USE, the solar panel will need to be con- nected to the battery (see Installation instructions) INSTALLATION INFORMATION and the battery will require 3 to 7 days of full sun to Before installing security light, read all instructions carefully completely charge with the control dial in the OFF and keep owner’s manual for future reference. -
Page 3: Wall Mount
Wall Mount Eave Mount Note: Light fixture and sensor should be mounted as shown above when installed (depending upon type of installation). INSTALLATION Setting the Sensor for Wall or Eave Mounting • For wall mounting, turn the ring around the sensor clockwise until the “W”... -
Page 4: Mounting The Solar Panel
IMPORTANT: The “C” batteries are used when the rechargeable solar battery is depleted. When the “C” batteries are depleted, a red LED will flash inside the motion sensor and the “C” batter- ies will need to be replaced. NOTE: To extend the life of the batteries, this light only works in the dark (night time). -
Page 5: Operation
OPERATION Determining the Motion Sensor Detection Zone The motion sensor is non-adjustable. It has a sensing angle of 180° and a range of approximately 40 ft. depending on the surrounding temperature. When the control dial is set to the “TEST” position, the light will operate during the day or night. -
Page 6: Care And Cleaning
CARE AND CLEANING • To prolong the original appearance, clean the light fixture with clear water and a soft, damp cloth only. • Do not use paints, solvents, or other chemicals on this light fixture. They could cause a premature deterioration of the finish. -
Page 7: Troubleshooting Guide
TROUBLESHOOTING GUIDE SYMPTOM POSSIBLE CAUSE SOLUTION The light will not come on. 1. The control dial is set to the OFF position. 1. Turn the control dial to select an amount of time for the light timer. 2. Batteries are dead. 2.
Need help?
Do you have a question about the 7162 and is the answer not in the manual?
Questions and answers