Bellman & Symfon BE1411 Quick Start Manual
Visit door transmitter
Hide thumbs
Also See for BE1411:
- User manual (96 pages) ,
- Medical device information (40 pages) ,
- Installer's manual (39 pages)
Table of Contents
Advertisement
Quick Links
Visit door transmitter
Buttons and connections
Test / program buttons
Ext. trig. input
Technical specifications
In the box
BE1411 Visit door transmitter
2 x 1.5 V AA alkaline batteries
Velcro for wall mounting
Screw and wall plug
Power and battery
Battery power
2 x 1.5 V AA lithium or alkaline
type batteries
Power consumption
Active < 70 mA
Idle position < 15 μA
Operation time
Alkaline batteries ~ 5 years
Lithium batteries ~ 10 years
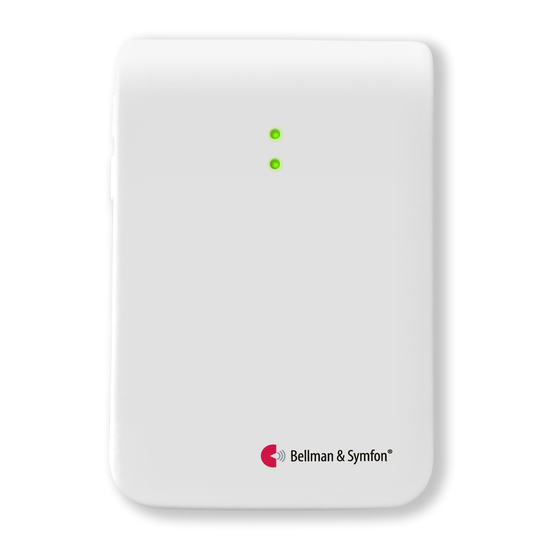
LED lights
3.5 mm ext. mic. input
Dimensions and weight
Height: 100 mm, 4.0"
Width: 65 mm, 2.6"
Depth: 27 mm, 1.1"
Weight: 120 g, 4.2 oz. incl. batteries
Activation
The test buttons and the int. mic.
The electromagnetic detector
The external microphone accessory
The existing doorbell connected to
the external trigger input
Inputs
3.5 mm external microphone input
External trigger input
Internal microphone
Doorbell push button
Environment
For indoor use only
Operating temperature
15° to 35° C, 59° to 95° F
Relative humidity
5% to 95%, non condensing
Frequency and coverage
Frequency: 314.91 MHz, 433.92 MHz
or 868.30 MHz, depending on region
Coverage: 50 - 250 m, 55 - 273 yd.
depending on the radio frequency
and the building's characteristics
Accessories
The following accessories are available:
BE9199 External microphone 2.5 m
BE9200 External microphone 0.75 m
BE1411
BE9199 / BE9200
External microphone
Advertisement
Table of Contents

Related Manuals for Bellman & Symfon BE1411


Summary of Contents for Bellman & Symfon BE1411
- Page 1 External microphone Doorbell push button Ext. trig. input Technical specifications In the box Dimensions and weight Environment BE1411 Visit door transmitter Height: 100 mm, 4.0" For indoor use only Operating temperature 2 x 1.5 V AA alkaline batteries Width: 65 mm, 2.6"...
- Page 2 Visit door transmitter Installation – single sound source Remove the battery pull tab to start the unit. Clean the wall with the wet wipe and remove the protective film from the Velcro. Mount the transmitter to the left of the doorbell sound source, as close as possible. You can also use the supplied screw and plug.
- Page 3 Visit door transmitter Installation – intercom and mechanical doorbell If you have an intercom and a mechanical doorbell, you may need two door transmitters, i.e. one for each sound source. Pull the battery pull tab to start each door transmitter. Clean the wall surface with the wet wipe and remove the protective film from the Velcro.
- Page 4 Visit door transmitter Programming the transmitter The door transmitter is programmed from the start to recognize the majority of doorbells and intercoms. If the doorbell signal varies significantly in strength or tone, you might need to teach it to recognize the sound of your specific doorbell. Here is how you program the transmitter: Press and hold button 1 until the top LED starts to blink.
- Page 5 Visit door transmitter Default signal pattern When the door transmitter is activated, the following happens: The LED on the transmitter lights up in green to show that it’s signalling the receiver. The Visit LED on the receiver lights up in green and it starts to sound, flash or vibrate with a certain pace, called signal pattern.
- Page 6 Visit door transmitter Changing the radio key If your Visit system is activated for no reason, there is probably a nearby system that triggers yours. In order to avoid radio interference you need to change the radio key on all units. The radio key switches are located under the transmitter cover. Here is how you change the radio key: Open the transmitter front cover and move any radio key switch to the up = on position to change the radio key.
Need help?
Do you have a question about the BE1411 and is the answer not in the manual?
Questions and answers