Table of Contents
Advertisement
Quick Links
AWNINGS
9500EZ
230(LL)(CC).003(#)
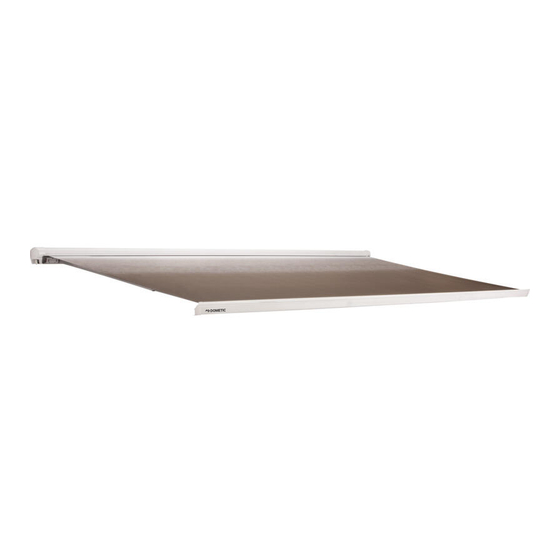
Power Case/Cassette Awning
EN
Installation Manual . . . . . . . . . . . . . . . . . . . . .2
WARNING
EN
Form No. 3318085.000 1/22 | ©2022 Dometic Corporation
Cancer and Reproductive Harm
www.P65Warnings.ca.gov
Document no 3318098.000 1/22 | ©2022 Dometic Corporation
FR
Advertisement
Table of Contents

Summary of Contents for Dometic 9500EZ
- Page 1 Power Case/Cassette Awning Installation Manual .....2 WARNING Form No. 3318085.000 1/22 | ©2022 Dometic Corporation Cancer and Reproductive Harm www.P65Warnings.ca.gov...
-
Page 2: Table Of Contents
For up-to- injuries. date product information, please visit www.dometic.com. Contents 1.1 Recognize Safety Information Contents ........2 This is the safety alert symbol. -
Page 3: Supplemental Directives
• Use for purposes other than those described in this serious injury: manual • Use care when diagnosing and/or adjusting Dometic reserves the right to change product components on a powered unit. appearance and product specifications. • Use only Dometic replacement parts and... -
Page 4: Tools And Materials
General Information Power Case/Cassette Awning 3.1 Tools and Materials 3.2 Door Clearance Dometic recommends that the following tools and materials be used while installing the awning. Included Parts (8-16 ft Models) Quantity Mounting Bracket M6 x 50 mm L Carriage Bolt... -
Page 5: Specifications
Power Case/Cassette Awning Specifications 3 Awning Dimensions and Hole Pattern Locations (Rear View) Depth: 4.0 in. (10 cm) Right End: 1.4 in. (4 cm) 6.4 in. (16 cm) Left End: 1.4 in. (4 cm) Hole Awning Width Pattern 8 ft 10 ft 12 ft 13 ft 15 ft 16 ft Locations 5.9 in. -
Page 6: Attaching The Mounting Brackets
Installation Power Case/Cassette Awning • Do not over-tighten fasteners. Applying too much torque may cause fasteners or threads to fail and could allow the awning to collapse. NOTICE: Do not pinch the wiring or allow the wiring to rub against sharp edges. If the wiring is damaged, it must be replaced by a qualified service technician. - Page 7 Power Case/Cassette Awning Installation 5.1.1 Securing the Mounting Bracket to a 5.1.2 Securing the Mounting Bracket to a Solid Structure Non-Solid Structure 1. Drill 1/4 in. clearance holes at each intersecting point A non-solid structure requires the use of a backing on the horizontal lines.
-
Page 8: Wiring The Switch
Installation Power Case/Cassette Awning 8 Applying the Sealant 10 Measuring for Wiring Hole Location (Rear View) Mounting Bracket Carriage Bolts Mounting Bracket Wiring Hole Sealant Mounting Holes Horizontal Distance RH End Cap 2. Apply the sealant to the edge of the mounting 4.25 in. -
Page 9: Mounting The Awning
Power Case/Cassette Awning Installation 6. Follow the installation instructions included in the Dometic rocker switch kit to wire the switch to the RV’s power supply. See “Installer-Supplied Parts” on page 4. 7. Route the wiring through the RV wall using a grommet or heat-shrink tubing. -
Page 10: Testing The Motor
2. Fully extend and retract the awning to verify that the awning is functioning correctly. Refer to the This section describes how to adjust the lead rail to instructions in the 9500EZ Power Case/Cassette increase or decrease the awning fabric pitch (slope). Awning Operation Manual. -
Page 11: Adjusting The Lateral Arm Assemblies
7. Remove all the strapping and support. 8. Fully extend and retract the awning to verify that the awning is functioning correctly. Refer to the instructions in the 9500EZ Power Case/Cassette Awning Operation Manual. 17 Strapping the Lateral Arm Assemblies... -
Page 12: Adjusting The Lead Rail Alignment
11. Remove all the strapping and support. 12. Fully extend and retract the awning to verify that the awning is functioning correctly. Refer to the instructions in the 9500EZ Power Case/Cassette Awning Operation Manual. 6.3 Adjusting the Lead Rail Alignment This section describes how to align the lead rail if it is not properly aligned with the top and end caps. -
Page 13: Adjusting The Open And Close Limits
LIMITED ONE-YEAR WARRANTY AVAILABLE AT DOMETIC.COM/EN-US/TERMS-AND-CONDITIONS- CONSUMER/WARRANTY. IF YOU HAVE QUESTIONS, OR TO OBTAIN A COPY OF THE LIMITED WARRANTY FREE OF CHARGE, CONTACT: DOMETIC CORPORATION CUSTOMER SUPPORT CENTER 5155 VERDANT DRIVE ELKHART, INDIANA 46516 22 Adjusting the Awning Fit 1-800-544-4881... - Page 14 Power Case/Cassette Awning...
- Page 15 Power Case/Cassette Awning...
- Page 16 CONTACT US dometic.com/en-us/terms-and-conditions-consumer/contact-us...


Need help?
Do you have a question about the 9500EZ and is the answer not in the manual?
Questions and answers