Advertisement
H
T
OW
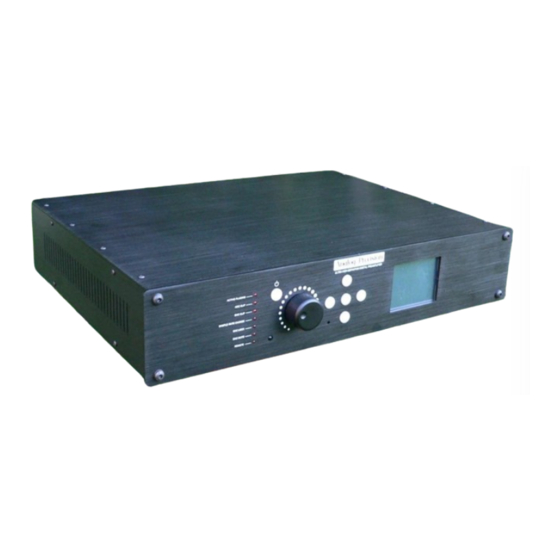
Ultimate-Preamplifer
HOW TO CONNECT A TURNTABLE TO THE
ULTIMATE-PREAMPLIFIER
Copyright © 2017 by Analog-Precision. All Rights Reserved
C
A T
T
O
ONNECT
URNTABLE
by
Analog-Precision
http://www.analog-precision.com/
Tuesday, June 05, 2018
T
U
P
O
HE
LTIMATE
REAMPLIFIER
http://www.analog-precision.com
1
1 |
P a g e
Advertisement
Table of Contents

Related Manuals for Analog-Precision Ultimate-Preamplifer

Summary of Contents for Analog-Precision Ultimate-Preamplifer
- Page 1 ONNECT URNTABLE LTIMATE REAMPLIFIER Ultimate-Preamplifer Analog-Precision http://www.analog-precision.com/ HOW TO CONNECT A TURNTABLE TO THE ULTIMATE-PREAMPLIFIER P a g e Copyright © 2017 by Analog-Precision. All Rights Reserved http://www.analog-precision.com Tuesday, June 05, 2018...
- Page 2 The Moving Magnet Phono Preamp mode is only available in the 2-Channel and Multi-Channel preamp modes since it requires the use of the DSP to provide the RIAA playback EQ. P a g e Copyright © 2017 by Analog-Precision. All Rights Reserved http://www.analog-precision.com Tuesday, June 05, 2018...
- Page 3 ! You should also connect the separate turntable chassis connection to the Ground terminal on the preamp to avoid noise and hum. P a g e Copyright © 2017 by Analog-Precision. All Rights Reserved http://www.analog-precision.com Tuesday, June 05, 2018...
- Page 4 CARTRIDGE RESISTANCE LOADING DIP SWITCH SETTINGS Right Channel Dip-Switch 5 Dip-Switch 6 Resistance Left Channel Dip-Switch 8 Dip-Switch 7 Resistance 160 KΩ 68 KΩ 47 KΩ 34 KΩ P a g e Copyright © 2017 by Analog-Precision. All Rights Reserved http://www.analog-precision.com Tuesday, June 05, 2018...
- Page 5 150 pF 200 pF 250 pF 300 pF 350 pF 400 pF 450 pF 500 pF 550 pF 600 pF 650 pF 700 pF P a g e Copyright © 2017 by Analog-Precision. All Rights Reserved http://www.analog-precision.com Tuesday, June 05, 2018...
- Page 6 Setup → Setup Audio. The menu screen should look like the following. Select the ‘Line-In 3’ Assignment by navigating with the Up/Down menu buttons. Using the left/right menu buttons change it to ‘Phono(MM)’. P a g e Copyright © 2017 by Analog-Precision. All Rights Reserved http://www.analog-precision.com Tuesday, June 05, 2018...
- Page 7 Go back to the Main-Menu and set the ‘Input Source’ to ‘Analog’ and ‘Analog Source’ to ‘Phono(MM)’. Note that by switching to phono input mode that the ‘Line-3’ Analog Source has been replaced by ‘Phono(MM)’. Enjoy ! P a g e Copyright © 2017 by Analog-Precision. All Rights Reserved http://www.analog-precision.com Tuesday, June 05, 2018...
Need help?
Do you have a question about the Ultimate-Preamplifer and is the answer not in the manual?
Questions and answers