Table of Contents
Advertisement
Advertisement
Table of Contents

Related Manuals for Harman Kardon AVR 40


Summary of Contents for Harman Kardon AVR 40
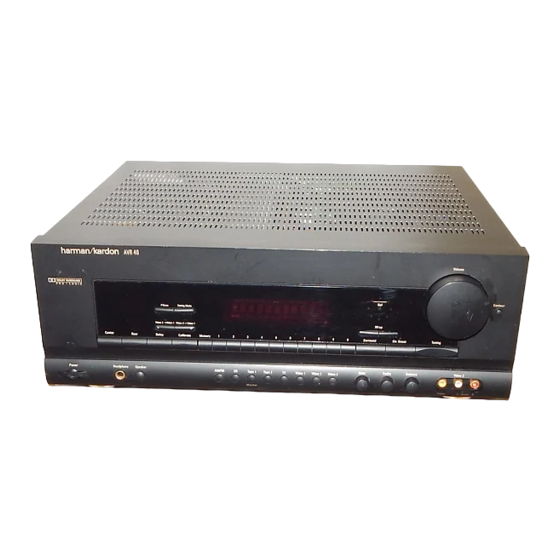
- Page 1 Audio/VideoReceiver STEREO TUNED AUTO TAPE M PRESET HALL SLEEP Pro Logic Tape 1 Tape 2 Video 1 Video 2 Monitor Harman Kardon AVR40 Wrap Surround Ctr. Boost Bass Treble Balance Video 3 Owner’s Manual Volume Contour Tuning Video 3 Video...
-
Page 2: Table Of Contents
80 Crossways Park West Woodbury, NY 11797 www.harmankardon.com ©1997 Harman Kardon, Incorporated Owner’s Manual Table of Contents Introduction ........1 Features . - Page 3 Staple or clip original invoice here.
-
Page 4: Introduction
Congratulations! With the purchase of a Harman Kardon AVR40 you are about to begin many years of listening enjoyment. The AVR40 has been custom designed to provide all the excitement and detail of movie soundtracks and every subtle nuance of musical selections. -
Page 5: Safety Information
Important Safety Information Verify Line Voltage Before Use Your AVR40 has been designed for use in North America with 120 volt AC current. Connection to a line voltage other than that for which it is intended can create a safety and fire hazard, and may damage the amplifier. -
Page 6: Unpacking And Installation
Increase the separation between the equipment and receiver. Connect the equipment into an outlet on a circuit different from that to which the receiver is connected. Consult the dealer or an experienced radio/TV technician for help. This device complies with Part 15 of the FCC Rules. -
Page 7: Front Panel Controls
Center Rear Power Headpnone Speaker & 1 Main Power Switch 2 System Power Control 3 Power Indicator 4 Headphone Jack 5 Speaker Switch 6 AM/FM Selector 7 CD 8 Tape 1/ Tape Monitor 9 Tape 2 ) TV ! Video Sources @ Bass Control Front Panel Controls ¸... - Page 8 1 Main Power Switch: Press this button to apply power to the AVR40. When the switch is pressed the unit is placed in a Standby mode, as indicated by the amber LED 3 sur- rounding the System Power control 2. This button MUST be pressed in to operate the unit regardless of the status of the Power Switch at the bottom of the front panel.
-
Page 9: Front Panel Controls
Ó Tuner Memory Button: Press this button to store an AM or FM frequency in the unit’s memory. The MEM indicator will flash in the display to remind you to choose a numeric location using Numeric Buttons Ô on the front panel. Storing a station in a memory location that has already been used will overwrite the existing data. -
Page 10: Rear Panel Connections
‡ AC Power Cord ° Remote Control Extension Output ‡ MADE IN KOREA CENTER SPEAKER MODEL NO.: AVR40 LEFT HARMAN KARDON NORTHRIDGE CALIFORNIA U.S.A. FRONT SPEAKERS SERIAL NO. RIGHT (USE 8 OHM MIN SPEAKERS) "Please Note: Sound will not be produced through the rear speakers "Please Note: Sound will not be produced through the rear speakers... -
Page 11: Rear Panel Connections
CD player or D/A converter to these jacks. ™ TV Input: Connect the audio outputs of a TV, satellite receiver or any audio source to these jacks. £ Tape 2 Input: Connect the PLAY/OUT jacks of an audio tape recorder to these jacks. -
Page 12: Remote Control Functions
Remote Control Functions a Infrared Transmitters b Sleep c Power Button d Input Select Buttons e Preset Scan/Disc Skip f Cassette Control g Transport Control h Manual Tune/Fast Forward/ Reverse i Automatic Tune/Track Change j Battery Compartment k Display l Master Volume Control m Mute n Center Boost o Wrap... -
Page 13: Remote Control Functions
Harman Kardon CD changers. f Cassette Control: These but- tons control some transport func- tions of compatible Harman Kardon cassette decks. The ‹ › buttons put the deck or primary transport in play or change the direction during play. -
Page 14: Installation And Configuration
Installation and Configuration Your new Harman Kardon receiver is designed to provide the best reproduction from both movies and musical pro- grams. To assure that the unit operates to its fullest capability, it is important that you spend a few minutes to properly install and configure all of the elements in your new system. - Page 15 Release the clip to secure the con- nection. Again, make certain that you observe proper polarity by connecting the ( + ) terminals on the receiver to ( + ) ter- minals on the speakers, and likewise for the negative ( ) terminals.
- Page 16 . Connect the preamp outputs for all channels b de to the appropriate input connections of your power amplifier. Remove the speaker wire connections from the receiver and con- nect them to the external amplifier. All other operation of the receiver remains normal.
- Page 17 NOTE: The control should Balance be at the midpoint, or “12 O’clock” posi- tion when calibrating the system. Press the button on the Calibrate remote again and note that a test tone will be heard from the left front speaker. Press the button ›...
-
Page 18: Operation
Once you have completed the setup and installation of your new receiver, it is simple to operate and enjoy. The follow- ing instructions will provide the steps needed to enjoy the advanced features of the AVR40 • When using the AVR40 for the first... -
Page 19: Wrap Circuitry
Wrap Circuitry The AVR40 contains Harman Kardon’s exclusive Wrap circuits, which may be used to increase the feeling of spacious- ness in a listening room. A simple... -
Page 20: Tuner Operation
To some ears the impact of the wrap cir- cuit may seem subtle, and this is normal. Remember that how audible the wrap effect will be varies with the acoustics of your listening room, the output settings established during the calibration process, the system volume and the type of pro- gram material in use. -
Page 21: Tape Recording
Preset Tuning Up to 30 stations may be stored in the AVR40’s memory for easy recall using the front panel controls or the remote. To enter a station to the memory, first tune the station using the steps outlined above. Then: 1. -
Page 22: Troubleshooting Chart
This unit is designed for trouble-free operation. Most problems users encounter are due to operating errors. So, if you have a problem, first check this list for a possible solution. If the problem persists, consult your authorized Harman Kardon Service Center. -
Page 23: Technical Specifications
Stereo Mode Continuous Average Power (FTC) 65 Watts from 20Hz-20kHz: Five Channel Surround Mode Continuous average power per channel (FTC) Front L&R channels: 55 Watts from 20Hz-20kHz Center channel: 55 Watts at 1kHz Rear channels: 2 x 25 Watts at 1kHz: Amplifier Section High-Instantaneous Current Capability (HCC):... - Page 24 Scan Tuning Mode Video 2 Video 1 Video 3 Video 1 Center Rear Delay Calibrate Memory Power Headpnone Speaker AM / FM Printed in Korea Part #1111-AVR 40 9007018730...