Table of Contents
Advertisement
Quick Links
Advertisement
Table of Contents

Related Manuals for Nexta Tech PRG-M24


Summary of Contents for Nexta Tech PRG-M24
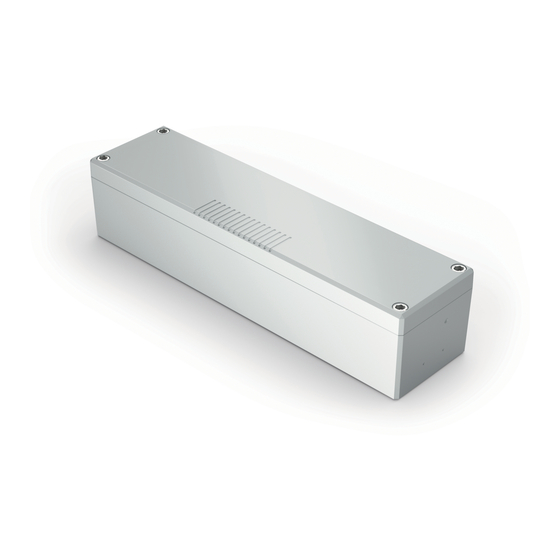
- Page 1 PRG-M24 Electronic control unit for the automation of outdoor pergolas with rotating slats and board for optional LED management. 24 Vdc power supply. Output for 1 or 2 x 24 VDC motors max 120 W each. 433.92 MHz receiver for radio transmitters.
-
Page 2: Table Of Contents
CONTENTS 1 - PRODUCT FEATURES 1.1 - TECHNICAL DATA page 3 2 - ELECTRICAL CONNECTIONS page 4 3 - SETTING UP CONTROL UNIT page 5 4 - SETTING OPERATING MODE page 6 5 - REMOTE CONTROL MANAGEMENT page 7 6 - SETTING WORKING TIME OF MOTORS page 8 7 - MANAGEMENT OF SENSORS 7.1 - SETTING WIND SENSOR... -
Page 3: Product Features
1 - PRODUCT FEATURES 1.1 TECHNICAL DATA Power supply (Input) 24 Vdc Type of load (Output) 1 or 2 x 24 VDC motors Max load power (Output) Max 120 W per output Number of programmable transmitters Receiver frequency RF 433.920MHz Operating temperature -10°... -
Page 4: Electrical Connections
2 - ELECTRICAL CONNECTIONS WARNINGS • Installation must be carried out only by qualified technicians in compliance with the electrical and safety standards in force. • All connections must be made with the power turned off. • Use suitable cables. •... -
Page 5: Setting Up Control Unit
3 - SETTING UP CONTROL UNIT The following functions are the default settings for the control unit: - Manual management of a motor Ouvrir / Arrêter / Fermer - Wired inputs enabled manually (operation cannot be set) - No transmitter programmed - No sensor enabled Some functions can be set via the keys, LEDs and trimmers. -
Page 6: Setting Operating Mode
4 - SETTING OPERATING MODE Default: 1 motor, manual This procedure is used to set the number of motors connected and the type of control. There can be 1 or 2 motors (synchronised operation). Operation via radio can be: MANUAL the motor moves in the direction selected until the transmitter key is held down NOTE: sensors not enabled AUTOMATIC each time the key is pressed the motor moves 30% of the total travel in the selected direction VENETIAN press and release the key and the motor moves slightly in the selected direction, press and hold (>2sec) and... -
Page 7: Remote Control Management
5 - REMOTE CONTROL MANAGEMENT Default: no transmitter associated / remote programming enabled With this procedure it is possible to: - Associate a compatible transmitter - Delete the programmed transmitters PROCEDURE STEP 1 SOLE Keep pressing and releasing the SEL key until the NEVE TEMP. -
Page 8: Setting Working Time Of Motors
6 - SETTING WORKING TIME OF MOTORS Default: no time set NOTE: Before carrying out this procedure programme a remote control (see paragraph 5) Also check that the motor stops when it gets to the limit and the letter “L” appears on the display (the limit is detected if there is a mechanical stop or where there is a built-in limit switch). -
Page 9: Management Of Sensors
7 - MANAGEMENT OF SENSORS 7.1 - SETTING WIND SENSOR Default: not enabled NOTE: -The input into terminals 12-13 is designed for either the wind sensor or the sun sensor. Therefore activate only the sensor you want once it is connected. - The sensor works only if the operating mode is set at automatic or Venetian, see paragraph 4. -
Page 10: Setting Rain Sensor
7.2 - SETTING RAIN SENSOR Default: not enabled NOTE - The sensor works only if the operating mode is set at automatic, Venetian or Open/Stop/Close, see paragraph 4. When the sensor detects water, it puts the control unit into alarm mode. ALARM: the sensor detects water: then the control unit turns the pergola slats to close completely and disables the reception of remote commands until the alarm is over. -
Page 11: Setting Temperature Sensor
7.3 - SETTING TEMPERATURE SENSOR Default: not enabled NOTE - The sensor works only if the operating mode is set at automatic, Venetian or Open/Stop/Close, see paragraph 4 When the sensor detects a temperature below 2°C, it puts the control unit into alarm mode to stop ice forming. ALARM: the sensor detects a temperature below 2°C and the pergola is closed: then the control unit turns the pergola slats to 4% of full opening and activates the snow contact (terminals 7 and 8) for a period from 30 minutes to 4 hours, that can be set with the VR2 trimmer “Snow Delay”... -
Page 12: Setting Snow Alarm
7.4 - SETTING SNOW ALARM Default: not enabled NOTE - The sensor works only if the operating mode is set at automatic, Venetian or Open/Stop/Close,, see paragraph 4 The control unit does not have an actual snow sensor, but the alarm is generated by the combined rain sensor and temperature sensor alarms. -
Page 13: Setting Sun Sensor
7.5 - SETTING SUN SENSOR Default: not enabled NOTE: the input into terminals 6-7 is designed for either the wind sensor or the sun sensor. Therefore activate only the sensor you want once it is connected. The sensor works only: - if the operating mode is set at automatic or Venetian, see paragraph 4 - there are no other active sensors When the sensor detects sun for more than 10 minutes, it puts the control unit into alarm mode to create a shaded zone. -
Page 14: Resetting Control Unit
8 - RESETTING CONTROL UNIT This procedure is used to set the control unit with the factory parameters. PROCEDURE: STEP 1 SOLE Press SET and SEL at the same time until all the red NEVE TEMP. LEDs come on. PIOGGIA Sens. - Page 16 Nexta Tech company brand of Team srl via G.Oberdan 90, 33074 Fontanafredda (PN) - Italy Ph. +39 0434 998682 Email: info@nexta-tech.com Web: www.nexta-tech.com...
Need help?
Do you have a question about the PRG-M24 and is the answer not in the manual?
Questions and answers