Advertisement
Quick Links
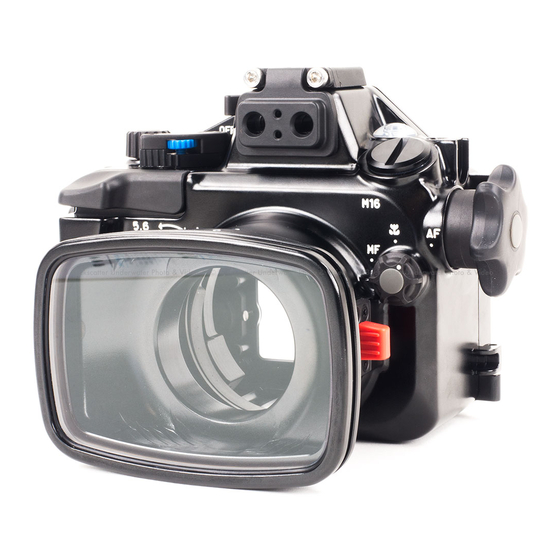
Conversion Kit to Convert NA-LX100
for use with Panasonic LX100II Camera
Instruction Manual
F
OREWORD
Thank you for your purchase of a NAUTICAM product.
At NAUTICAM, we pride ourselves in the ability to recognize the requirements
of professional as well as amateur underwater photographers and fulfill them
through the innovative designs of our products. We strive to achieve a high
level of user-friendliness by allowing stress-free installation and easy
operation of all important functions of the camera.
Please read this manual carefully before using the product, this will maximize
its performance as well as its lifetime.
W
ARRANTY
All NAUTICAM Housing Products are warranted against any material and
manufacturing defects for two years from the date of purchase for consumer
use. This warranty only applies to products purchased from authorized
NAUTICAM dealers and does not extend beyond the original retail purchaser.
To return your product for service, please contact your regional authorized
service center(s). Please note that this warranty only applies when the product
is purchased in the territory where the service center is located.
NAUTICAM does not hold responsibility for damage, of any nature, to any
equipment used with and/or placed within our products.
NAUTICAM accepts no liability for any loss of captured images or the inability
to capture images even if it is due to the malfunctioning of our products.
Unauthorized modifications and/or repairs of our products will automatically
invalidate the warranty.
I
P
DENTIFICATION OF
ARTS
Zoom controller
for LX100II
Rubber Tips for
Zoom lever
I
NSTALLATION
1.
Remove the gray tap from the Zoom lever
2.
Unscrew the screw inside of the Zoom lever
Additional
Screw for
screw x 4
Zoom lever
3.
By unscrewing screws on the ON/OFF switch box, remove
the ON/OFF switch box.
4.
Remove the gear of Exposure compensation dial by
unscrewing the straight screw
5.
By unscrewing the two screws, remove the right camera
holder (in the yellow)
Current as of 2018-12-19
Advertisement

Related Manuals for Nauticam NA-LX100


Summary of Contents for Nauticam NA-LX100
- Page 1 NAUTICAM does not hold responsibility for damage, of any nature, to any equipment used with and/or placed within our products. NAUTICAM accepts no liability for any loss of captured images or the inability to capture images even if it is due to the malfunctioning of our products.
- Page 2 Check vacuum to make sure the installing is perfect after complete all the steps. Remark: All Nauticam product manual will be changed to e-manual in end of 2018. Please download corresponding product manuals on Nauticam.com website, or contact us for e-manuals.
Need help?
Do you have a question about the NA-LX100 and is the answer not in the manual?
Questions and answers