Advertisement
Amazing PLCs & HMIs
MQTT Modbus Gateway
Thank you for purchasing a commandHMI!
Before installing or operating the unit, please read this installation
guide carefully to ensure correct use.
Compliances FCC, Class A
Tested to conform to European CE requirements EN50022/24
Dielectric strength test 1000V AC,1 minute
IP 65 Front Panel
Unpacking the Unit
• This installation Instruction
• CommandHMI
• Power connector on the HMI
• 4 brackets with screws
Cutout and Power supply
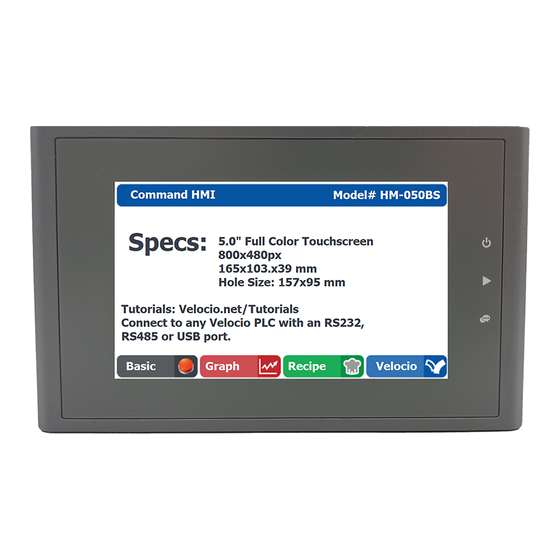
HMI Screen size
4.3" 16/9
5.0" 16/9
7.0" 16/9
10.2" 16/9
→
Do not press the screen (but the frame) to
insert the HMI into the cut-out of its slot!
ACE AUTOMATION Europe - support.aceautomation.eu
For detailed specifications and operation, please refer
to the [Help] menu of the HMI-Tool software found at
support.aceautomation.eu
142 x 85 mm
157 x 95 mm
192 x 138 mm
259 x 201 mm
CommandHMI series
Installation Instructions
Cutout
12 - 24 VDC +/-15%
12 - 24 VDC +/-15%
12 - 24 VDC +/-15%
Power supply
24 VDC +/-15%
Advertisement
Table of Contents

Subscribe to Our Youtube Channel
Related Manuals for Ace CommandHMI Series

Summary of Contents for Ace CommandHMI Series
- Page 1 192 x 138 mm 12 - 24 VDC +/-15% 10.2” 16/9 259 x 201 mm 24 VDC +/-15% → Do not press the screen (but the frame) to insert the HMI into the cut-out of its slot! ACE AUTOMATION Europe - support.aceautomation.eu...
- Page 2 → We suggest you use our USB isolator if you want to connect your PC to the HMI or ACE PLC in an industrial environment to avoid problems with potential differences between the 2 devices DIP-Switch on the back of the HMI...
Need help?
Do you have a question about the CommandHMI Series and is the answer not in the manual?
Questions and answers