Vicon V9360-1 Series Setup Manual
Hide thumbs
Also See for V9360-1 Series:
- Software manual (169 pages) ,
- User manual (25 pages) ,
- Quick start manual (2 pages)
Advertisement
Quick Links
Setup Guide
XX252-30-01
Setup Guide for V9360-1
Series Cameras
Vicon Industries Inc.
Tel: 631-952-2288 Fax: 631-951-2288 Toll Free: 800-645-9116
24-Hour Technical Support: 800-34-VICON (800-348-4266) UK: 44/(0) 1489-566300
Vicon Industries Inc. does not warrant that the functions contained in this equipment will meet your requirements or that the
operation will be entirely error free or perform precisely as described in the documentation. This system has not been designed
to be used in life-critical situations and must not be used for this purpose.
www.vicon-security.com
Document Number: 8009-8252-30-01
Issued: 116
Product specifications subject to change without notice.
Copyright © 2016 Vicon Industries Inc. All rights reserved.
Advertisement

Related Manuals for Vicon V9360-1 Series


Summary of Contents for Vicon V9360-1 Series
- Page 1 24-Hour Technical Support: 800-34-VICON (800-348-4266) UK: 44/(0) 1489-566300 Vicon Industries Inc. does not warrant that the functions contained in this equipment will meet your requirements or that the operation will be entirely error free or perform precisely as described in the documentation. This system has not been designed to be used in life-critical situations and must not be used for this purpose.
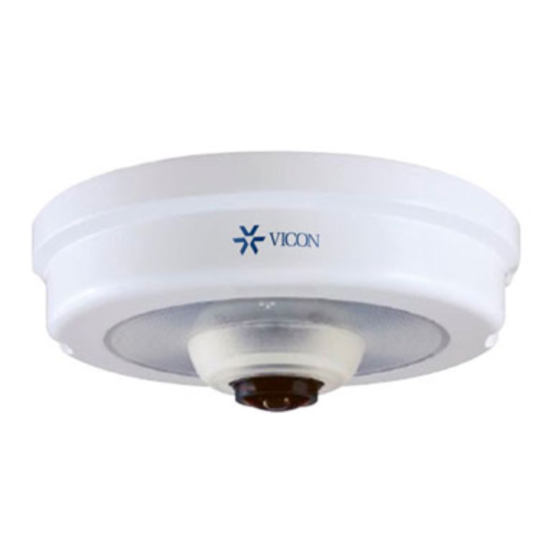
- Page 2 V9360-1 IP Hemispheric Cameras for use with various open- standard Video Management Systems (VMS), including Vicon’s ViconNet® Video Management System. When using the Vicon system, it assumes an understanding of ViconNet and the camera. Refer to the ViconNet and camera manuals for detailed information.
-
Page 3: Installation And Connections
Setup V9360-1 Hemispheric Cameras Installation and Connections The camera package includes all the hardware necessary for installation, including terminal blocks. Additionally, a PC and monitor, a Network Switch and an RJ-45 network cable (1 for each device) are required. PoE switches that are IEEE802.3af compliant can power the camera directly. For devices connected to a non-PoE switch, a power adapter is required with the terminal block. - Page 4 Setup V9360-1 Hemispheric Cameras All-in-One Cable (Optional) Connector Definition Remarks Alarm Out + Alarm Out – Alarm In + Alarm In – Alarm connection/Two-way Alarm & Audio I/O audio transmission Audio Out Audio In Pink Audio In Audio I/O Two-way audio transmission Green Audio Out Alarm In –...
- Page 5 Setup V9360-1 Hemispheric Cameras Outdoor Version Function Cables Connector Definition Remarks Pink Audio In Audio I/O Two-way audio transmission Green Audio Out AC 24V – Black Power (DC 12V / AC 24V) DC 12V – Power connection (2-Pin Terminal Block) AC 24V + DC 12V + Alarm In –...
- Page 6 Setup V9360-1 Hemispheric Cameras Power Connection Please use a DC 12V/AC 24V power adaptor and plug it to the camera and the power outlet. Alternatively, users can use an Ethernet cable and connect it to the RJ-45 connector of the camera and a Power Sourcing Equipment (PSE) switch.
-
Page 7: Camera Discovery
Setup V9360-1 Hemispheric Cameras Camera Discovery The camera is accessed through a standard web browser, i.e., Windows® Internet Explorer®. The IP address for your PC must be within the same subnet as the IP device. You need to match the TCP/IP settings between PC and IP device before you can access it via Internet Explorer. - Page 8 Setup V9360-1 Hemispheric Cameras Adding Cameras to ViconNet The V9360-1 camera can be used with multiple open-standard VMS, including ViconNet. Refer to documentation for the specific system for connection details. When using ViconNet, follow the instructions below. The camera must be added to the Nucleus of the system to be recognized on the ViconNet site list.
- Page 9 Setup V9360-1 Hemispheric Cameras 3. From the System Settings window, select the button. 4. Click on the Open Standard Camera settings screen. 5. The detected cameras are displayed and are added automatically to the list. A message will display to add a User Name and Password for each detected camera.
- Page 10 Setup V9360-1 Hemispheric Cameras 7. Click the button for a direct link to the browser for that camera, if needed. Click Save and Close. 8. Click on the button. This opens a screen that allows setting up authorization for Live View, Playback and PTZ actions by selecting ( ) or deselecting ) the appropriate categories, as required.
- Page 11 Vicon Industries Inc. For office locations, visit the website: www.vicon-security.com...
Need help?
Do you have a question about the V9360-1 Series and is the answer not in the manual?
Questions and answers