Table of Contents
Advertisement
Quick Links
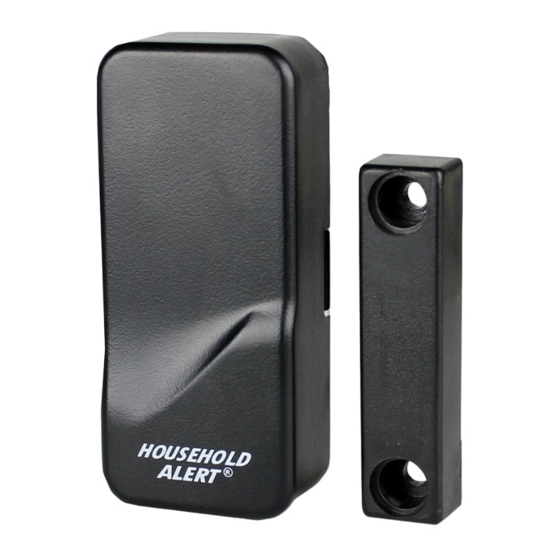
Door/Window Sensor
1. INTRODUCTION
The Door/Window Sensor is designed to monitor any door or window
within your house. When the monitored window or door is opened, the
receiver will alert you. It will beep and flash.
In this package, you should find a sensor, a magnet, 3V lithium battery, a
clip and other mounting accessories.
Magnet
Mounting plate
Clip
3V Lithium
battery
Please follow the instructions below to set up the door / window sensor.
2. SET UP THE DOOR/WINDOW SENSOR
1. CODE CONNECTORS
In order for the sensor to communicate with the receiver properly, the
sensor's code must match with the receiver's code. Code connectors 1 to 6
can be found by opening the top cover of the sensor and the back cover of
the rec eiver. User is required to set these code connectors randomly
and the code settings on the sensor and receiver must be the same.
Each position of the code connector can be set to "+", "-" or "0" position.
Refer to the diagram below to set the code connectors properly. If the
connector is placed on the top and middle posts, that column is set on "
+ ". If the connector is placed on the middle and bottom posts, that
column is set on " - ". If the connector is removed completely, (not placed
on any posts), it is set to " 0 ". (see diagram for examples of how to set a
column to the three different positions).
Open the top cover
Code Connectors on Sensor
Note: If you experience interference from a nearby system, which could
accidentally trigger your system, please change the code settings on
the sensor and receiver. The code setting on the sensor and receiver
should still match after changing the code setting.
2. ZONE CONNECTORS
Each receiver can work with up to 4 different sensors (to represent 4
different zones on the receiver). There are 2 connectors that determine
the zone number 1, 2, 3 and 4. These 2 connectors can be found by
opening the top plastic cover, near the code connectors with marking
"A" & "B". Please follow Table 1
to set the zone.
Zone
connectors
"+" in the table means the connector for
that position should be placed on the posts.
"-" in the table means the connector for that
position should be removed.
Model WD-434T
After setting up all the connectors,
the sensor is ready to be powered
up.
Remove the top cover of the
sensor and insert the 3V lithium
battery to the sensor as shown in
the diagram.
Sensor
Before inserting the battery, keep the magnet away from the sensor. After
inserting the battery to the door / window sensor, the receiver will beep
and flash. If the door / window sensor is set to zone 1, zone 1 red LED
2 pcs 3.5 x 18 screws
2 pcs 3.5 x 12 screws
will flash. The beeping and flashing will continue until the magnetic contact
is close to the sensor.
You are now ready to install the sensor and the magnet to a door or window.
Note: The receiver may not be able to receive the signal from the sensor
properly if they are too close to each other. Move the sensor further from
the receiver to test again.
When the magnetic contact is closed, the
receiver will not beep.
'
0
'
'+'
'-'
SELECT A MOUNTING LOCATION
The sensor should be mounted on the door / window frame and the
magnet should be mounted on the door / window itself. Mount the
sensor or magnet as high as possible.
Clip
You should find a grey alignment marking on one side of the sensor.
The magnet should be in contact with this marking when the door /
window is closed (Refer to Diagram A).
Note: A connector can be
removed with the clip,
as shown.
A
B
Zone 1
+
+
If the surface of the frame is flat
Zone 2
+
-
enough, double-sided foam tape
is sufficient, otherwise, it is
Zone 3
-
+
recommended to use the mount-
Zone 4
-
-
ing plate and screws as well.
Table 1
After mounting the sensor, put
the cover back on with the
Household Alert
upright position.
3. POWER UP THE DOOR/WINDOW SENSOR
Insert 3V lithium battery to the sensor
When the magnetic contact is broken (open),
the receiver will beep and a LED will flash.
4. INSTALLATION
Magnet
Sensor
Diagram A
Mounting plate and
®
logo in the
screws (optional)
"+" positive
side up
Magnet
Sensor
Double-sided
Sensor
foam tape
Advertisement
Table of Contents

Related Manuals for SkyLink WD-434T


Summary of Contents for SkyLink WD-434T
- Page 1 Door/Window Sensor Model WD-434T 3. POWER UP THE DOOR/WINDOW SENSOR 1. INTRODUCTION The Door/Window Sensor is designed to monitor any door or window After setting up all the connectors, within your house. When the monitored window or door is opened, the the sensor is ready to be powered receiver will alert you.
- Page 2 Proof of purchase and a Return Authorization are required. 9. CUSTOMER SERVICE If you would like to order Skylink’s products or have difficulty getting them to work, please : 1. visit our FAQ website at www.skylinkhome.com , or 2.
Need help?
Do you have a question about the WD-434T and is the answer not in the manual?
Questions and answers