Table of Contents
Advertisement
Quick Links
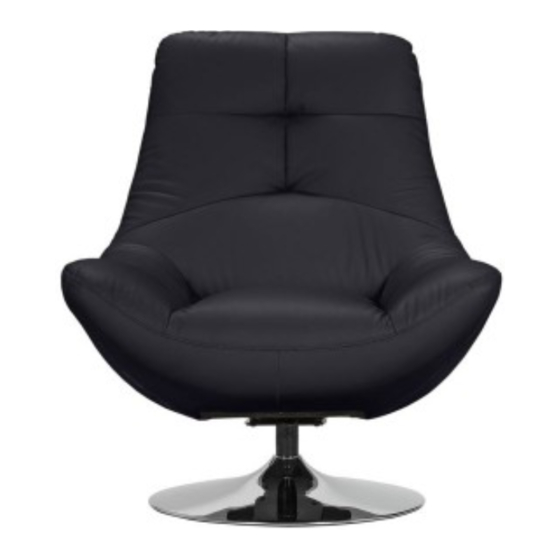
Dimensions
Width - 88cm
Depth - 93cm
Height -102cm
Important
– Please read these instructions fully before starting assembly
If you need help or have damaged or missing parts, call the
HYGENA RELAX CHAIR
-
Please keep for future reference
Customer Helpline:
496/5110
457/0598
487/5815
0345 640 0800
0345 601 2895
Advertisement
Table of Contents

Related Manuals for hygena 496/5110


Summary of Contents for hygena 496/5110
- Page 1 HYGENA RELAX CHAIR 496/5110 Assembly Instructions Please keep for future reference 457/0598 487/5815 Dimensions Width - 88cm Depth - 93cm Height -102cm Important – Please read these instructions fully before starting assembly If you need help or have damaged or missing parts, call the...
- Page 2 Safety and Care Advice Important – Please read these instructions fully before starting assembly components and tools listed on the product during assembly, recommend the page 2. this could cause damage. use of power drill/drivers for inserting screws, plastic bags and separate them to its nal position (in the same as this could damage the unit.
- Page 3 Components - Parts Please check you have all the parts listed below (2)Metal plateX1 (1)SeatX1 (3)baseX1 If you have damaged or missing components, Fittings Components - call the 0345 640 0800 Customer Helpline: 0345 601 2895 Please check you have all the fittings listed below. Note: The quantities below are the correct amount to complete the assembly In some cases more fittings may be supplied than are required.
- Page 4 Assembly Instructions Step 1 Remove and unpack the parts (2),rotate the metal plate. See Fig 1. Fig 1. Step 2 Remove and unpack the fittings and tools use screw(4),washer (5) to fix the metal plate (2) please note front arrow in the plate.
- Page 5 Assembly Instructions Step 3 Insert Metal Plate (2) into the base (3). See Fig 3. 3 3 3 3 Fig 3. Step 4 Fitting the seat support Carefully place the unit in the desired location. Assembly is completed. See Fig 4. Fig 4.
Need help?
Do you have a question about the 496/5110 and is the answer not in the manual?
Questions and answers