
Subscribe to Our Youtube Channel
Related Manuals for Hyundai AL100 99007


Summary of Contents for Hyundai AL100 99007
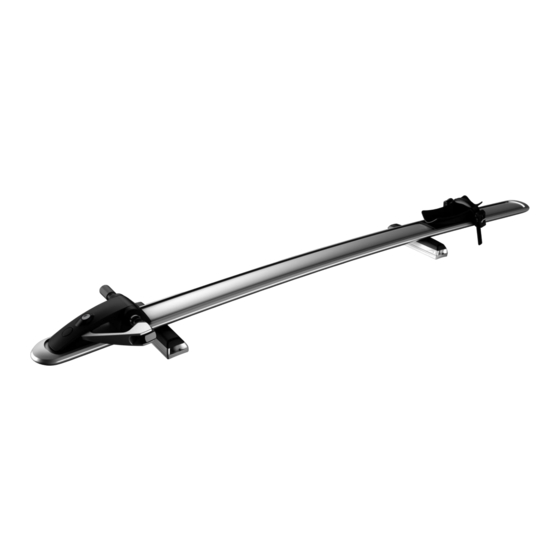
- Page 1 BIKE HOLDER Kit Part No: AL100 99007 Fork Mount Bike Holder Fitting Instructions Est. Fitting Time: 15 mins Page 1 of 14 Issue: 2 Date: 25/06/2014...
- Page 2 Due to variable wind and driving conditions, some wind noise may be experienced while driving with this Cycle Holder fitted. When not in use, your Hyundai Genuine Bike Holder should be removed from your vehicle. To remove, follow the fitting instructions in reverse order. ...
- Page 3 BIKE HOLDER Kit Part No: AL100 99007 Step 1 Check the contents of this pack are complete and undamaged. Step 2 Tools Used Use the key to unlock the holder. Open the silver lever. Step 3 ...
- Page 4 BIKE HOLDER Kit Part No: AL100 99007 Step 4 Open both of the handles on each of the front and rear mounting feet so they are parallel with the holder. Step 5 The holder can be mounted forward or rearward facing.
- Page 5 BIKE HOLDER Kit Part No: AL100 99007 Step 7 Close both of the rear mounting foot handles. Step 8 With the rear mounting foot located in position and while applying downward pressure to the holder at the rear mounting foot (1), slide the entire bike holder (2) until the front foot is positioned over the front crossbar (3) as shown.
- Page 6 BIKE HOLDER Kit Part No: AL100 99007 Step 10 Check the holder is securely mounted to the roof bars. Step 11 Close the black lever (A) to activate the interlock for the mounting feet. Close the silver lever (B) and lock the holder using the key (C) if it is not to be used immediately.
- Page 7 Step 14 IDENTIFYING 9mm AND QR15 FORKS The Hyundai Genuine Bike Holder will accommodate both 9mm and QR15 forks as shown. To fit a bike with 9mm forks proceed to Step 15.
- Page 8 BIKE HOLDER Kit Part No: AL100 99007 Step 16 Lift the silver tabs on the rear wheel saddle assembly and remove the wheel strap. Keep this handy for re-fitment. Step 17 Use the key to unlock the holder.
- Page 9 BIKE HOLDER Kit Part No: AL100 99007 Step 19 Important WARNING: Ensure the front forks are loaded Always refer to the vehicle’s Workshop Manual when evenly. Do not allow only one side to be removing vehicle components. positioned. Step 20 ...
- Page 10 BIKE HOLDER Kit Part No: AL100 99007 Step 22 While pushing the latch button, lift the black lever. Push the conversion switch down to convert to QR15. Step 23 Lift the silver tabs on the rear wheel saddle assembly and remove the wheel strap.
- Page 11 BIKE HOLDER Kit Part No: AL100 99007 Step 25 While holding the front forks over the fork mount and aligning the bike axle holes with the fork mount holes, lower the black lever to operate the fork mounts. ...
- Page 12 BIKE HOLDER Kit Part No: AL100 99007 Step 28 CHECKING BIKE SECURITY Check the security of the bike on the holder. Important Always refer to the vehicle’s Workshop Manual when WARNING: On long journeys, regularly check removing vehicle components.
- Page 13 BIKE HOLDER Kit Part No: AL100 99007 Step 31 For QR15 forks follow Step 25 in reverse. Remove the bike. Note: The skewer does not need to be re-fitted unless a 9mm bike is to be fitted. ...
- Page 14 BIKE HOLDER Kit Part No: AL100 99007 Step 34 Lift the holder straight off the roof bars. Step 35 Write the key number (which is stamped on the key) in the box to the right. Replacement keys are available from registered locksmiths by The key number of my Bike Holder is: quoting the key number.
Need help?
Do you have a question about the AL100 99007 and is the answer not in the manual?
Questions and answers