Table of Contents
Advertisement
Quick Links
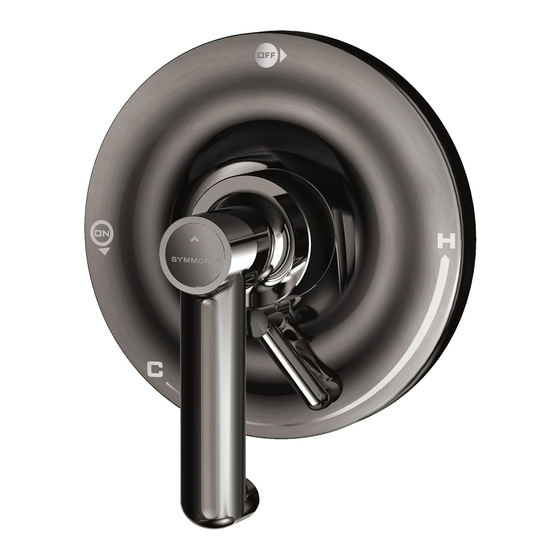
Museo Trim Series
Museo Trim Series with TA-10 Flow Control Spindle & T-12A Cap Assembly
Installation & Operation Instructions
Model Numbers
TRIM ONLY
5300-TRM
Shower Valve Trim
5301-TRM
Shower Trim
5302-TRM
Tub/Shower Trim
5303-TRM
Hand Shower Trim
5305-TRM
Shower/Hand Shower Trim
5306-TRM
Tub/Shower/Hand Shower Trim
Compliance
•
ASME A112.18.1/CSA B125.1
Warranty
Limited Lifetime - to the original end purchaser in consumer/residential installations.
5 Years - for industrial/commercial installations.
Refer to www.symmons.com/warranty for complete warranty information.
Go to www.symmons.com/register to register your Symmons product.
Museo
TRIM, TA-10, T-12A
5300TRMTC
Shower Valve Trim
5301TRMTC
Shower Trim
5302TRMTC
Tub/Shower Trim
5303TRMTC
Hand Shower Trim
5305TRMTC
Shower/Hand Shower Trim
5306TRMTC
Tub/Shower/Hand Shower Trim
T-12A
TA-10
®
5300-TRM
5300TRMTC
5303-TRM
5303TRMTC
5301-TRM
5302-TRM
5301TRMTC
5302TRMTC
5305-TRM
5306-TRM
5305TRMTC
5306TRMTC
Advertisement
Table of Contents

Subscribe to Our Youtube Channel
Related Manuals for Symmons Museo 5300-TRM


Summary of Contents for Symmons Museo 5300-TRM
- Page 1 5305TRMTC 5306TRMTC Compliance • ASME A112.18.1/CSA B125.1 Warranty Limited Lifetime - to the original end purchaser in consumer/residential installations. 5 Years - for industrial/commercial installations. Refer to www.symmons.com/warranty for complete warranty information. Go to www.symmons.com/register to register your Symmons product.
- Page 2 1. Recommended Tools FIGURE 1 Adjustable Wrench Phillips Screwdriver Safety Glasses Thread Seal Tape 2. Dimensions Measurements FIGURE 2 Ø 2", 51 mm 11-1/8", 283 mm Ø 2", 51 mm Male 1/2" IPS thread must protrude 3/8" from finished wall 6", 152 mm 77", 1956 mm Ø...
- Page 3 3. Parts Breakdown (Model Numbers Ending in TRMTC) Replacement Parts LIMIT STOP Item Description Part Number SCREW Cap Assy. T-12A Flow Control Spindle TA-10 IMPORTANT: Model numbers ending in TRMTC coordinate with Temptrol pressure balancing valves ordered with Test Cap. The Test Cap is used to allow pressurization of system.
- Page 4 7. Parts Breakdown Replacement Parts FIGURE 7 Item Description Part Number Showerhead 532SH Shower Arm 532SA Plug Button Screw Star Washer T-667 Diverter Handle Insert Dome Cover T-666 Diverter Escutcheon Screws LLD-103-NS-KIT Mounting Plate Plug Button Screw Star Washer T-665 Shower Handle Insert Shower Escutcheon...
- Page 5 Secure with star washer, set screw and plug FIGURE 8.3 button (FIGURE 8.4). FIGURE 8.4 9. Installation - Diverter Valve Trim 1) Secure small mounting plate to Symmons diverter valve FIGURE 9.1 FIGURE 9.2 using mounting screws (FIGURE 9.1). 2) Secure small diverter escutcheon to mounting plate.
- Page 6 11. Installation - Slide Bar Assembly 1) Install wall cradle to stub out pipe. Turn clockwise to FIGURE 11.1 FIGURE 11.2 tighten (FIGURE 11.1). 2) Attach small end of hand shower hose to wall cradle. Turn clockwise to tighten (FIGURE 11.2). 3) Attach large end of hand shower hose to hand shower wand.
- Page 7 12. Operation (Temperature Control) 1) Turn shower handle counter-clockwise FIGURE 12.1 FIGURE 12.2 FIGURE 12.3 approximately 1/4 turn to put valve in cold position (FIGURE 12.1). 2) Turn shower handle counter- clockwise approximately 1/2 turn to put valve in warm position (FIGURE 12.2). 3) Turn shower handle counter- clockwise approximately 3/4 turn to put valve in hot position (FIGURE 12.3).
- Page 8 For more information, go to www.P65Warnings.ca.gov. ■ ■ ■ ■ Symmons Industries, Inc. 31 Brooks Drive Braintree, MA 02184 Phone: (800) 796-6667 Fax: (800) 961-9621 ■ ■ ■ ■ Copyright © 2019 Symmons Industries, Inc. symmons.com gethelp@symmons.com ZV-3284 REV A 062419...
Need help?
Do you have a question about the Museo 5300-TRM and is the answer not in the manual?
Questions and answers