
Related Manuals for Wisenet PRN-3205B2


Summary of Contents for Wisenet PRN-3205B2
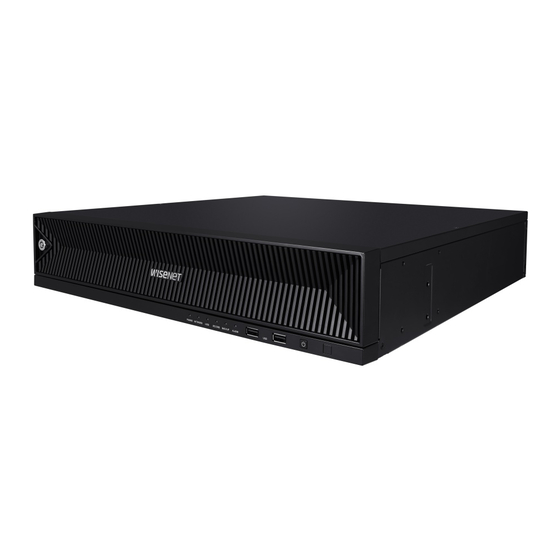
- Page 1 NETWORK VIDEO RECORDER Quick Guide PRN-3200B2/PRN-3205B2/PRN-1600B2/PRN-1605B2 XRN-6410RB2/XRN-6410B2/XRN-3210RB2/XRN-3210B2...
-
Page 2: Package Contents
For some regions, HDD is not pre-installed. HDD Fixing Screw, SATA Cable quantity vary depending on the model. ● Provides the function of searching for AI faces (when using Wisenet AI camera) ● Provides AI vehicle license plate recognition function (PRN-3200B2/PRN-1600B2) ●... -
Page 3: Installing The Hdd
If you are adding a new or previously used HDD to this product in addition to the HDD(s) originally installed, format the new HDD manually in the set before use. To learn how to format, see "Device/Format" in the User Manual. ■ If you wish to replace or add an HDD, contact your dealer or our customer service first. PRN-3200B2/PRN-3205B2/PRN-1600B2/PRN-1605B2/XRN-6410RB2/XRN-3210RB2 Recorder Mouse Power Cable... - Page 4 XRN-6410B2/XRN-3210B2 Connect the SATA/power cable of the hard disk to Make sure that there is no problem in the the connector of the main board. connection port and routing inside the recorder, Remove the screws from the top and back sides Remove the screws from the left/right sides and and then fix it using screws after closing the cover.
-
Page 5: Connecting The Network
Connecting the Network Network connection via router ■ For more information about network connection, see "Network Configuration" in the User Manual. Network connection via Ethernet (10/100/1000BaseT) Switch Broadband Router xDSL or Cable Modem Switch Switch xDSL or Cable NETWORK Modem Network Camera DDNS Server (Data Center) -
Page 6: Select The Language
Installation Wizard Setup Recorder ID/PW Setup As shown below, proceed through each step of the <Installation wizard>. Install Wizard can only be accessed at Sets the administrator's password. factory reset. If you do not want to proceed, click <Exit>. ■ You can set the installation wizard on the recorder and web viewer. -
Page 7: Date And Time Setup
Channel Setting Date & Time Setup You can view the camera videos registered to each channel in split mode along with thumbnail information. To Set the date, time, time zone, and DST and then click <Next>. change the camera video position, select a video and drag and drop it to the desired location. ※... -
Page 8: Record Setup
Explore Screen Configuration Record Setup The recorder screen consists of the following. You can set resolution, IPS, and quality of recordings by channel, and by recording type of standard / event. You can check frame rates and data transfer amount of Full Frame and Key Frame recordings for each channel, and ■... - Page 9 Set up and Run the Layout 2-1 Search The layout set on the live screen can also be used for time search and can be searched and played according to the channel order and channel combination set by the user. ■...
- Page 10 Using Product Information Export recorded video You can check the product information/manual/firmware information/FAQ/HDD compatibility list on the homepage or mobile web of your smartphone. http://hanwha-security.com http://hanwha-security.com Click < > at the bottom of the screen. Select a layout. Select a channel. Set the time, device, and format for export.
- Page 11 Using P2P Service From now on, when you run the WiseNet mobile application saved to your smartphone, you can easily monitor with your smartphone as you are automatically connected to the recorder. This function is available only for products that support P2P. To find products that support P2P, see ‘Products supporting each feature (Page 4)’...
- Page 12 Connecting to a Network Using a Router Checking the recorder connection from the PC Enter the IP set in the recorder menu in the local PC address bar. Once you log in by entering your user name If you want to add 1-3 PCs and recorders in an environment using xDSL/Cable modem, you can use the router with and password, the recorder’s web viewer screen appears.
- Page 13 DDNS address even in the dynamic IP environment. product is set to <ON>. Wisenet DDNS Setup XRN-6410B2 Since you will be accessing the recorder remotely, set up a Wisenet DDNS account first using a PC. Open a browser, Click <Sign Up>. < Wisenet DDNS Setup screen>...
- Page 14 Hanwha Techwin cares for the environment at all product manufacturing stages, and is taking measures to provide customers with more environmentally friendly products. The Eco mark represents Hanwha Techwin's devotion to creating environmentally friendly products, and indicates that the product satisfies the EU RoHS Directive.
- Page 15 MEMO...
Need help?
Do you have a question about the PRN-3205B2 and is the answer not in the manual?
Questions and answers