Table of Contents
Advertisement
Quick Links
Advertisement
Table of Contents

Subscribe to Our Youtube Channel
Related Manuals for GME G-COM GX400B


Summary of Contents for GME G-COM GX400B
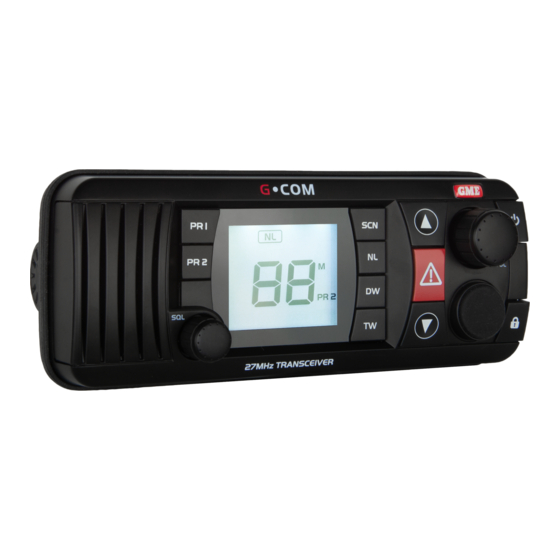
- Page 1 GX400 27 MHz RADIO I N S T R U C T I O N M A N U A L...
-
Page 2: Table Of Contents
CONTENTS WARNING/SAFETY INFORMATION ..................... 3 INTRODUCTION ..........................3 INSTALLATION GUIDELINES ....................... 3 SUPPLIED WITH ..........................3 FEATURES ............................4 SWITCHING BANDS .......................... 4 CONTROLS ............................4 GENERAL OPERATION ........................6 Volume on/off ........................... 6 Squelch control ......................... 6 Channel selection ........................6 Display brightness ........................ -
Page 3: Warning/Safety Information
Changes or modifications to this product or use of accessories not expressly approved by GME, or operation of this product in any way other than as provided in the GME Owner’s Manual could void your authority to operate this product. -
Page 4: Features
User selection of Australian 27 MHz marine or 27 MHz CB channels • Safety channel 88 for marine application (channel 8 for CB application) *Refer: http://www2.gme.net.au/IPRatings SWITCHING BANDS The GX400 is capable of operating on both the Australian 27 MHz Marine Band and the Australian 27 MHz Citizens Band. - Page 5 Rear Panel Extension Speaker 3.5 mm Connector Programming 2.5 mm (factory use only) Rear Mic Socket Antenna Socket RX Busy Noise Limiter Transmit Safety Channel Scan Memory Channel Priority 1 Display Priority 2 Lock Dual Watch Triple Watch Scan MC616 Microphone Scan Down Bollard...
-
Page 6: General Operation
GENERAL OPERATION VOLUME ON/OFF To turn the GX400 on, briefly press the key. To adjust the volume, rotate the volume control. Rotate the volume control clockwise to increase the volume or counter-clockwise to reduce the volume. At minimum volume setting there is still sufficient volume to be heard in a quiet cabin NOTE: environment. -
Page 7: Scanning
SCANNING The Scan function allows a group of channels to be scanned for activity. Channels to be scanned can be programmed into the scan memory by the user. By default your GX400 is supplied with all channels in the scan memory. You can remove or add channels as desired. -
Page 8: Priority Channels (Pr1/Pr2)
To exit the Scan mode manually Briefly press the SCN key. ‘SCAN’ will disappear from the display. Excessive noise on a channel can cause the scanner to pause on that channel even if NOTE: there is no signal there. If this only happens on one channel, you may need to consider removing that channel from the scan memory. -
Page 9: Triple Watch (Marine Mode)
To use the Dual Watch feature, adjust the Squelch control so the radio is quiet, select your preferred working or club channel then press the DW key. ‘DW’ will appear on the display and the channel display will alternate between Channel 88 and your selected channel. If a signal is received on your selected channel, the radio will pause on that channel but will continue to switch to Channel 88 and a brief interruption to the signal will be noticed. -
Page 10: Marine Band Procedures
while transmitting). Once the selected channel has become inactive for 2 seconds the Triple Watch will resume. To transmit on the selected channel while Triple Watching Simply press the PTT. The Triple Watch function will pause during the transmission and remain paused until 2 seconds after all activity has ceased on the channel. -
Page 11: Operation On The Cb Band
MARINE CHANNEL ASSIGNMENTS TABLE Channel Frequency 27.680 Commercial, ship-shore-ship 27.720 Professional shipping 27.820 Professional shipping 27.860 Secondary distress and safety 27.880 Primary distress and safety 27.900 Domestic ship-shore-ship 27.910 Domestic ship-shore-ship 27.940 Club events, ship-shore-ship 27.960 Ship to ship 27.980 Rescue organisations OPERATION ON THE CB BAND Key (CB Mode) -
Page 12: Triple Watch (Cb Mode)
TRIPLE WATCH (CB MODE) The Triple Watch function is an extension of the Dual Watch feature. It allows the GX400 to monitor three channels – Channel 8, a selected channel and a Priority channel. Each channel is scanned equally for signals with priority given first to Channel 8, then the Priority channel and lastly the selected channel. - Page 13 To transmit on Channel 8 while Triple Watching Press the button. Triple watch will be cancelled and the radio will switch straight to Channel 8 (and ‘SAFETY’ will be displayed). Now press the PTT and transmit in the usual way. When your conversation has ended, press the button to deactivate the SAFETY channel then press the TW key to resume Triple Watching.
-
Page 14: Installation
INSTALLATION GENERAL It is advisable to spend a little time selecting the best location for your GX400. The radio can mounted to a shelf or panel using the supplied gimbal bracket. Alternatively it can be flush mounted using an optional flush mount kit. Keep the following points in mind when choosing a location •... -
Page 15: Dc Connections
Flush Mounting The GX400 can be flush mounted using the optional MK008 flush mounting kit. A cutting template and full mounting instructions are provided with the kit. PR 1 PR 2 27MHz TRANSCEIVER Flush Mounting using the optional MK008 mounting kit DC CONNECTIONS Connect the RED power lead to the Positive (+) side of the battery or to an accessory point in the vessel or vehicle’s fuse box. -
Page 16: Antenna Installation
You will therefore need to select a suitable antenna to suit the band you have selected. GME have a huge range of suitable 27 MHz CB and 27 MHz marine antennas to suit most installations and applications. We recommend you contact your local dealer for advice. -
Page 17: Disconnecting The Microphone
DISCONNECTING THE MICROPHONE It is recommended that the microphone be left permanently connected to the GX400, but if it must be disconnected, proceed as follows: 1. Using a small screwdriver, ease the rubber boot out of the cable entry hole and slide it along the microphone cable away from the front panel. -
Page 18: Specifications
The GX400 will operate over the 26 – 30 MHz frequency range. For information specific to frequencies outside of the Australian Marine or the Australian and New Zealand CB bands, please refer to the appropriate amendment, or contact GME at: export@gme.net.au *All specifications are typical and subject to change without notice or obligation. -
Page 19: Standard Communications Warranty Against Defects
Communications Pty Ltd ACN 000 346 814 warrant our repairs to be free from defects in (We, us, our or GME). Our contact details are set out materials and workmanship for three months in clause 2.7. This warranty statement only applies to from the date of the original repair. - Page 20 A division of Standard Communications Pty Ltd. Head Office: PO Box 96, Winston Hills, NSW 2153, Australia. New Zealand: PO Box 58446 Botany, Auckland, 2163, NZ. T: (09) 274 0955. All international enquiries email: export@gme.net.au Part Number: 310627 Drawing Number: 47121-5...
Need help?
Do you have a question about the G-COM GX400B and is the answer not in the manual?
Questions and answers