
Subscribe to Our Youtube Channel
Related Manuals for Swann Retro SFA12610BN


Summary of Contents for Swann Retro SFA12610BN
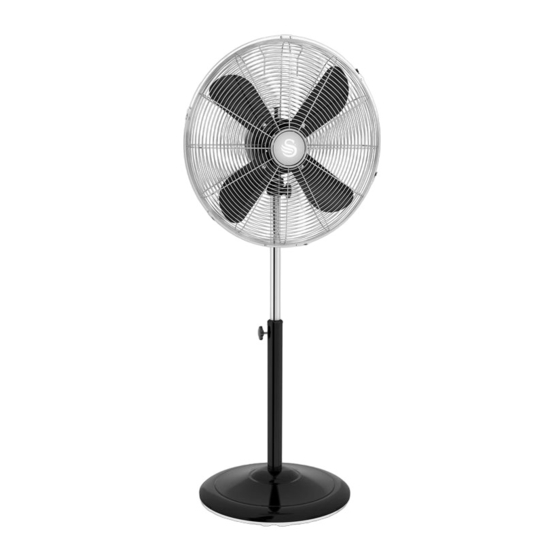
- Page 1 Retro 16” (40cm) Stand Fan Model: SFA12610 (all colours) Help line 0333 220 6050 v2.0 SFA12610_IM.indd 1 18/01/2019 08:38...
- Page 2 IMPORTANT INFORMATION - RETAIN FOR FUTURE USE When using any electrical appliance, basic safety precautions should always be followed including the following: • Always ensure that the voltage on the rating label corresponds to the mains voltage in your home •...
- Page 3 IMPORTANT INFORMATION - RETAIN FOR FUTURE USE cleaning purposes. • Remove the plug from the socket by gripping the plug. Do not pull on the cord to disconnect the appliance from the mains. Always unplug the unit when not in use, before cleaning or when adding or removing parts.
- Page 4 IMPORTANT INFORMATION - RETAIN FOR FUTURE USE surface. Do not place the unit on a hot surface. • Ensure that the unit is switched off after use. • The manufacturer does not accept responsibility for any damage or injury caused by improper or incorrect use, or for repairs carried out by unauthorised personnel.
-
Page 5: What's In The Box
WHAT’S IN THE BOX Rear Grille Motor assembly Base Weight Telescopic Shaft Fan Blade Base Screw remove before assembly Front Grille Grille Screw & Nut Fan Nut in small bag taped to grille Remove all items from the packaging and check they are all present as shown in the above image. - Page 6 ASSEMBLY Remove the Base Screw from the Telescopic Shaft and set aside. Put the base on the floor and press the Telescopic Shaft into it. It should click into place. This helps with the next step. Place the Weight in the base as shown and secure it all together with the Base Screw.
- Page 7 ASSEMBLY Note: Handle goes at the top Offer the Rear Grille up to the motor unit. Ensure the handle is at the top. Refit the 4 screws to secure the Rear Grille. Note alignment! Fit the fan blade over the motor shaft. Make sure the notch in the fan aligns with the peg on the motor shaft.
- Page 8 ASSEMBLY Hook the Front Grille over the Rear Grill - making sure it is the right way up Securing clip. Open all of them at this stage Grille Screw & Nut in small bag taped to grille Open all the securing clips on the Front Grille. There is a hook at the top of the Front Grille.
- Page 9 ASSEMBLY Fit the Grille Screw & Nut and tighten, as shown above. It’s a bit fiddly but safety regulations say there has to the a screw and nut there! Finally, press the grille securing clips into place. This will keep the front and rear grilles together.
-
Page 10: Cleaning And Maintenance
HOW TO USE • Turn the speed control to selected speeds: 0 (off) and 1 (slow), 2 (me- dium), 3 (fast) • Set the tilt angle by adjusting the fan head accordingly. • You can tighten/loosen the screw on the neck of the fan to lock the tilt angle •... -
Page 11: Warranty
WARRANTY This product is guaranteed for 2 years from the date of original purchase. If any defect arises due to faulty materials of workmanship the faulty products must be returned to the place of purchase. Refunds or replacement is at the discretion of the store. The following conditions apply: •... - Page 12 www.swan-brand.co.uk 2 year Est. 1 931 GUARANTEE Scan this QR code We love we’re proud Find us on Facebook to hear about what we do of our quality our story * on selected products Copyright © Swan Products Ltd. PO Box 3117, Stoke-on-Trent ST4 9GD SFA12610_IM.indd 12 18/01/2019 08:38...
Need help?
Do you have a question about the Retro SFA12610BN and is the answer not in the manual?
Questions and answers