Table of Contents
Advertisement
Quick Links
Advertisement
Table of Contents

Subscribe to Our Youtube Channel
Related Manuals for Gorenje Simplicity ECT6SY2W


Summary of Contents for Gorenje Simplicity ECT6SY2W
- Page 1 Instructions for Use GB IE MT...
- Page 3 GLASS-CERAMIC BUILT-IN COOKING HOB Dear customer! Glass-ceramic hob is intended for use in households. Our products are packed in environment-friendly materials which can be recycled, disposed of, or destroyed without imposing any burden on the environment. Instructions for use Instructions for use are intended for the user. They describe the appliance and its operation.
-
Page 4: Table Of Contents
TABLE IMPORTANT - READ BEFORE USING .................5 THE APPLIANCE .......................5 Safety percautions ........................5 Warnings............................5 APPLIANCE DESCRIPTION ....................7 Cooking hob control elements (depending on the model) ........8 COOKING ZONES ......................9 Before using the appliance for the fi rst time ..............9 Important warnings ........................9 Cookware ............................ -
Page 5: Important - Read Before Using
IMPORTANT - READ BEFORE USING THE APPLIANCE Safety percautions • This appliance can be used by children aged from 8 years and above and persons with reduced physical, sensory or metal capabilities or lack of experience and knowledge if they have been given supervision or instruction concerning use of the appliance in a safe way and understand the hazards involved. - Page 6 • The appliance is intended solely for cooking. Do not use it for any other purpose, e.g. for room heating. Do not place empty cookware on the cooking zones. • If another electrical appliance is connected to a AC power socket near the appliance, make sure the power cord does not come into contact with hot cooking zones.
-
Page 7: Appliance Description
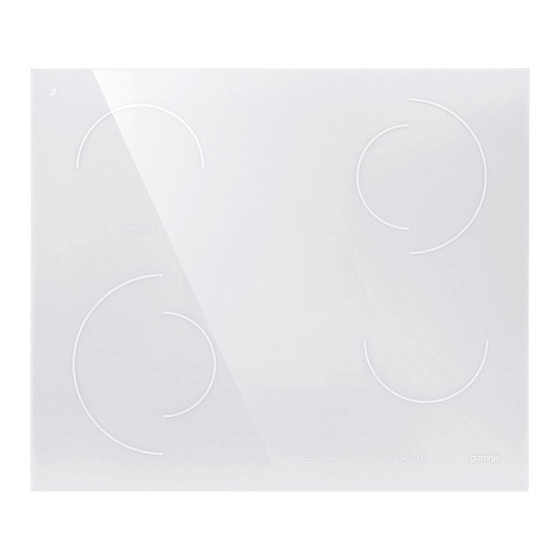
APPLIANCE DESCRIPTION 1. Cooking zone rear left 2. Cooking zone front left 3. Cooking hob control unit 4. Cooking zone front right 5. Cooking zone rear right... -
Page 8: Cooking Hob Control Elements (Depending On The Model)
Cooking hob control elements (depending on the model) Control sensor keys: F1 Active function decimal point A Coking hob on/off sensor G Increase value / setting sensor B Child lock sensor H Cooking zone selection sensor B1 Child lock signal light Decrease value / setting sensor C Stop &... -
Page 9: Cooking Zones
COOKING ZONES Before using the Clean the glass-ceramic surface with a damp cloth appliance for the fi rst and some manual dishwashing detergent. Do not use time aggressive detergents such as abrasive cleaners that can scratch the surface, abrasive dishwashing sponges, or stain removers. -
Page 10: Cookware
Cookware Tips on using the cookware Use high-quality cookware with a fl at and stable bottom. • Transmission of heat is best when the pan bottom and the cooking zone are of the same diameter, and the pan is placed on the middle of the cooking zone. •... -
Page 11: Operating The Cooking Zones
OPERATING THE COOKING ZONES • The cooking hob is fi tted with electronic sensor keys which are activated, respectively, when the indicated surface of a particular sensor is touched with a fi nger for at least one second. • Activation of a sensor key is confi rmed by a beep. •... -
Page 12: Turning Off The Cooking Zones
• Reheating function is activated by pressing the “–” (I) sensor key until the power level is set to 1 Turning off the cooking • Select the cooking zone by pressing the relevant sensor zones key (H). The decimal point (F1) next to the display for the selected cooking zone will light up. -
Page 13: Residual Heat Indicators
Residual heat As soon as a hot coking zone is switched off , or when the indicators entire cooking hob is turned off , the following is displayed on the display of each hot cooking zone: - “H” if the cooking zone is still hot; - “h”... - Page 14 The power boost function is appropriate for the following: • Food that is cold at the beginning of preparation is quickly warmed up, and then left to cook for a longer period of time; with the power boost function, this can be done without constantly controlling the cooking process (e.g.
-
Page 15: Cooking Zone Expansion (Depending On The Model)
Cooking zone Activating the cooking zone expansion expansion • For a selected cooking one (a decimal point is lit next to (depending on the the display for the currently selected zone), an additional model) heating coil can be activated by pressing the (J) sensor key. The signal light (E) next to the display will light up. -
Page 16: Programmable Timer (Depending On The Model)
If the STOP & GO function is not deactivated in 10 minutes, the entire cooking hob will be witched off automatically. Programmable timer The appliance off ers two timer functions: (depending on the A alarm function – countdown without the switch-off model) option B switch-off function –... - Page 17 Cooking time can be set for each cooking zone independently. If several timers have been programmed, the time that is closest to zero will always be displayed. This is indicated by a flashing signal light (L) which indicates the cooking field. Changing the timer setting •...
-
Page 18: Special Warnings And Fault Reports
Special warnings and • If all power levels are set to “00”, the cooking hob will fault reports be turned off automatically after 10 seconds. • If any of the keys is activated for more than 10 seconds, the cooking hob will be turned off , an alarm will sound, and the symbol “F”... -
Page 19: Cleaning And Maintenance
CLEANING AND MAINTENANCE Cleaning After each use of the glass-ceramic hob, wait for it to cool down and clean it; otherwise, even the smallest food residue will be burnt onto the hot surface next time you use the appliance. For regular cleaning and maintenance of the glass-ceramic surface, use special conditioning agents which form a protective layer on the surface, shielding it from dirt. -
Page 20: Installation
Sugar and sugar-laden food may permanently damage the glass-ceramic surface (Figure 5); therefore, they should be removed from the glass-ceramic surface as soon as possible, although the cooking zone may still be hot (Figure 4). Any change in the color of the glass-ceramic surface does not aff ect its operation or the stability of the surface. -
Page 21: Installing The Foam Gasket
Installing the foam Before inserting the appliance into the opening in the gasket kitchen worktop, the supplied foam gasket must be attached to the lower side of the glass ceramic (glass) cooking hob (see fi gure above). Do not install the appliance without the foam gasket! The gasket should be attached to the appliance in the following way:... - Page 22 be installed no less than 60 millimeters from the lower surface of the worktop. The space between the partition wall and the hob must be empty; no objects should be placed into that gap. • On the furniture back wall there should be a cutout with width of at least 175 mm along the entire width of the furniture element.
-
Page 23: Connecting The Appliance To
CONNECTING THE APPLIANCE TO THE POWER MAINS Important warnings • The appliance may only be connected by an authorized skilled technician. • Electric system protection should comply with all relevant regulations. • The connection clips can be accessed when the connection clip covers are opened / removed. -
Page 24: Connection Diagram
Connection diagram ‘’ The appliances are suitable for photovoltaic electrical power under the condition that electrical voltage will be 220VAC - 240VAC with semi tonic frequency 50Hz in order the appliance to operate properly (alternative a generator can be used with the same technical characteristic).’’... -
Page 25: Technical Characteristics
G Compliance indications / symbols WE RESERVE THE RIGHT TO MAKE ANY CHANGES THAT DO NOT AFFECT THE FUNCTIONALITY OF THE APPLIANCE. Instructions for use of the appliance can also be found on our website at www.gorenje.com / < http://www.gorenje.com />... - Page 28 ECT6SY2W (09-17) en SVK6CS...
Need help?
Do you have a question about the Simplicity ECT6SY2W and is the answer not in the manual?
Questions and answers