
Subscribe to Our Youtube Channel
Related Manuals for DEVOLA SLIMLINE DVS500W


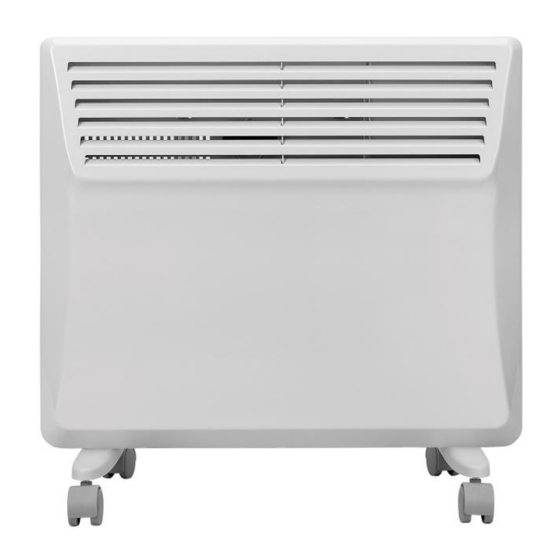
Summary of Contents for DEVOLA SLIMLINE DVS500W
- Page 1 ELECTRIC CONVECTOR HEATER SLIMLINE PANEL HEATER WITH DIGITAL TIMER MODEL(s): DVS500W DVS1000W DVS1500W DVS2000W User Instructions Please read and save these instructions...
-
Page 2: Safety Instructions
SAFETY INSTRUCTIONS BEFORE FIRST USE Read and follow all the instructions in this manual even if you feel you are familiar with the product and find a place to keep it handy for future reference. NOTE: The rating of this product (as marked on the product rating label) is based on specific loading tests. - Page 3 ·Do not operate with cord coiled up as a buildup of heat is likely, which could be sufficient to become a hazard. ·The use of an extension cord with this appliance is not recommended. ·Do not remove plug from power socket until the appliance has been switched off. ·Do not remove plug from power socket by pulling the supply cord-always grip plug.
-
Page 4: Appliance Overview
APPLIANCE OVERVIEW Fig.1 Circuit Diagram Power Switch Heating element Tip over switch KSD thermostat KSD thermostat Temperature sensor Switch Castor Wheel Stand... -
Page 5: Installation
INSTALLATION Warning 1. Fix the heater correctly on the wall or place the heater in the sturdy position. 2. The heater should be installed so that the controls cannot be touched by a person using a bath or shower – it can be placed in Zone 3 in the bathroom. 3. - Page 6 Caster Installation & Removal Fig.2 Control Panel Push the button up to remove the If the casters have been installed castor correctly you will hear a click sound 1. Power Indicator 12. Program Confirm (OK) 2. Select Full/Half Capacity Heat Mode 13.
-
Page 7: Operation
OPERATION Getting Started • Carefully remove the heater from the box and keep the carton for off-season storage. • Ensure the power switch (21) is turned off before plugging the unit in. • Make sure the heater is safely installed in accordance with the installation instructions. •... - Page 8 Setting the Timer Setting the Timer in Manual Mode (24-hour timer) This setting mode is to be used if you want to control the heater on a ‘per-use’ basis and when you want the heater to turn off at a specific time within 24 hours. For example, if you turn the heater on in the morning and want it to turn itself off in the afternoon.
- Page 9 Setting the Timer in Auto Mode (Weekly Timer) This setting is to control what time your heater comes on and off throughout the week. The desired temperate cannot be set differently for each segment. You can set four heating segments per day meaning that you can schedule up to four startup times and shutdown times per day.
- Page 10 Power Off • Press the power button (20) to turn the heater on or off. If you shut down the system while it is in automatic mode, it will work according to the scheduled procedure. • However, if the unit is to be switched off for a long time, you must switch the system to manual mode and then off.
- Page 11 Signal Sound • An acoustic signal sounds each time a key is pressed on the unit. If a button is held continuously the unit will only signal once. Child Lock • When the unit is in operation, press the up (10) and down (11) buttons simultaneously for 3 seconds.
-
Page 12: Cleaning And Maintenance
CLEANING & MAINTENANCE Cleaning Do not use abrasive cleaning products on this appliance. Clean with a damp cloth (not wet) rinsed in hot soapy water only. Always remove plug from the mains supply before cleaning. The heater requires regular cleaning to ensure trouble-free operation: •... - Page 13 Table of information - requirements for electric local space heaters Item Symbol Value Unit Model identifier(s): DVS500W DVS1000W DVS1500W DVS2000W Heat output Nominal heat output Pnom Minimum heat output Pmin 0.75 0.25 (indicative) Maximum continuous Pmax heat output Auxiliary electricity consumption At nominal heat output elmax 1.423...
-
Page 14: Warranty
This product is covered by a standard parts or replacement warranty for a period of 12 months from the date of purchase. Extend your warranty for 12 months for free by visiting www.devola.co.uk/warranty. Incorrect installation and failure to follow correct operating instructions are excluded. Consequential costs such as labour charges or damage to surroundings are expressly excluded.
Need help?
Do you have a question about the SLIMLINE DVS500W and is the answer not in the manual?
Questions and answers